Air Dry Clay: The Complete Beginner's Guide (Tips, Mistakes & Project Ideas)
everything I wish I'd known before starting — drying times, sealants, fixing cracks, and the projects I'm obsessed with right now.


How I learnt the hard way (a story about ramekins)
I remember buying my first pack of air dry clay like it was yesterday.
it was about four years ago. I was living in a london house share (good times 🥰), and me and my friend verity decided we wanted a creative night in. I'd bought the clay, but I had absolutely no clue what I was doing.
we ended up wrapping it around glass ramekins because I thought they would work as moulds.
we let them dry and they were completely stuck. we'd trapped the ramekins.
I panicked and threw them away... 😂
now I know I could've sanded them, painted the outside, and just left the ramekin inside. it would've worked, but I didn't know that then.
and honestly, that's how I've learnt. trial and lots of error.
trust me when I say — what you see on my insta is not the whole truth. there are plenty of mistakes in this little studio. that said, after four years of working with clay, things have improved. sometimes I look back at my old videos and I juuuust… can't. 😬
so this is the post I wish I'd had four years ago. everything I've learnt the long way, in one place.
What is air dry clay?
if you're brand new to this, let's start at the very beginning.
air dry clay is exactly what it sounds like — clay that hardens at room temperature. no kiln, no oven, no firing. just time and airflow.
it's water-based, which means while you're working with it you can smooth, blend, and reshape with a little water on your fingers. once it's dry, it's hard, light, and (with a bit of finishing) ready to paint.
how it differs from other clays:
- polymer clay (sculpey, fimo) — bakes in your home oven at low temperatures. better for tiny detailed pieces and beads. doesn't shrink as much. but it's plastic-based.
- oven-bake clay — same family as polymer, just different brand naming.
- pottery clay / stoneware — needs a kiln (1000°c+). produces proper ceramic. air dry clay does not.
- cold porcelain — diy version made from cornflour and pva. nice for delicate flowers but more fragile.
what air dry clay is great for:
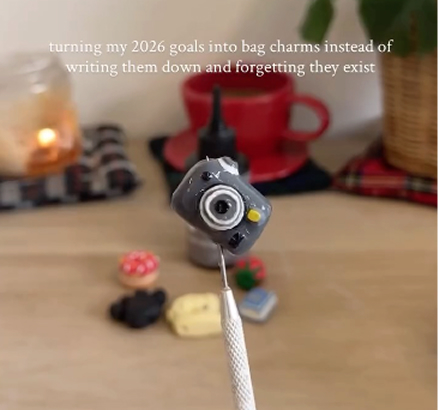
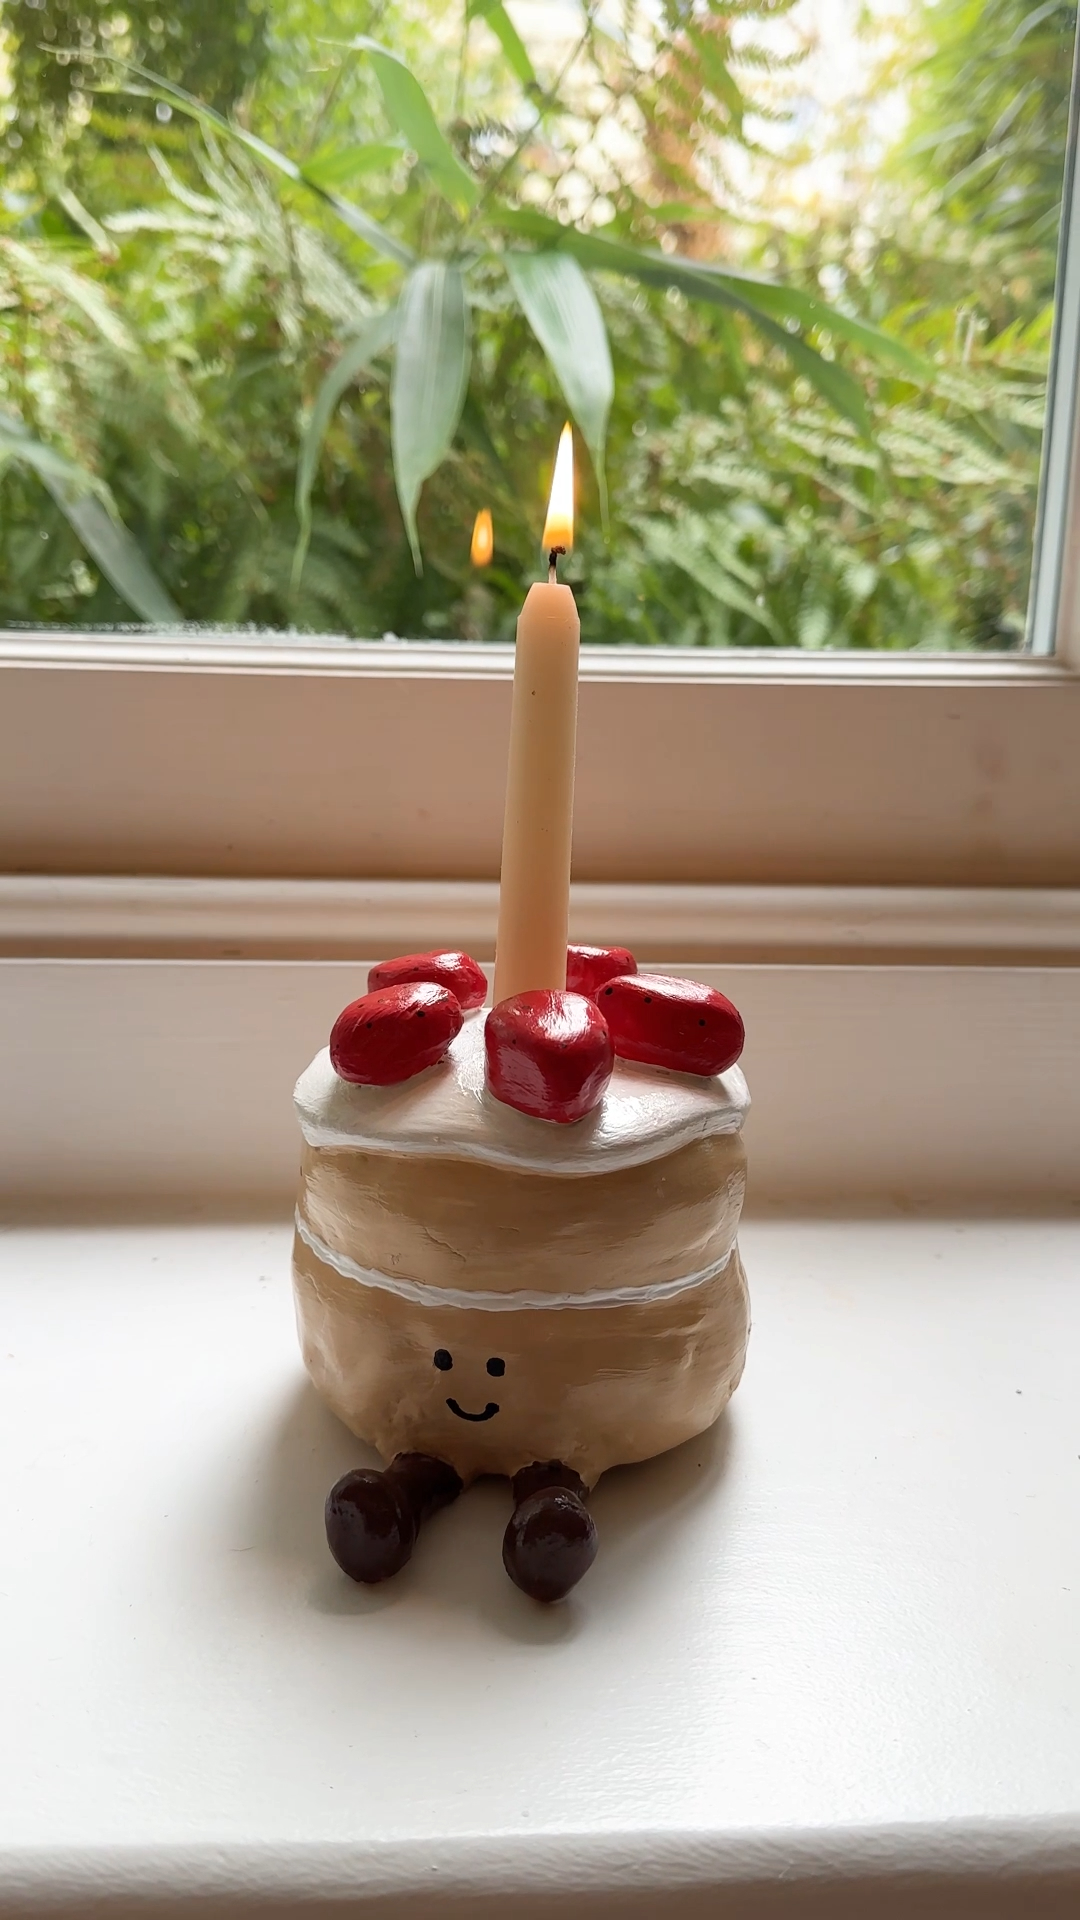
candle holders, vases, bud vases (decorative — more on the not-quite-waterproof thing below). jewellery (lightweight earrings, pendants). bag charms and trinket dishes. wall décor, magnets, ornaments. sculptural pieces and figurines. anything where you want a handmade, slightly-imperfect ceramic look without the kiln.
what it's not great for:
anything that needs to hold water properly. food contact surfaces (not food safe). outdoor use (rain will destroy it, even sealed). pieces under heavy load or impact.
Choosing your clay
there are a LOT of brands out there. and honestly, they're not all the same.
here's what I've actually used, ranked by how often I reach for them:
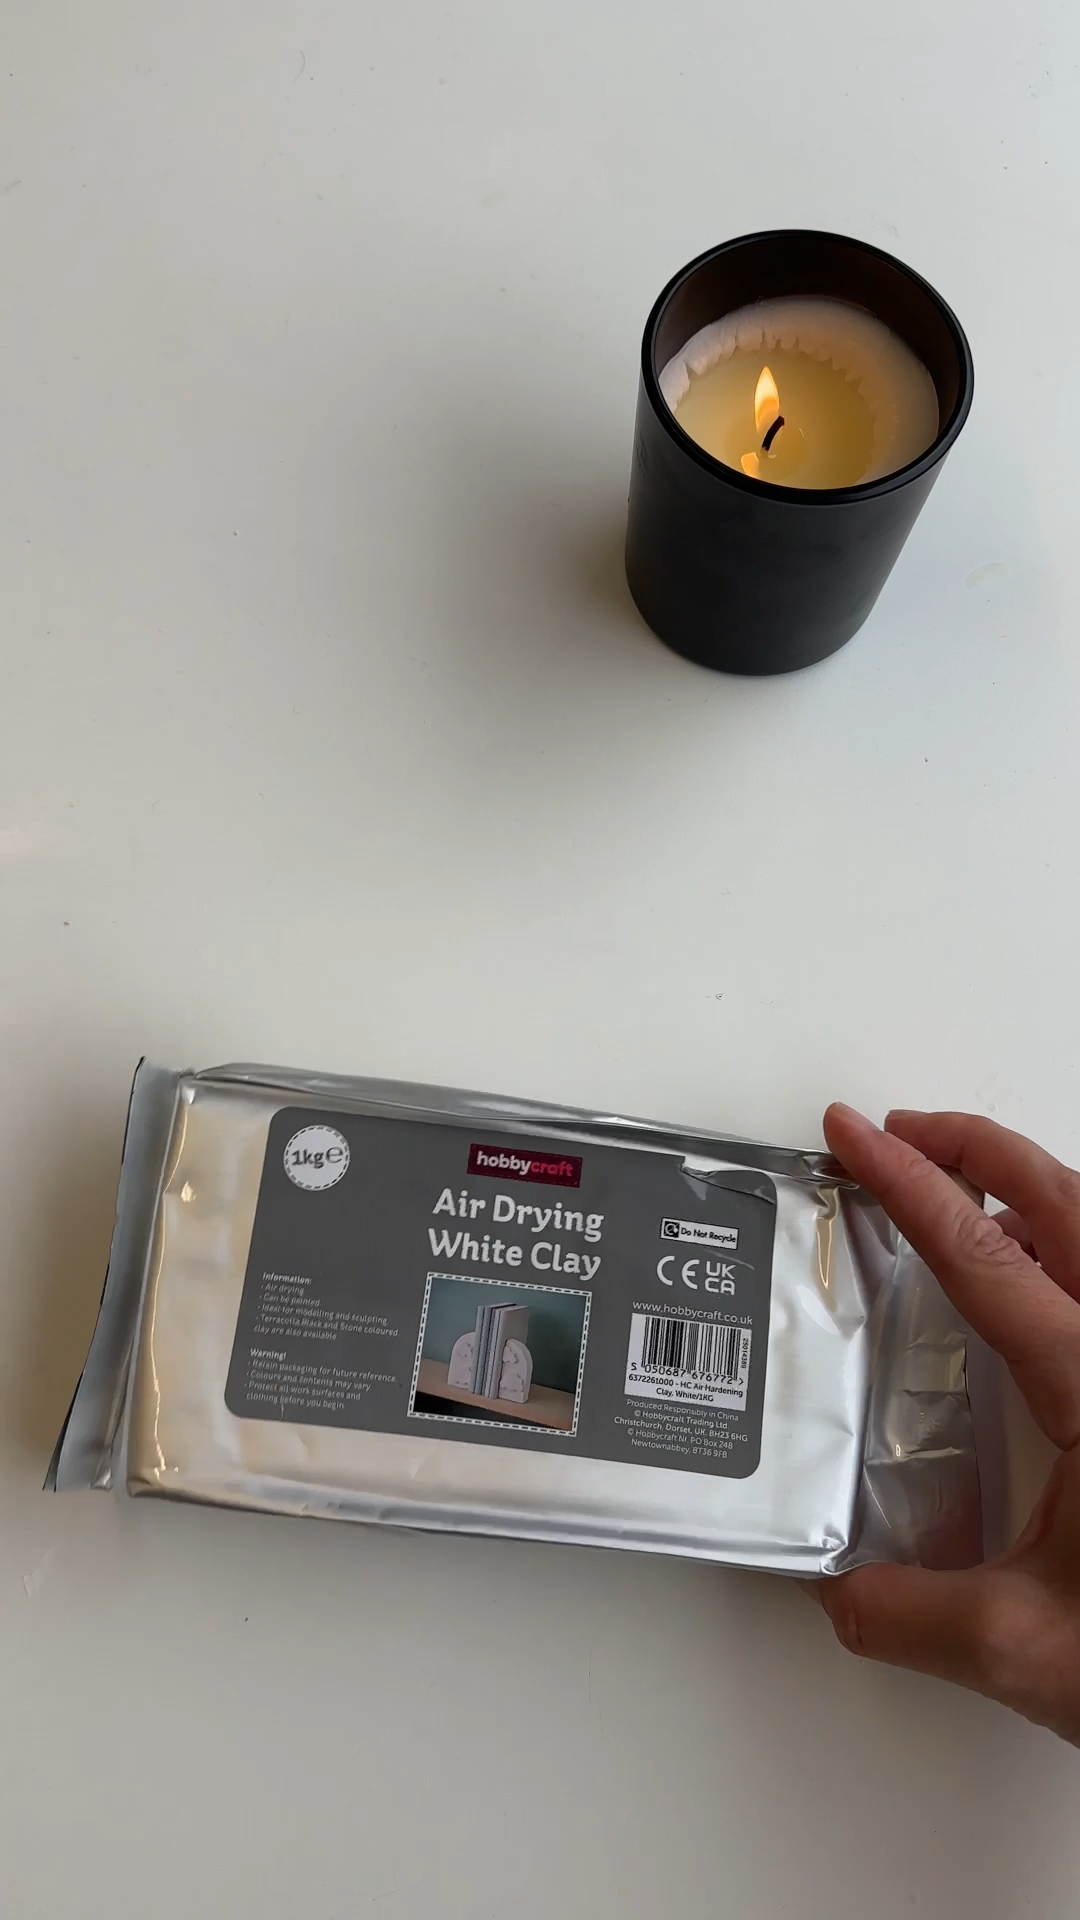
Hobbycraft air dry clay — my go-to. affordable, easy to wedge, available in every Hobbycraft store and online. comes in white and terracotta. it's what I reach for nine times out of ten, especially when I'm starting a new project and don't want to overthink it. does the job without fuss.
DAS — the other big high-street option (Hobbycraft sells this too). slightly firmer than the Hobbycraft own-brand, brilliant for slab work, sands beautifully. a really safe choice.
jovi — softer than the above, very forgiving for beginners. the white is bright and clean. better for sculpting than for slab work.
crayola air-dry clay — affordable and kid-friendly. fine for casual projects, but it can crack more than I'd like and the texture is less fine.
activa plus — a step up in quality for when you want to push things. lovely for sculptural work. pricier and harder to find on the high street.
a note on colours: terracotta clay is gorgeous and looks like real ceramic when sealed. white is more versatile because you can paint it any colour you like. start with white if you're not sure.
Tools you actually need
the good news: you don't need much. the better news: half of what you need is probably in your kitchen drawer already.
the non-negotiables:
- a rolling pin (any kind — wooden is fine)
- a sharp knife or craft knife
- a smooth surface to work on (a tile, a plastic mat, even a clean kitchen worktop)
- water in a small bowl
- something for texture (toothpicks, skewers, the back of a paintbrush)
nice to have:
- clay shapers / silicone-tipped tools (for smoothing seams)
- shape cutters or cookie cutters
- an acrylic roller with thickness guides (gives you even slabs every time)
- a banding wheel / lazy susan (for sculptural work)
- fine sandpaper (240 and 400 grit)
you don't need:
- a pottery wheel
- a kiln
- expensive sculpting kits
- anything labelled "professional"
honestly, my most-used tool is a £1.50 pack of toothpicks.
.jpg)
The golden rule: prep the clay
if you do nothing else, do this.
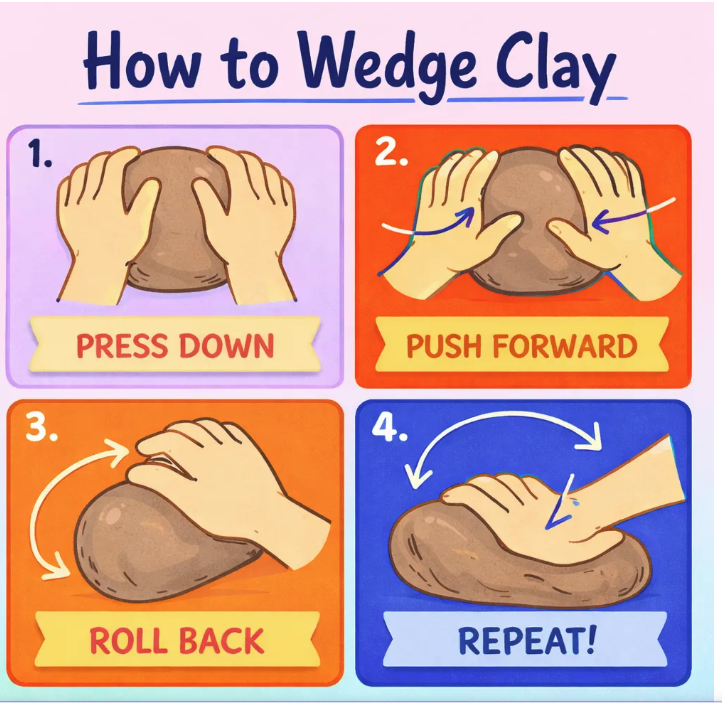
when you open a new pack, don't just tear a bit off and start rolling. wedge it.
wedging means:
- knead it
- roll it into a ball
- work it properly
moisture gathers in the bag, which is why fresh clay can feel sticky. but the more you work it, the more even it becomes. you'll get:
- less stickiness
- cleaner cuts
- smoother rolls
- fewer cracks
when I first started, I used to put flour down like I was making pastry. it did work… but you shouldn't need to. prep the clay properly and most of that frustration disappears.
how to store opened clay: wrap any leftover clay tightly in cling film, then put it in a sealed sandwich bag with a damp paper towel tucked in (not touching the clay directly). it'll stay workable for weeks. if it dries out, you can sometimes revive it by wrapping it in a wet cloth overnight, but it's never quite the same.
Core techniques to learn first
once you've wedged your clay, there are a few core techniques worth getting comfortable with. these are the building blocks for almost every project I make.
rolling slabs — flat sheets of clay for cutting shapes. use guide sticks (or chopsticks) on either side of your clay so your roller can't go thinner than the sticks. you'll get an even slab every time.
pinching — start with a ball, push your thumb in, pinch the walls outwards. how every pinch pot in the world has been made for thousands of years.
coiling — roll long sausages of clay and stack them to build walls. great for vases and uneven sculptural shapes.
scoring and slipping — this is the technique for joining two pieces of clay. score (scratch) both surfaces, brush on a tiny bit of slip (clay mixed with water to a yoghurt consistency), press together, smooth the seam. without this, your joins will crack as they dry. promise.
adding texture — push fabric, leaves, lace, or textured surfaces into the clay before it dries. this is one of my favourite parts. a single bit of hessian fabric can transform a flat slab.
working with armatures — for anything sculptural, build a skeleton first using crumpled foil or twisted wire, then build the clay around it. it saves clay, dries faster, and stops thick sections from cracking.
Let's talk drying (because this is where it all goes wrong)
waiting is boring. and my flat is underground. so sometimes I'm waiting a LONG time for things to dry. patience is a virtue (apparently 🙄). and to that I say — I don't mind waiting. I just want to know for how long.
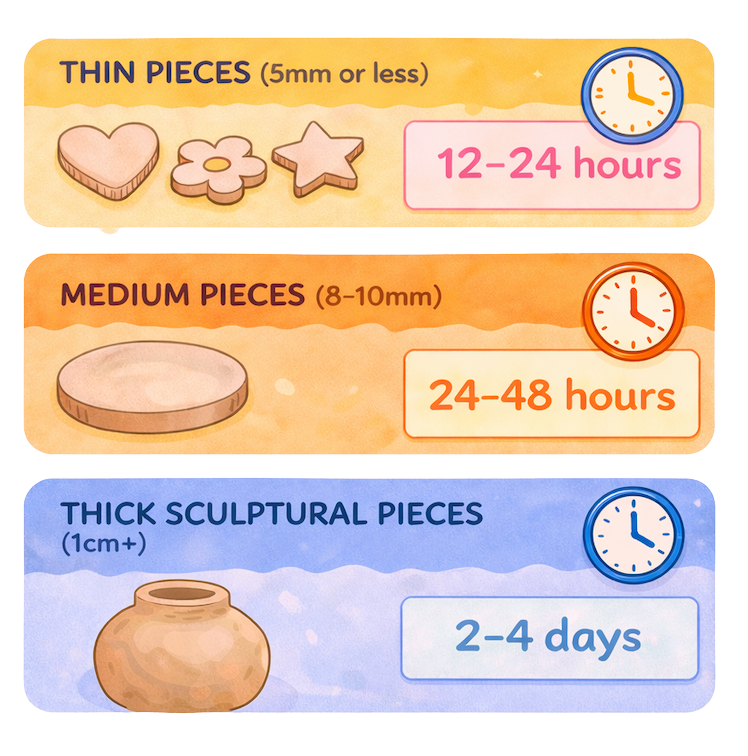
so, how long does air dry clay actually take to dry?
well, depends. but the rules I've come to live by:
air dry clay dries from the outside in. which is actually really helpful. once it looks dry — lighter, more matte, more even in tone — you can be confident that it is dry.
you want a surface that looks consistent all over. if the centre looks darker than the edges, it's still drying.
if it feels cool — it's not dry. coolness (is that a word??) means there's moisture inside, and we don't want moisture.
the thicker the clay, the more moisture. the thicker the piece, the longer we wait.
if you don't like waiting 🙋♀️, here's how to speed things up:
- flip regularly — after 8–12 hours, turn pieces over so both sides get airflow.
- dry on something breathable — cardboard is great. wire racks are great. avoid plastic.
- rotate position in the room — if one side faces a wall, that side dries slower.
- dehumidifier or fan — moves air without adding heat.
whatever you do, just remember: airflow is your friend. heat is not.
yes, you can put it in the oven. it will dry. it will also crack. ask me how I know.
Cracks, warping & how to fix them
clay cracking and warping are probably the two biggest issues I've had over the years. here's what I've learnt.
why cracks happen:
cracks are usually caused by too much water 💦. it's tempting to keep smoothing and adding water, but overdoing it weakens the surface and the clay dries unevenly.
cracks also happen at seams — when you join two pieces and don't blend them properly. I now spend longer than I think I need to on every seam.
thick uneven sections are the third culprit. the outside dries while the inside is still wet, and as the inside dries it shrinks and pulls the surface apart.
how to prevent cracks:
- wedge properly (we keep coming back to this for a reason)
- score and slip every join
- keep wall thickness even — if you're making a thick piece, hollow it out or build it around an armature
- dry slowly. cover with a loose cling film tent for the first few hours if your room is warm
how to fix cracks after drying:
surprise — it's actually fixable. you don't have to start over.
- hairline cracks: mix a paste of clay scraps and water (slip), push it into the crack, let it dry, sand it back.
- bigger cracks: same method, but apply in two thin layers rather than one thick one.
- catastrophic cracks: lightweight filler (polyfilla) works well too, especially if you're going to paint over it.
why warping happens:
warping is uneven drying. one side dries faster than the other and the piece curls.
if I want something to stay flat, I'll dry it under light books. not heavy enough to squish it — just enough to keep it lightly pressed down. simple, very effective. 🌟
flip flat pieces regularly. don't dry on one side only.

Sanding, painting & sealing (the glow up)
here's the part no one talks about enough:
air dry clay looks bad before it looks good.
when it's just dried and plain, it can look dull and uneven. slightly disappointing. then sanding changes everything.
sanding:
you cannot always get a perfectly smooth finish while the clay is wet. sometimes you need to let it dry and sand it back. it levels everything up.
start with 240 grit for shaping, finish with 400 grit for smoothness. always wear a mask — clay dust is fine and you don't want it in your lungs.
wet sanding works too (with waterproof sandpaper) and is less dusty.
painting:
painting is where it comes to life.
I usually use acrylics — system 3 or pébéo studio. two to three thin coats is my norm. thin layers > thick ones. thick paint cracks as the clay continues to settle. thin paint flexes with it.
prime first if you want a flat, even base. a coat of white gesso or even a watered-down PVA works.
posca pens are brilliant for adding detail and lettering on top of painted bases.
sealing — and this is where it gets nuanced:
I don't always use resin.
resin is very shiny. it creates a thick glossy layer. I'll use it if I want something super glossy and bold. but it can:
- drip underneath
- cure too quickly
- bubble if the clay isn't fully dry
it also requires gloves, ventilation, and a UV light. it's not as casual as varnish.
a quick guide to sealants:
- acrylic varnish (matte, satin, gloss) — my go-to. easy, forgiving, available in all finishes. apply two to three thin coats.
- mod podge — fine for sealing but can go cloudy if you're not careful. better as a glue.
- spray sealant (krylon, rust-oleum clear) — quick, even, no brush marks. use outside.
- uv resin — high gloss, high effort. great for jewellery and bag charms where you want depth.
- epoxy resin — even glossier and tougher, but fiddly to mix and slow to cure.
for detailed pieces like biscuit coasters, I prefer a good gloss varnish. resin would fill in the detail and turn the whole thing into a shiny blob.
not everything needs to be glassy. sometimes a soft gloss is better.
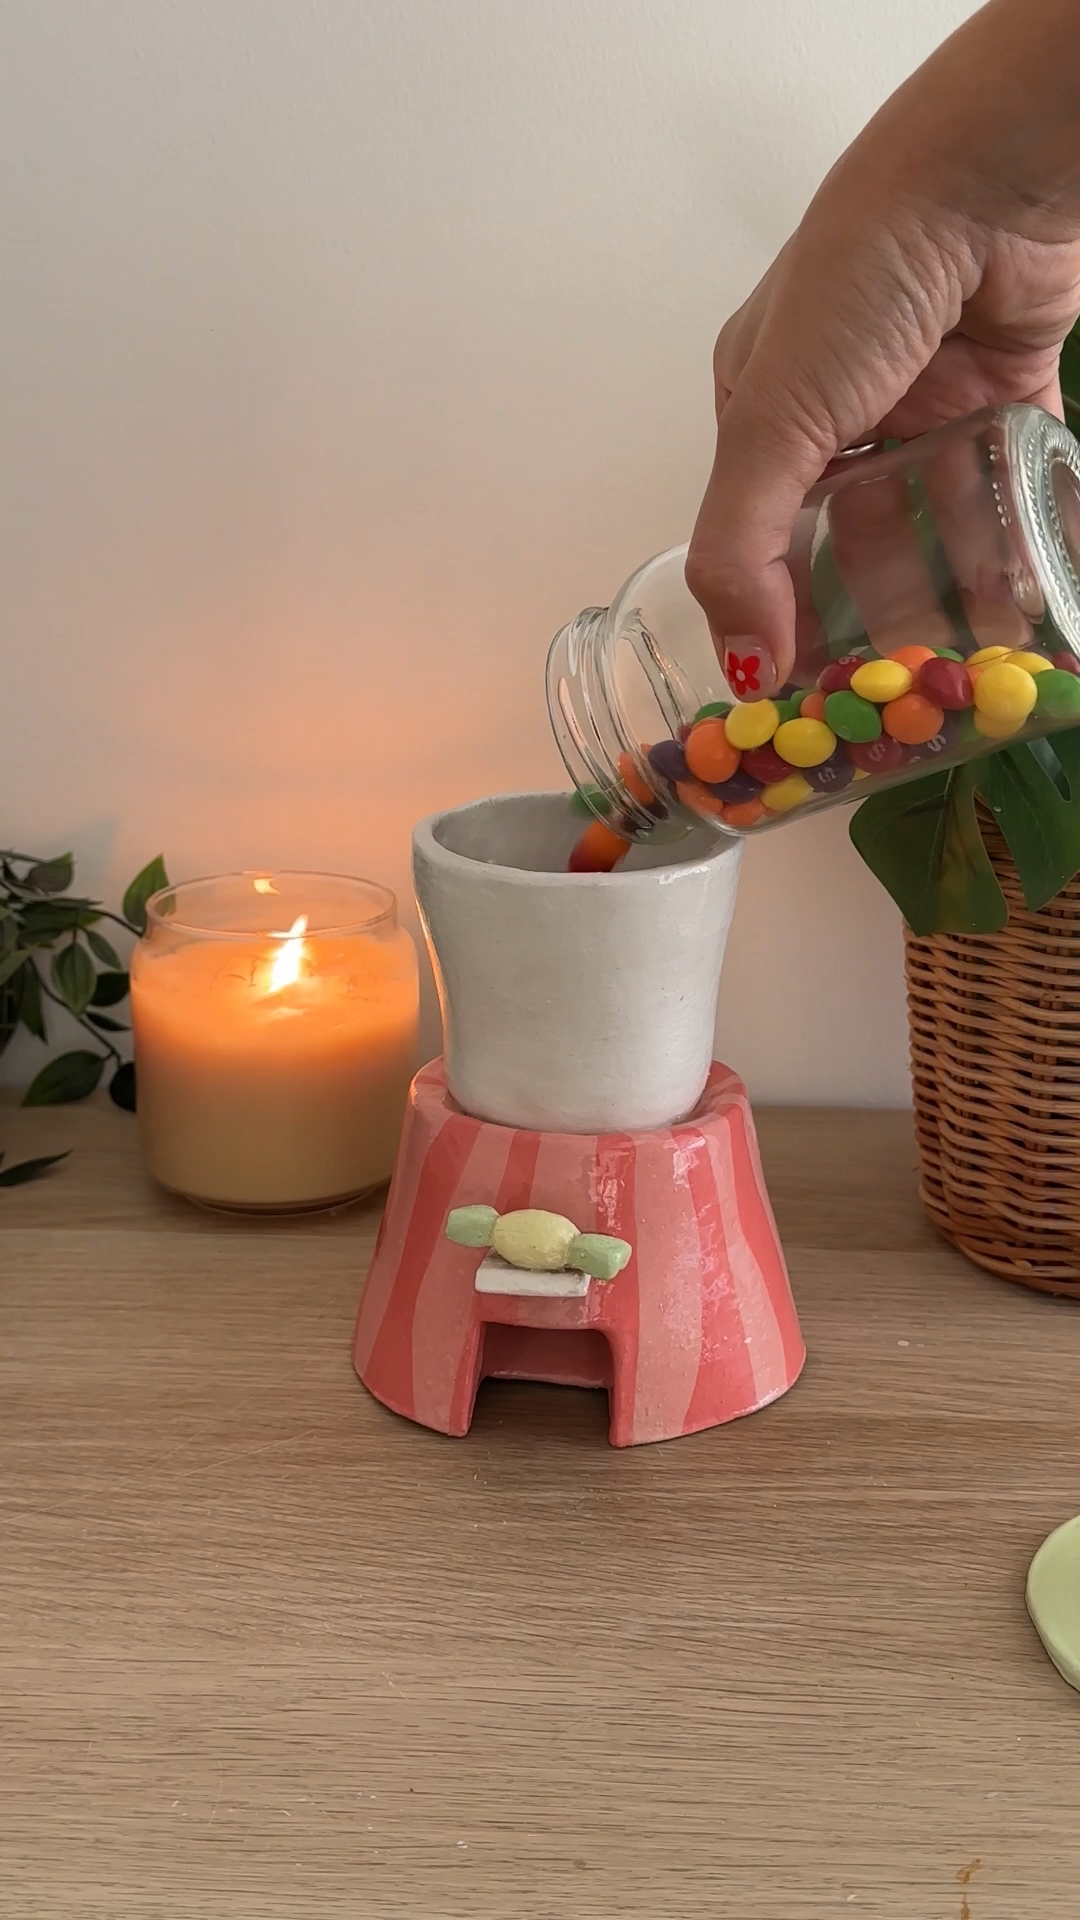
a note on waterproofing: even sealed, air dry clay isn't truly waterproof. it's water resistant. don't use it as a real vase — pop a glass jar inside instead. don't put it in the dishwasher. don't leave it outside.
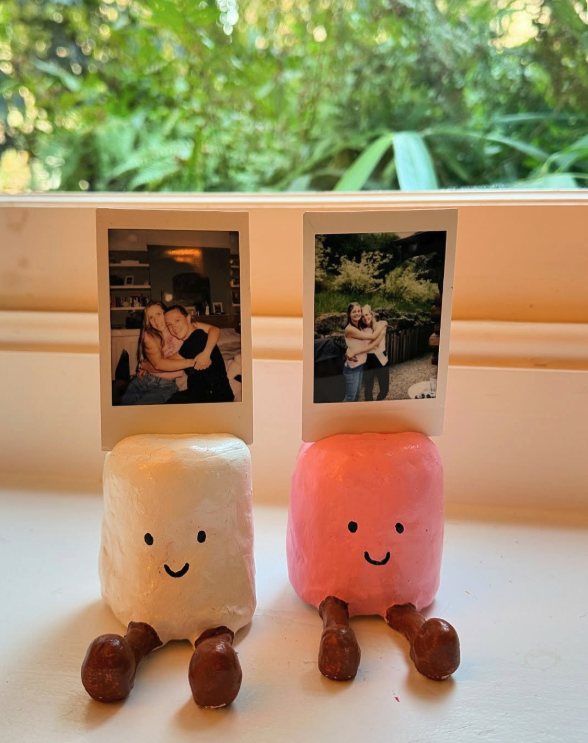
Beginner project ideas
if you're not sure where to start, here are some of my favourite beginner-friendly projects. some I made as a complete beginner. most are still on rotation in my studio.
absolute beginner:
diy air dry clay light switch covers 💅
diy air dry clay bow decorations 🎀
a step up:
diy chocolate digestive biscuit coasters 🍫🫖
diy air dry clay jewellery box bed and dresser set 🛏️
weekend project:
and if you're looking for more, have a look at 25 air dry clay ideas for beginners
more like this
looking for more posts like this? take a look at some more below


projects I think you'll love
if you liked this post, I think you'll love these projects
join my monthly craft club
a monthly drop of new bits, behind-the-scenes chaos, and ideas to brighten your brain. pop your email in and i’ll send you something nice