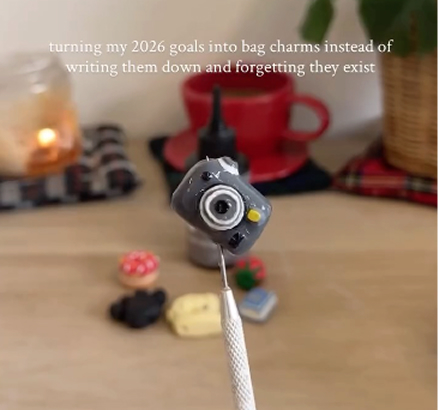
diy air dry clay bow decorations 🎀
a simple, giftable clay project that turns leftover scraps into something special
🎀 perfect for using up leftover clay
🎨 completely customisable colours and patterns
⚡ quick to make, satisfying to finish
🎁 ideal for handmade gifts or tree decorations
these DIY air dry clay bow decorations are a quick, beginner-friendly way to use up leftover clay. you can shape them to any size, paint them however you like, and turn them into hanging decorations. perfect for Christmas, gifting, or adding a handmade touch around your home.
• air dry clay (rolled to roughly 10p coin thickness)
• a rolling pin or similar
• water (for smoothing)
• 5–8mm eyelet screws (mine came from hobbycraft)
• ribbon or string
• acrylic paint (light pink + darker pink)
• paintbrushes (including a square brush for stripes)
• Soft UV Curing Resin 100ml (hobbycraft)
tip: aim for an even thickness throughout your clay strip so the bow dries evenly without warping. easier said than done 😂
Welcome to my online studio of arts, crafts, and everything in between! I post regular DIY crafts here as well as on my social channels to help give everyone of every skill-level the opportunity to create beautiful, handmade gifts and decorations. If you want regular projects delivered to your inbox, use the form below, or follow me on socials!
the idea 💭
i always seem to end up with that last bit of clay. not enough for a full project, but too much to waste.
this started as a way to use it up without overthinking things. i wanted something simple, but still decorative enough to feel intentional. bows felt like the perfect answer. soft shapes, slightly nostalgic, and instantly festive.
the folding part did take a second to click. it’s one of those things where your hands need to catch up with your brain. but once it does, it becomes really intuitive. shaping, pressing, adjusting the curves until it feels balanced.
i found myself playing with the proportions more than expected. making some loops wider, some tighter, just seeing what looked right.
and once the form worked, everything else became about bringing it to life.
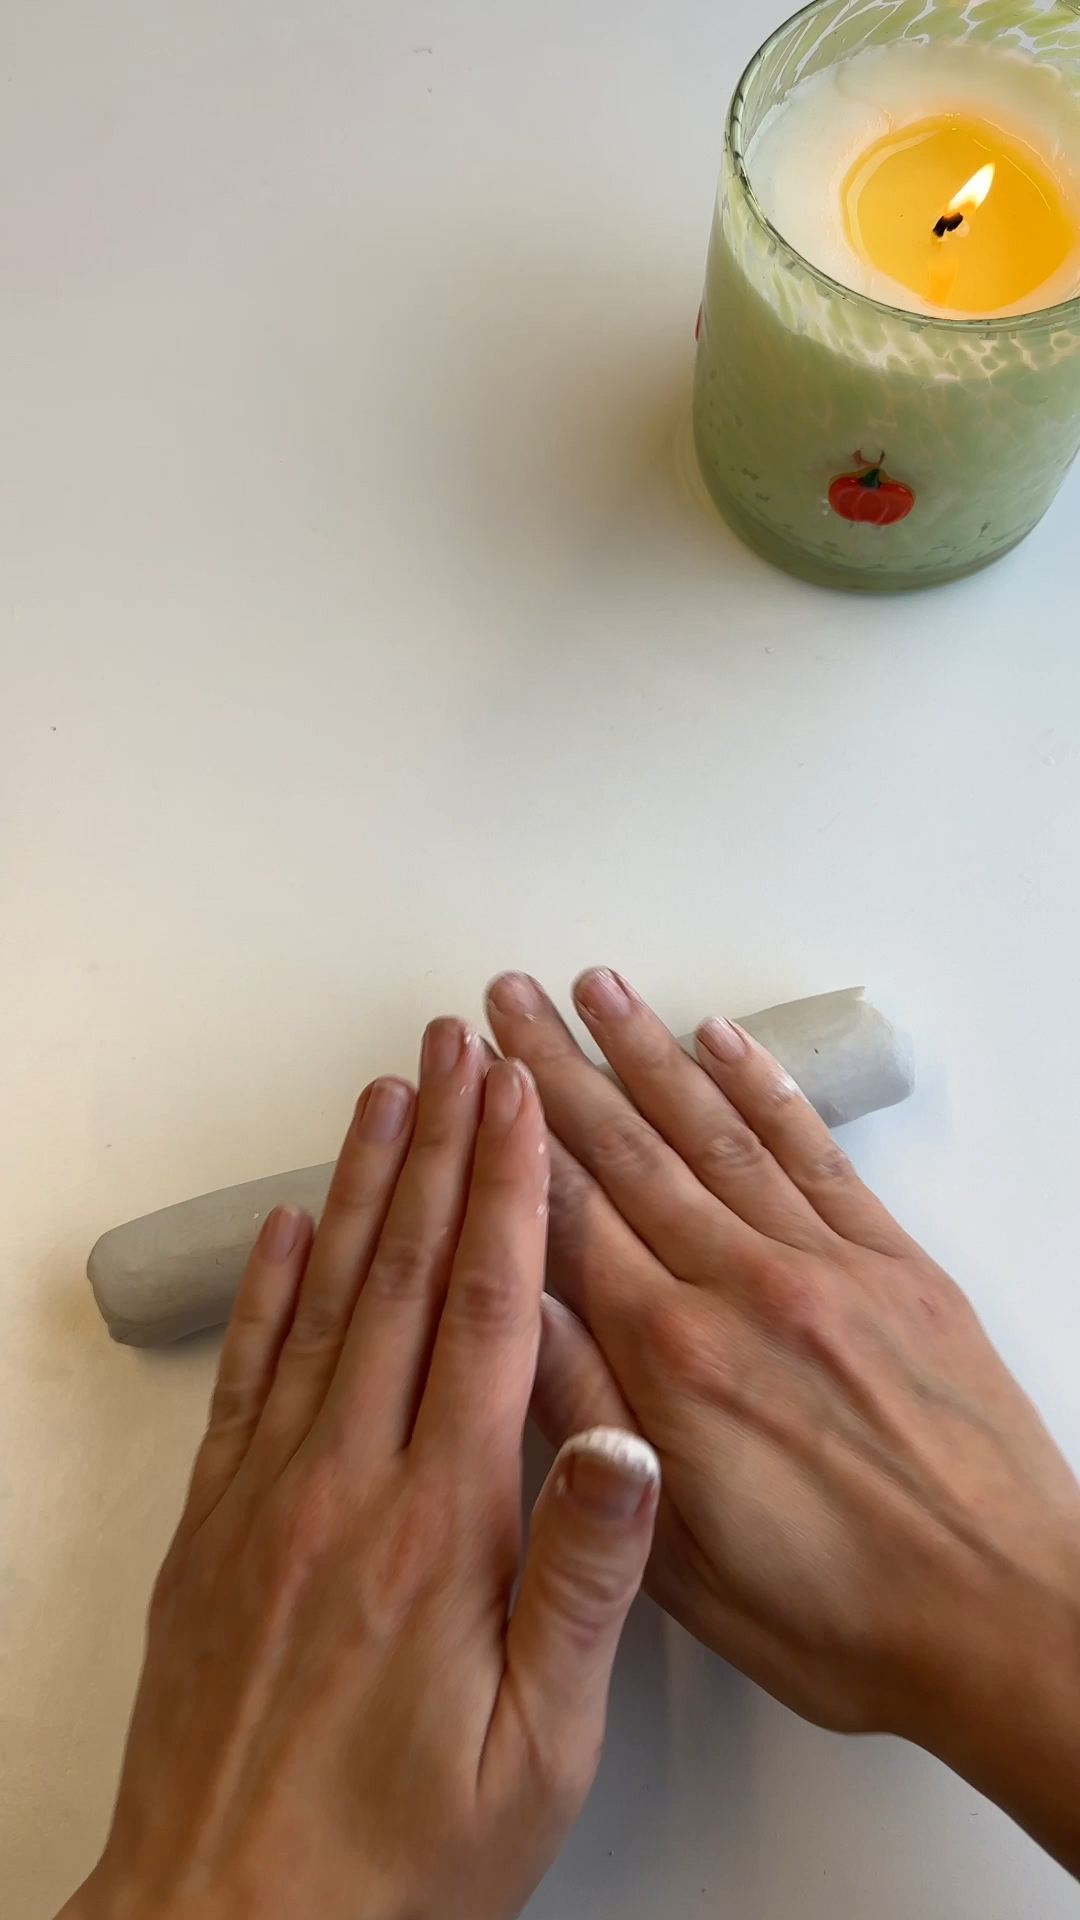
step 1: roll and shape your clay strip
roll your air dry clay into a long, even strip, roughly the thickness of a 10p coin.
keep it smooth and consistent so it bends easily without cracking. this is what will form your entire bow.
lay it onto a flat surface so you can guide the shape more easily.
tip: if the clay feels stiff, warm it slightly in your hands before rolling.
step 2: fold and form the bow
create two loops by folding each side inward, then cross the centre slightly to form the bow shape.
this is the part that takes a moment to understand, so adjust slowly and keep checking the symmetry.
you’ll start to see the bow come together quite quickly.

step 3: refine the shape and smooth
adjust the loops and tails to get your ideal proportions. you can make them chunky, narrow, or slightly uneven for a more organic look.
turn up the edges gently to give the bow more dimension.
use a little water on your fingers to smooth joins and soften any cracks.

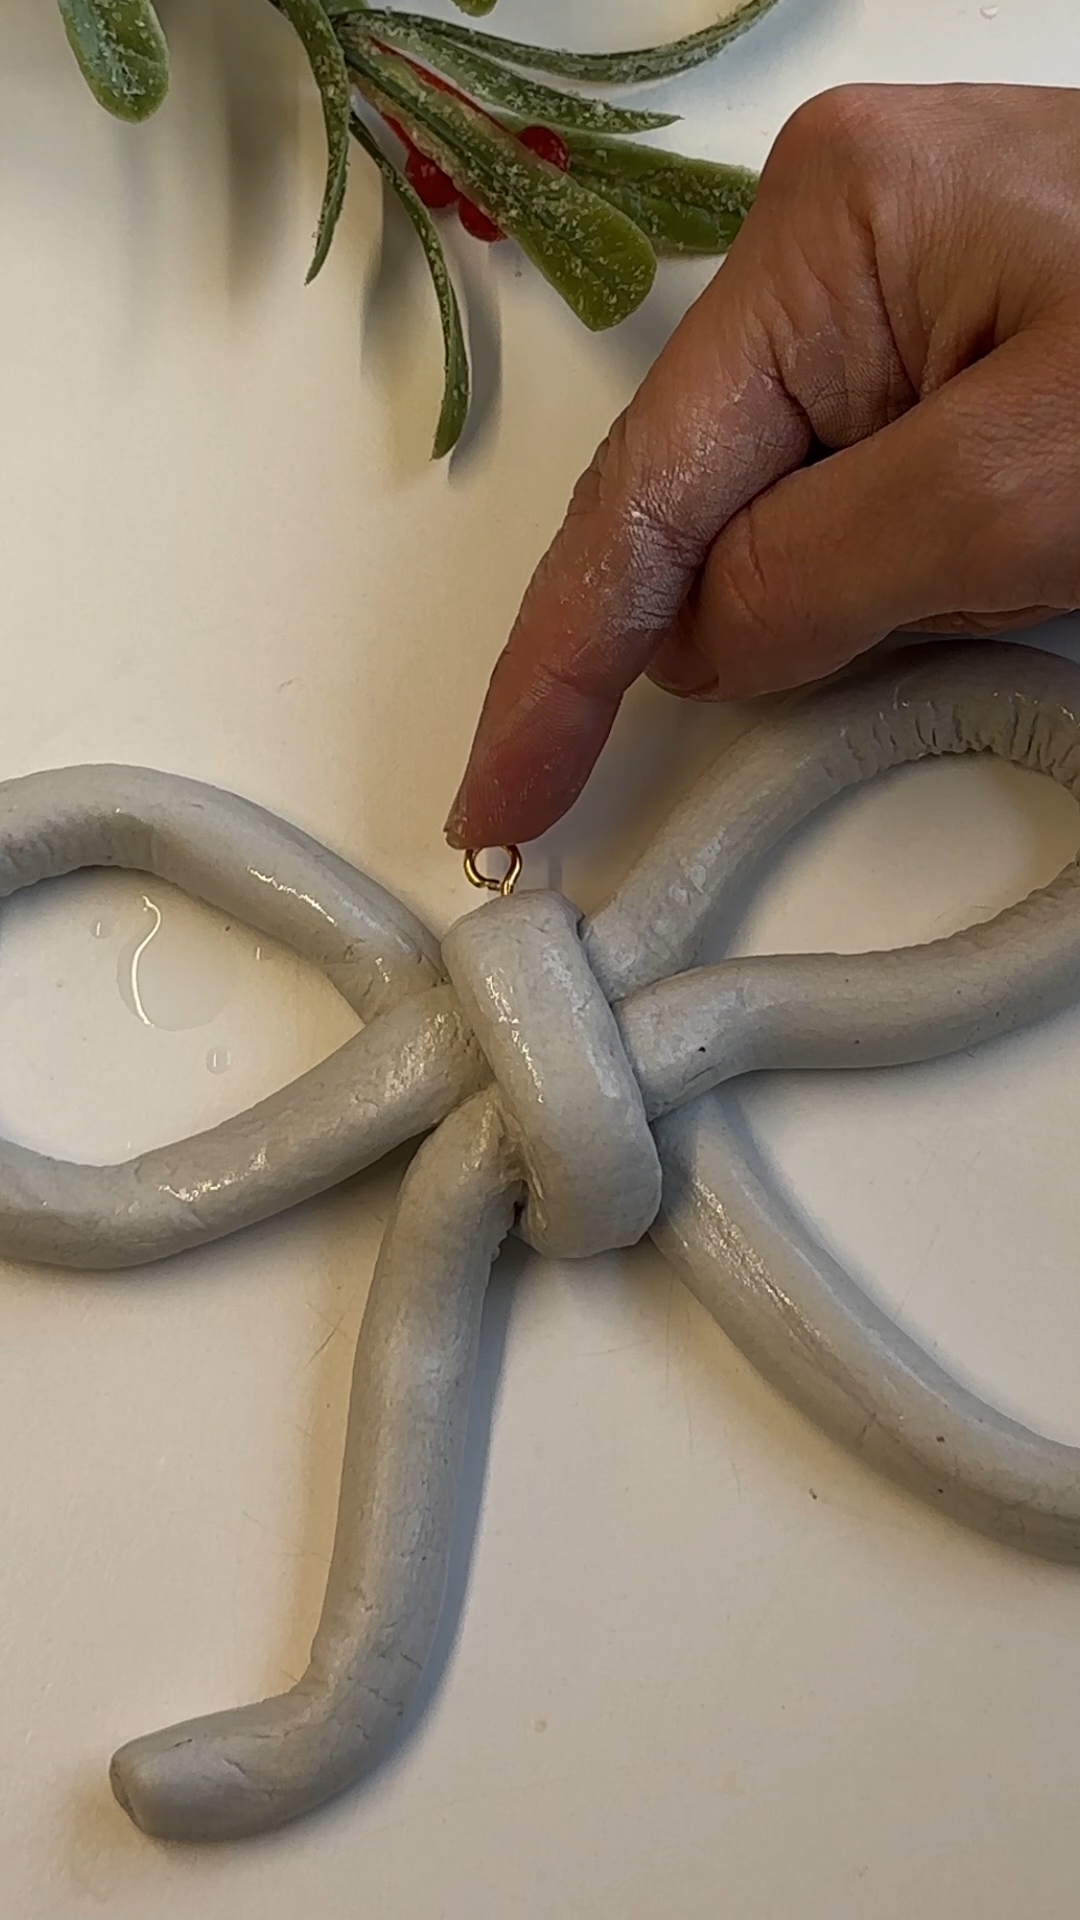
step 4: add the hanging eyelet and dry
screw a 5–8mm eyelet into the top centre of the bow while the clay is still soft.
make sure it’s secure and sitting straight so it hangs nicely later.
leave the bow on a flat surface and let it dry fully for 24 hours.
step 5: paint and decorate your bow
start with a light pink base coat using acrylic paint.
once dry, add darker pink stripes using a square brush to create that bold, graphic look.
this is where it really comes to life.
tip: let each layer dry fully before adding detail to keep edges crisp.

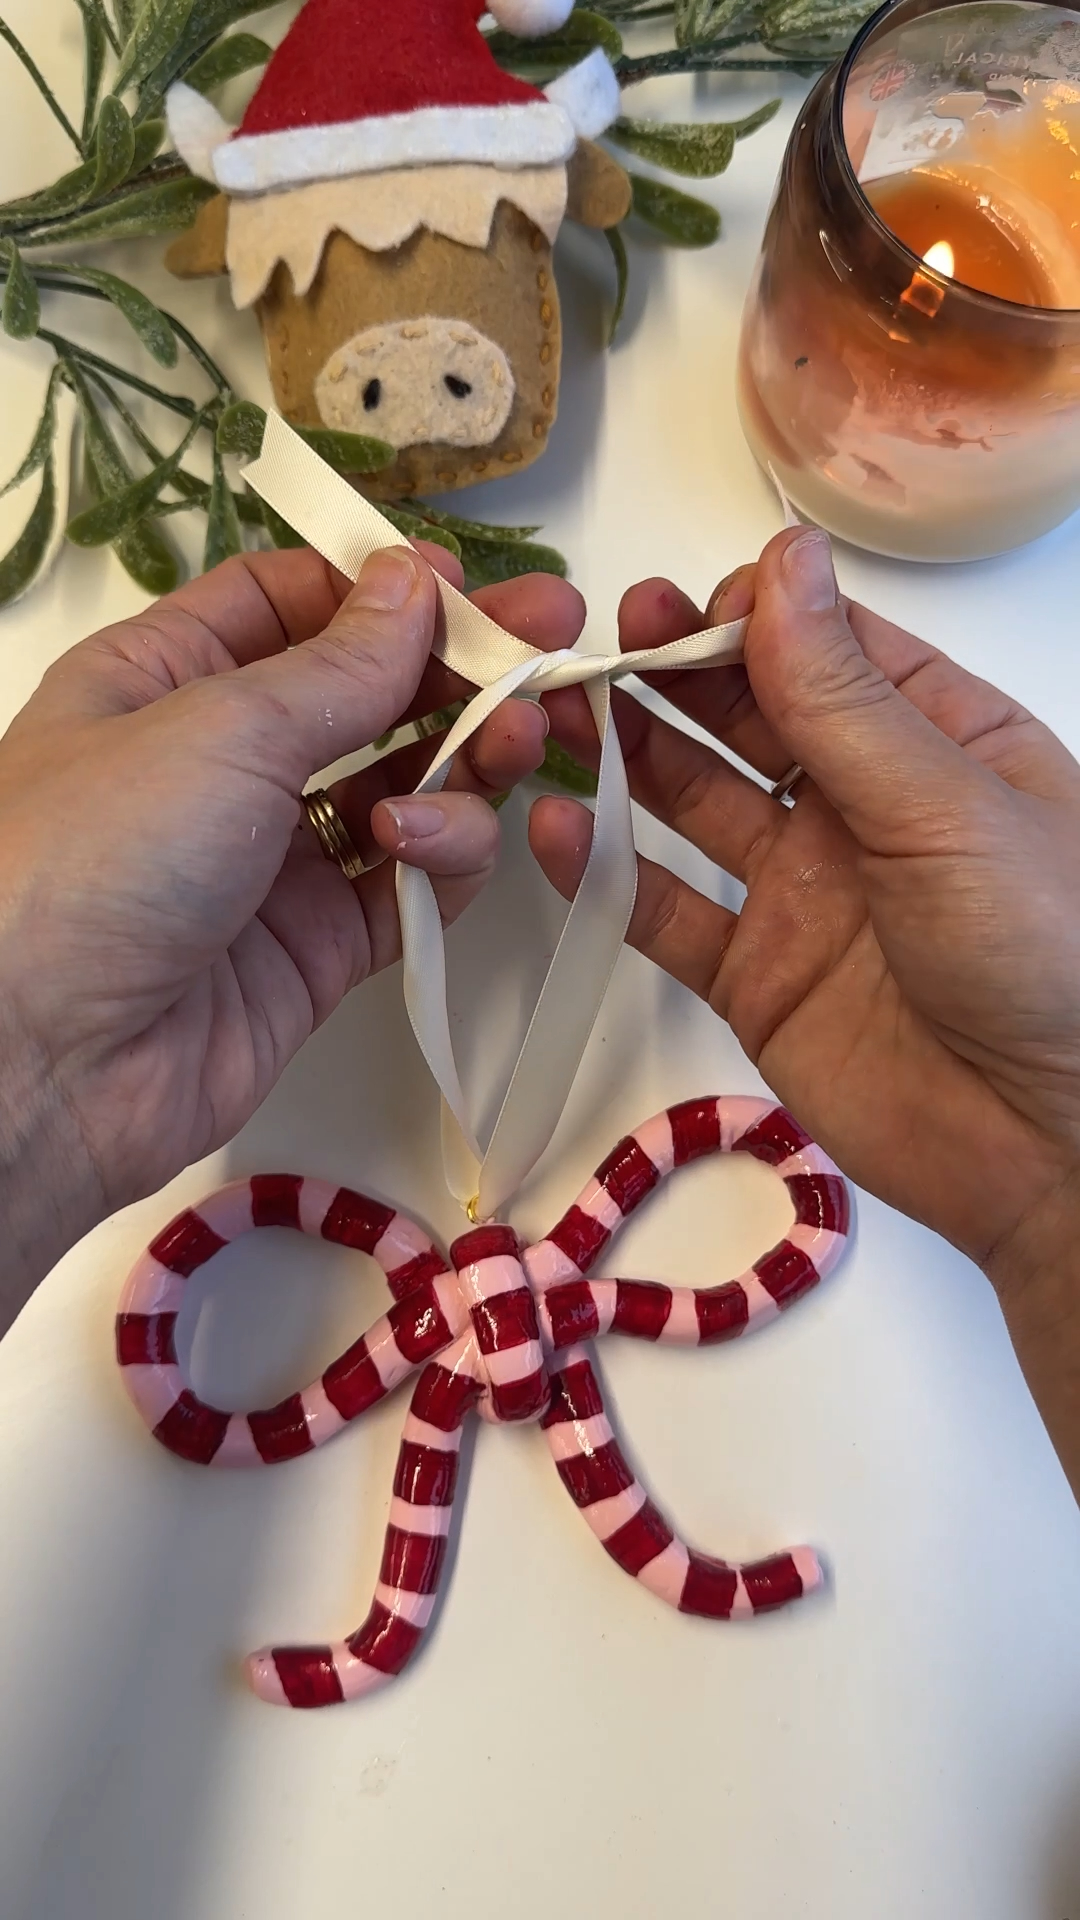
step 6: seal and finish with ribbon
apply a layer of Soft UV Curing Resin to seal the paint and give it a glossy finish.
once cured, thread your ribbon or string through the eyelet.
your bow is now ready to hang.
tip: apply resin in thin layers for a smoother, glass-like finish.

the verdict 👩⚖️
what stood out most here was how much the final look depends on those tiny shape decisions. even slightly wider loops or longer tails completely change the feel of the bow.
the folding stage is definitely the trickiest moment, but once it clicks, the rest flows really nicely. and the resin finish makes a big difference. it gives the surface that slightly glossy, almost ceramic feel, even though it’s air dry clay.
it’s simple, but it doesn’t feel basic. and that’s always a win.
for this project, it took around 24 hours. drying time depends on thickness, but leaving it a full day helps prevent bending or soft spots.
this usually happens if the clay is too dry. adding a small amount of water while smoothing helps keep it workable and prevents cracks forming.
yes, especially if you’ve painted it. using something like UV resin protects the surface and gives it a more durable, finished look.
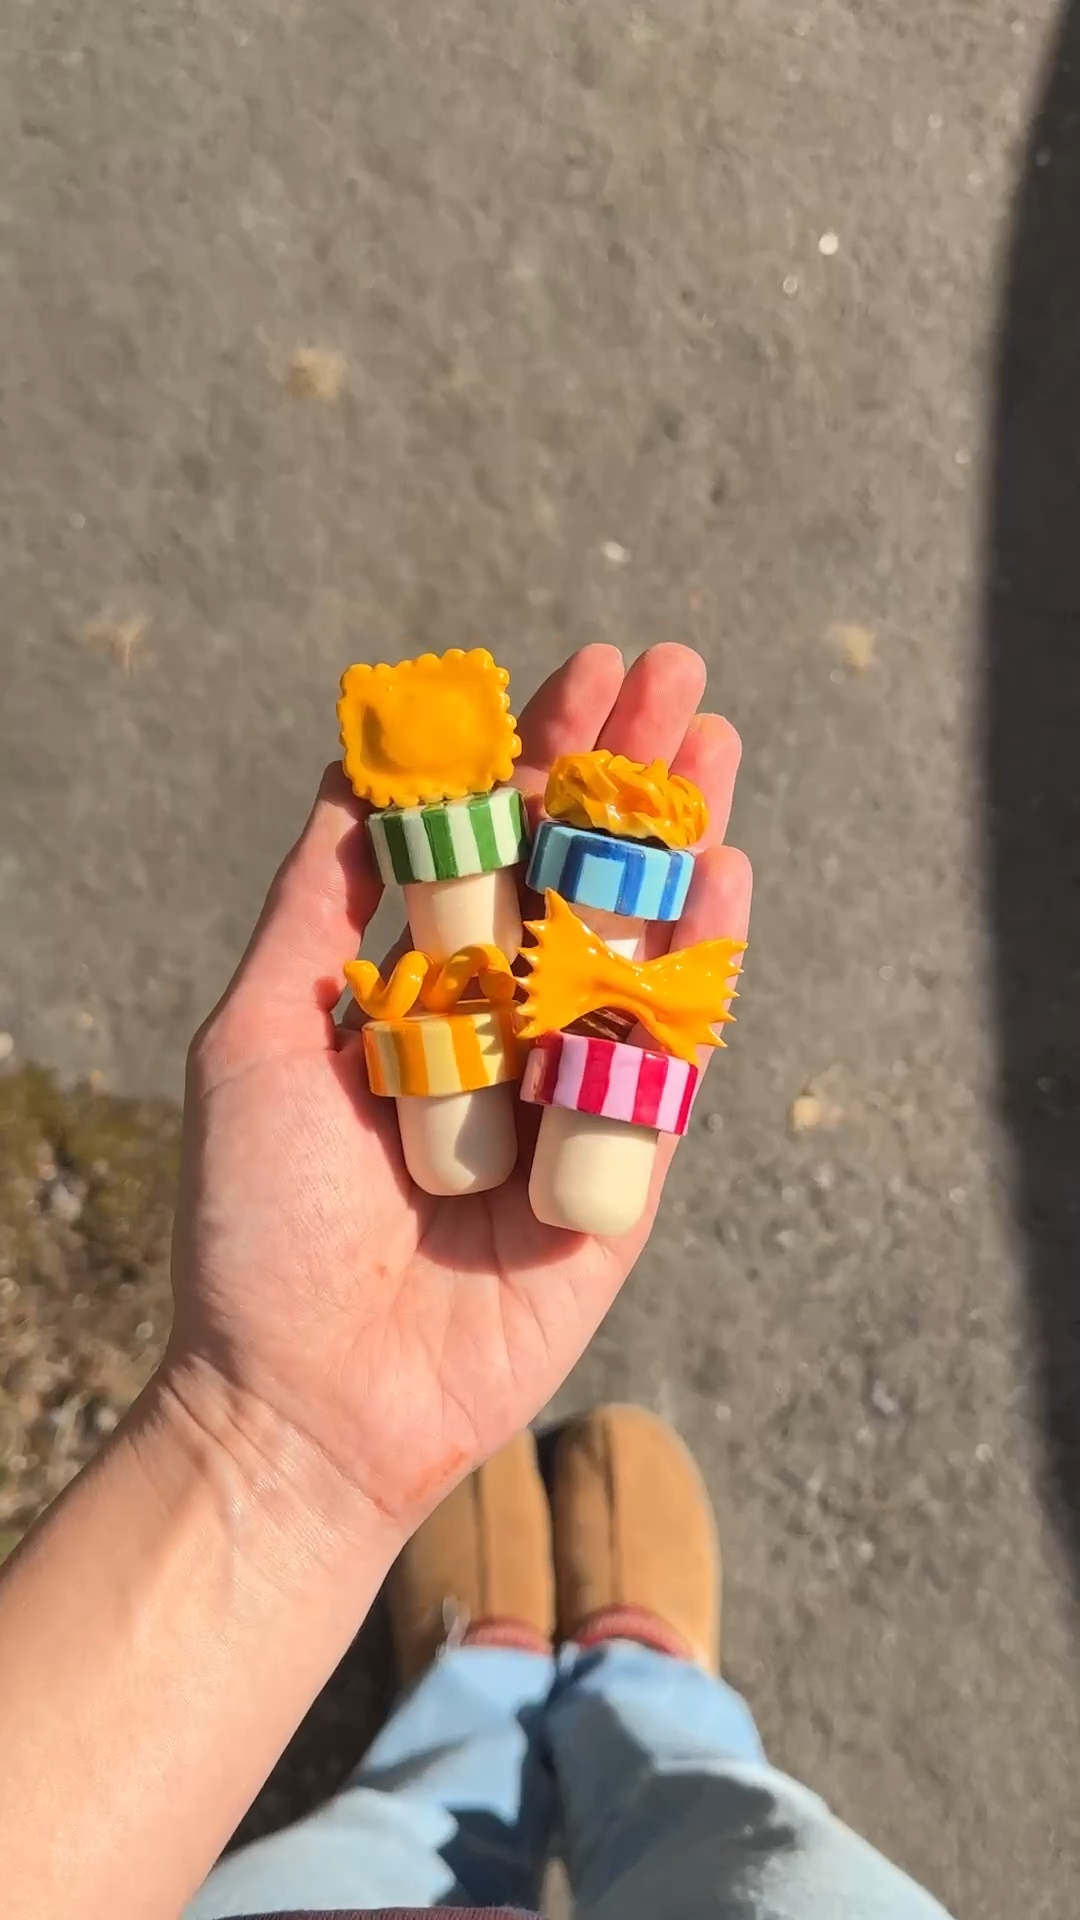
definitely. you can scale them up or down depending on how much clay you have. smaller ones work really well as gift toppers.
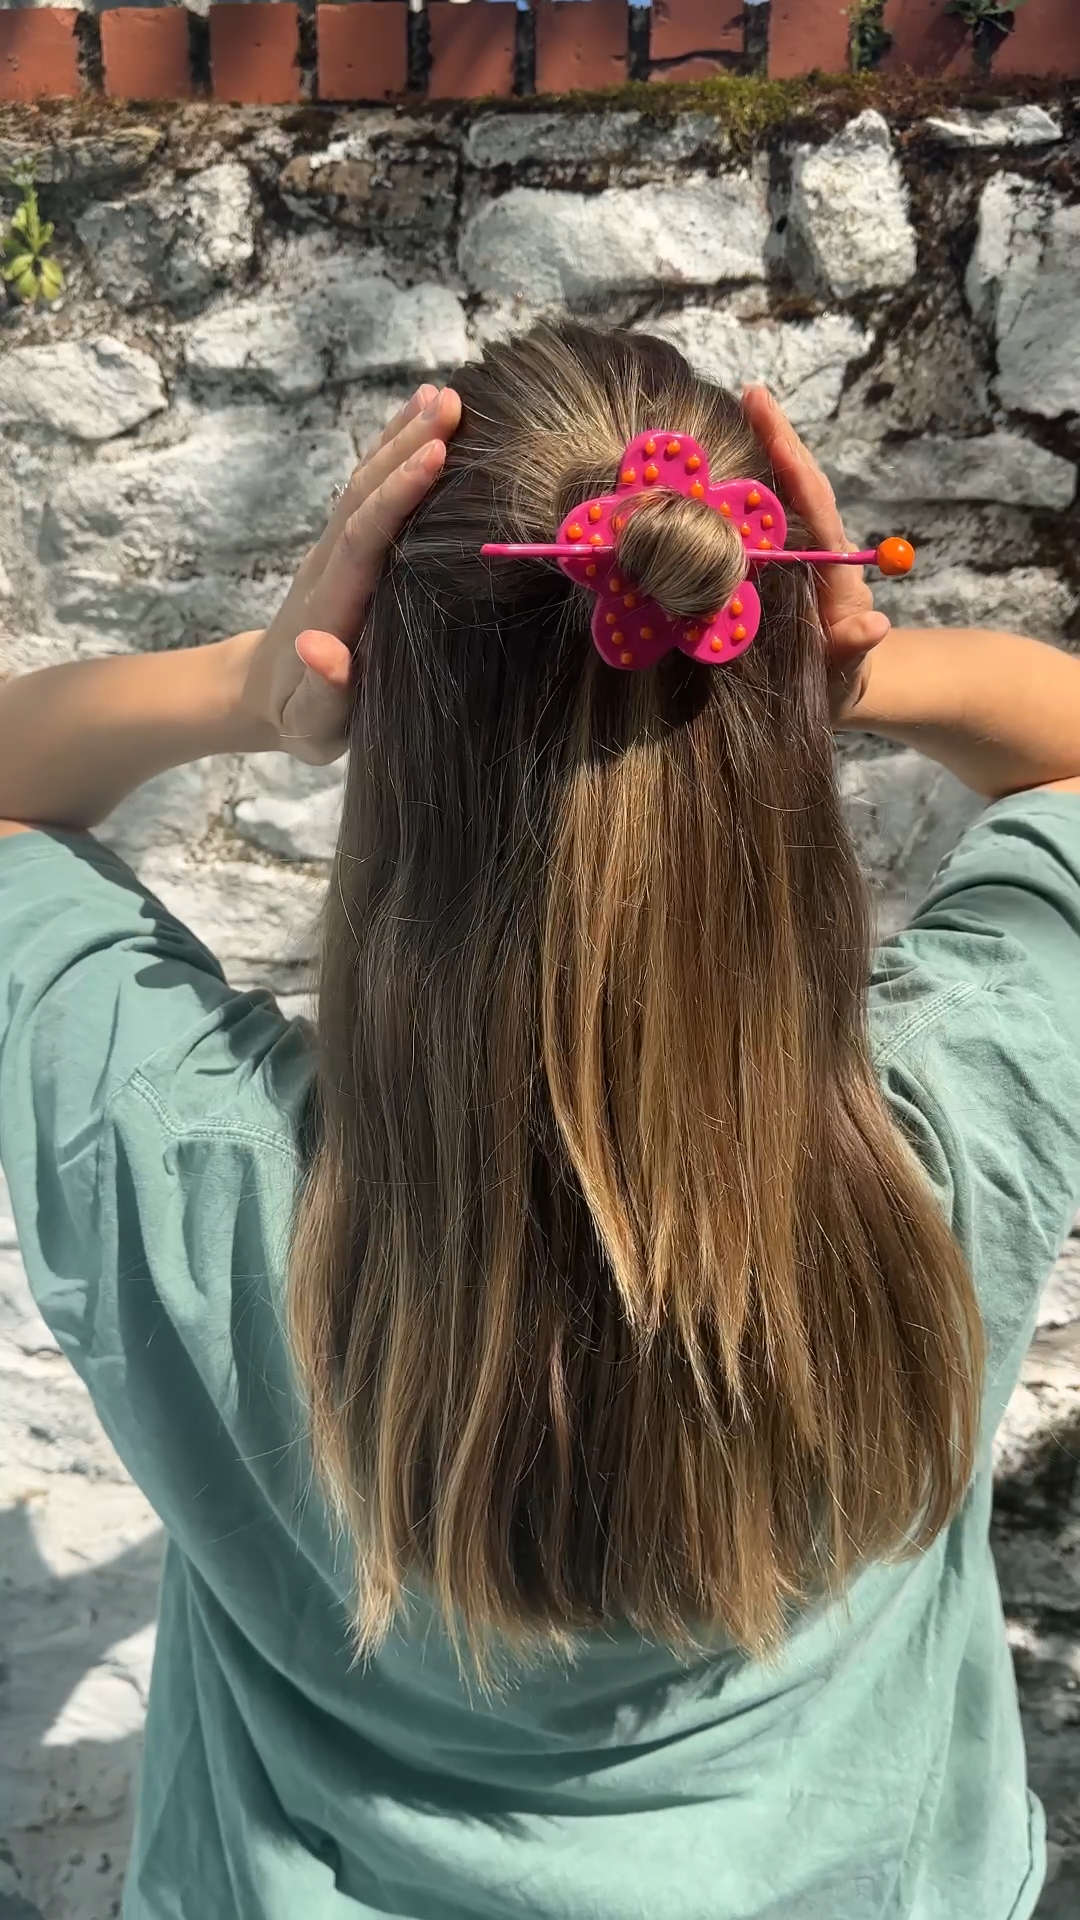
they’re perfect for christmas trees, wreaths, gifts, or even drawer handles for a decorative touch.
• rolling the clay too thin so it can’t hold shape
• skipping smoothing before drying
• inserting the eyelet after the clay has hardened
more like this
looking for more DIY inspiration? Take a look at some other projects I've done similar to this one.
join my monthly craft club
a monthly drop of new bits, behind-the-scenes chaos, and ideas to brighten your brain. pop your email in and i’ll send you something nice