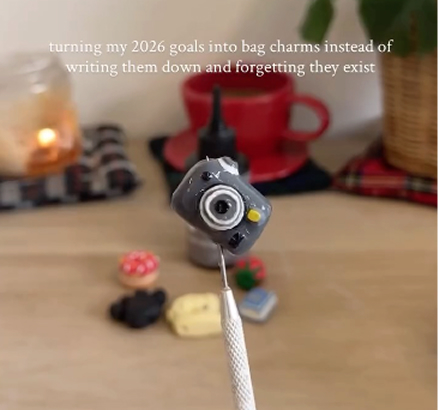
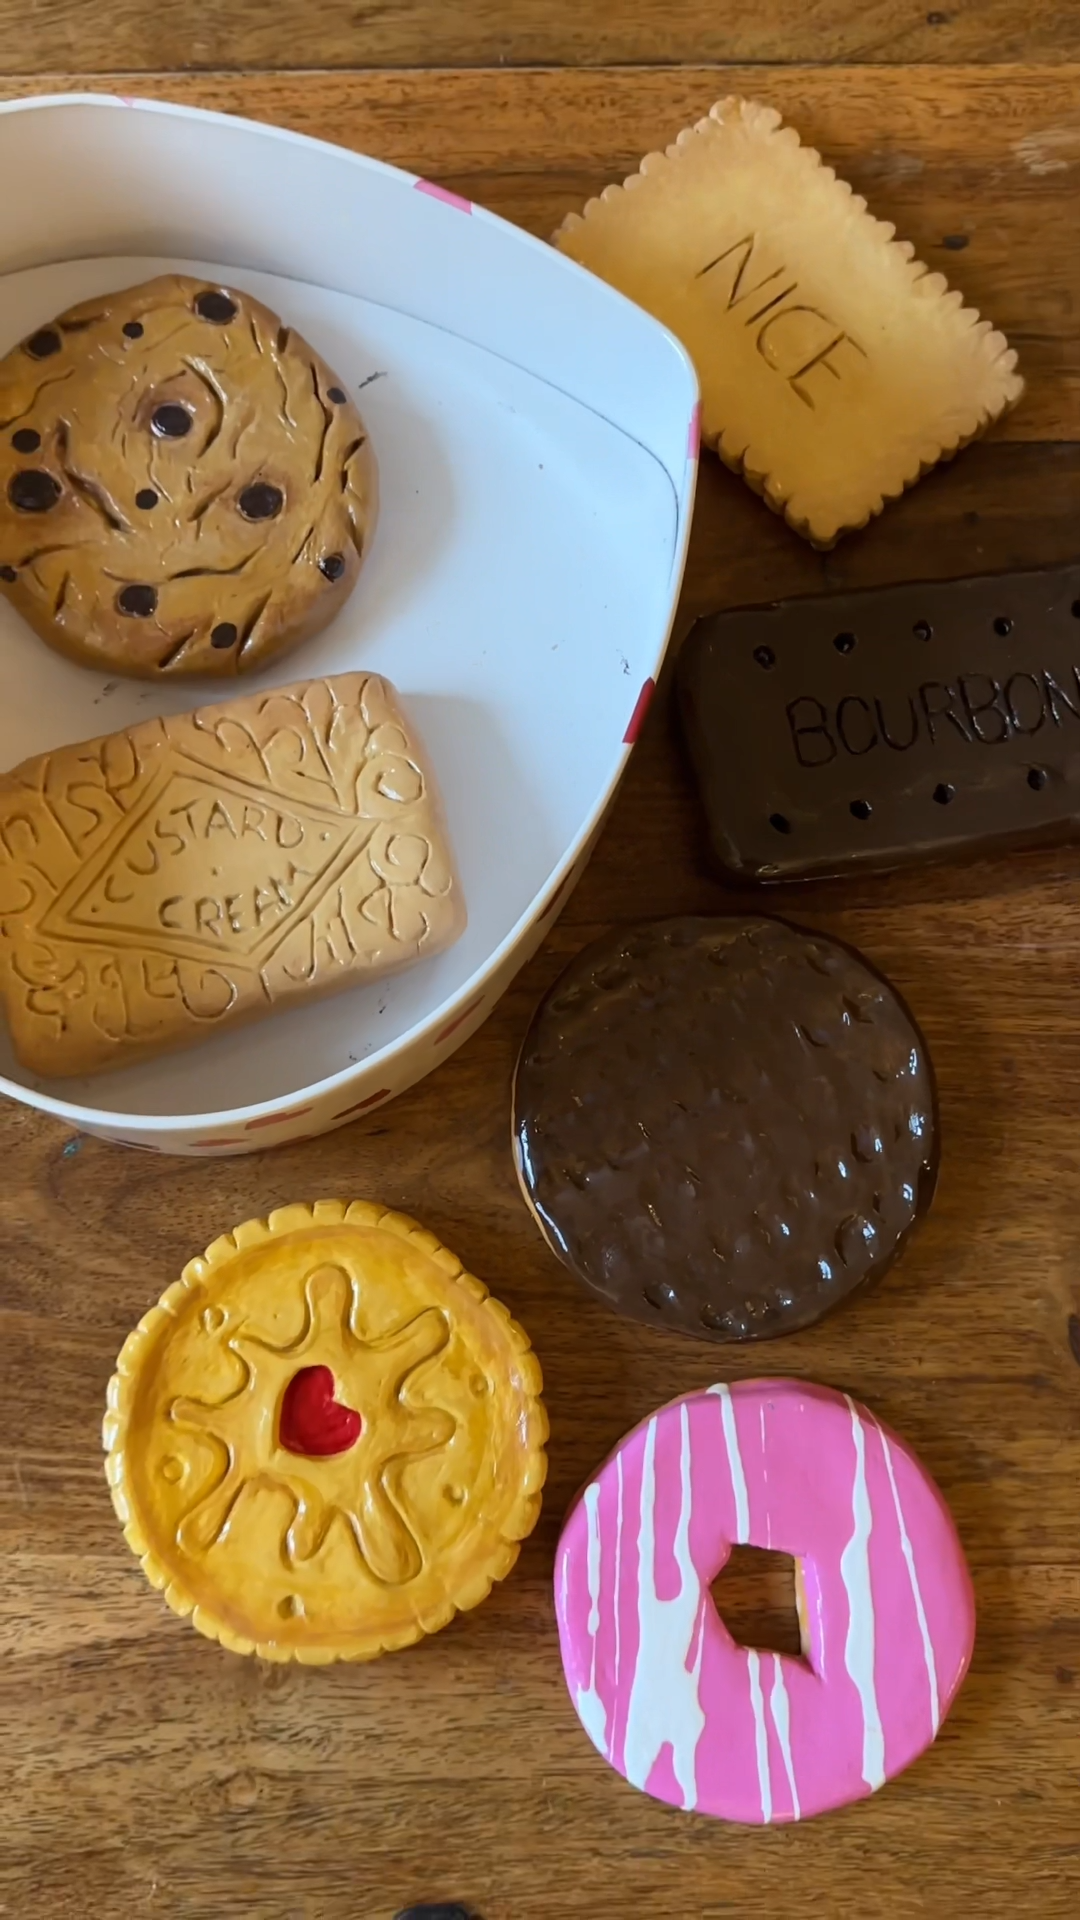
diy chocolate digestive biscuit coasters 🍫🫖
an easy air dry clay tutorial to make chocolate digestive biscuit coasters
🍪 delightfully nostalgic - a tribute to a proper tea-time classic
🎨 beginner-friendly - simple materials and very forgiving
🎁 giftable - perfect for tea lovers or handmade presents
🫖 cosy home decor - adds a playful touch to your coffee table
Learn how to make diy chocolate digestive biscuit coasters using air dry clay and simple craft supplies. this beginner-friendly project is playful, nostalgic, and surprisingly convincing. The finished coaster looks just like the real biscuit while protecting your table!
- air dry clay
- rolling pin
- craft knife or needle tool
- acrylic paints (light brown, dark brown, chocolate tones)
- soft paintbrushes
- acrylic gloss or varnish
- a real chocolate digestive (for “reference”... and snacking 😋)
- a little water for smoothing
tip: keeping a real biscuit nearby while you sculpt makes getting the proportions and details much easier.
Welcome to my online studio of arts, crafts, and everything in between! I post regular DIY crafts here as well as on my social channels to help give everyone of every skill-level the opportunity to create beautiful, handmade gifts and decorations. If you want regular projects delivered to your inbox, use the form below, or follow me on socials!
the idea 💭
when i started the biscuit coaster series, i didn’t expect the chocolate digestive to cause quite such chaos… but it really did 🥹 the response was wild. something about it being part sculpture, part snack tribute just makes people happy.
and i’m totally here for it. I think this might be one of my all-time favourites 🫶
there’s something so cosy about a chocolate digestive. it deserves to hold your tea.
these air-dry clay coasters are simple, beginner-friendly, and really fun to make. for me, it’s all about the chocolate ripple effect. those little fingers smudges really turn these from air dry clay discs into chocolate digestives - magic! they’re a little bit nostalgic and a little bit ridiculous. i love them so much!!!
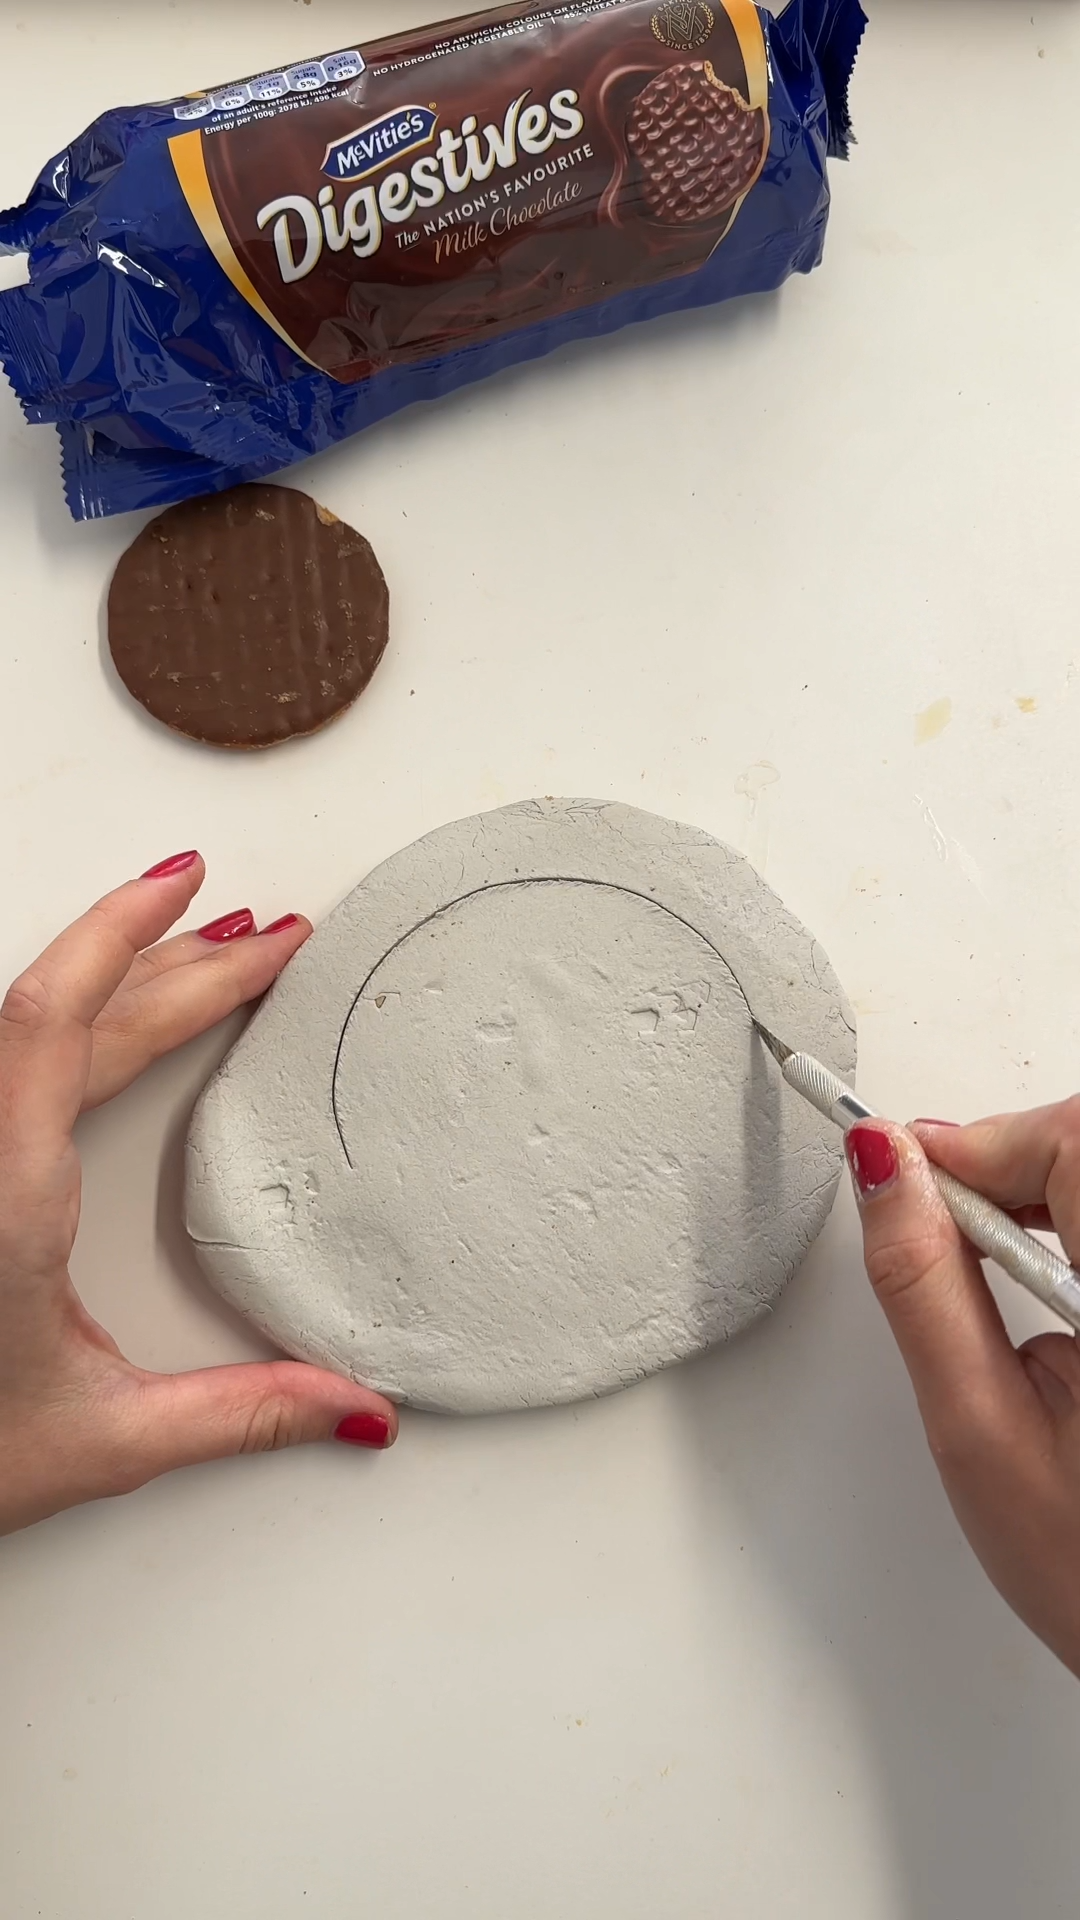
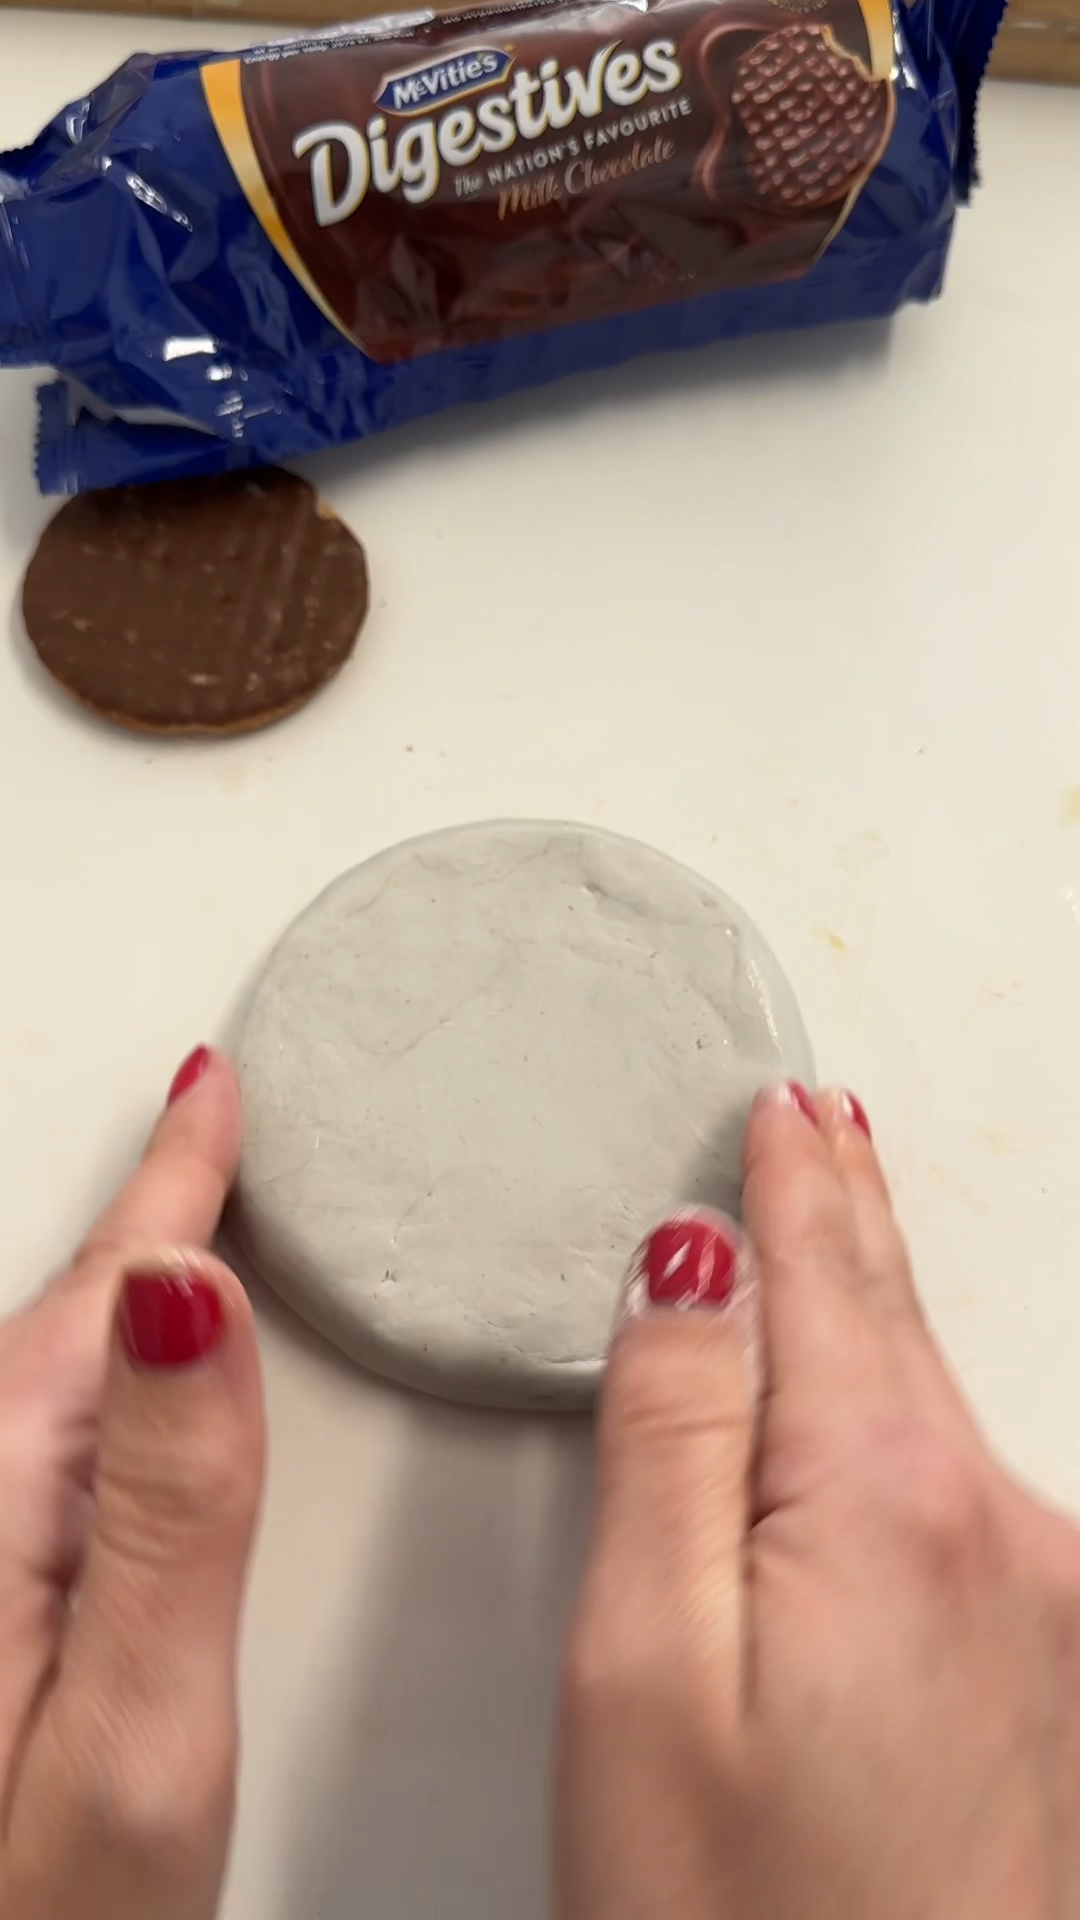
step 1: roll and cut the biscuit shape 🌀
start by rolling out your air dry clay into a flat slab. you’re aiming for roughly 5mm thickness so the coaster feels sturdy without becoming bulky.
place a real chocolate digestive on top and gently trace around it with a tool or knife. carefully cut out the circle.
smooth the edges with a little water and your fingers, rounding the sides slightly so it feels like a proper biscuit edge.
tip: slightly rounding the top and bottom edges makes the finished piece look much more biscuit-like.
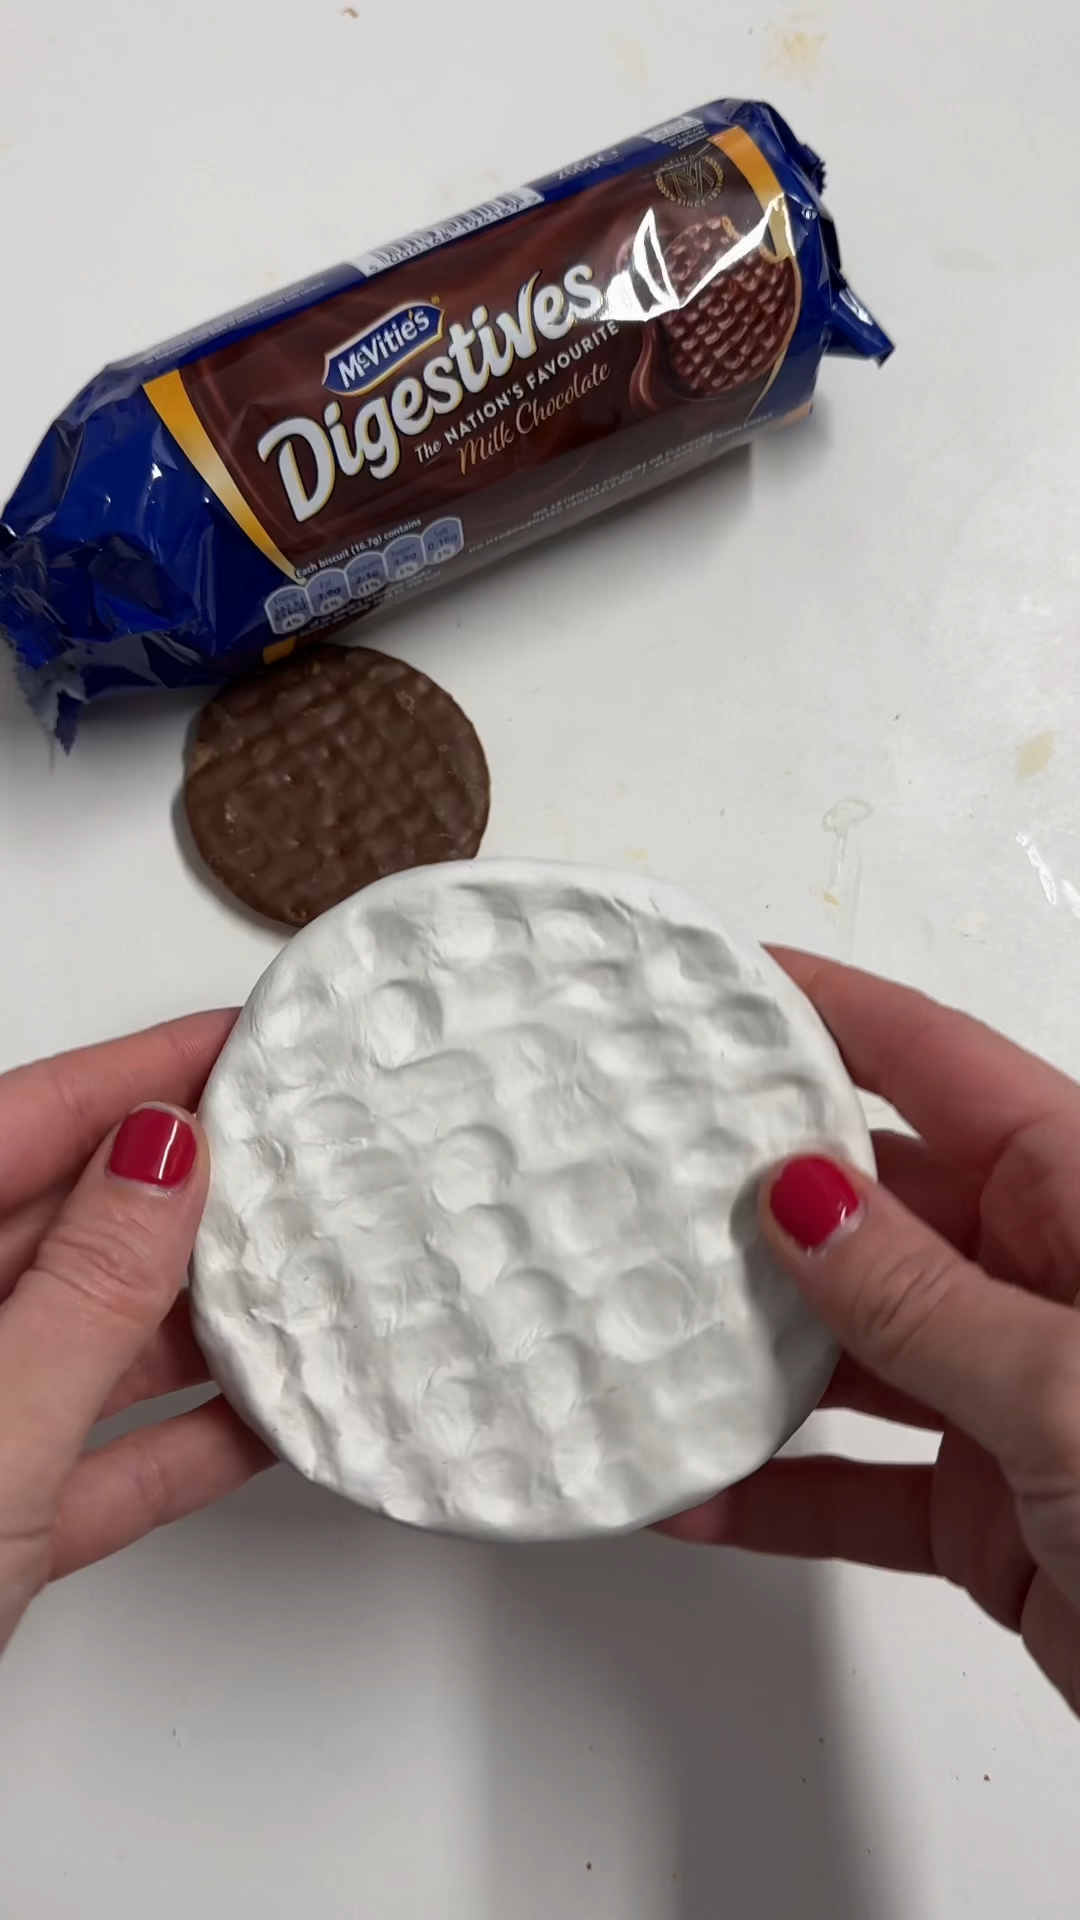
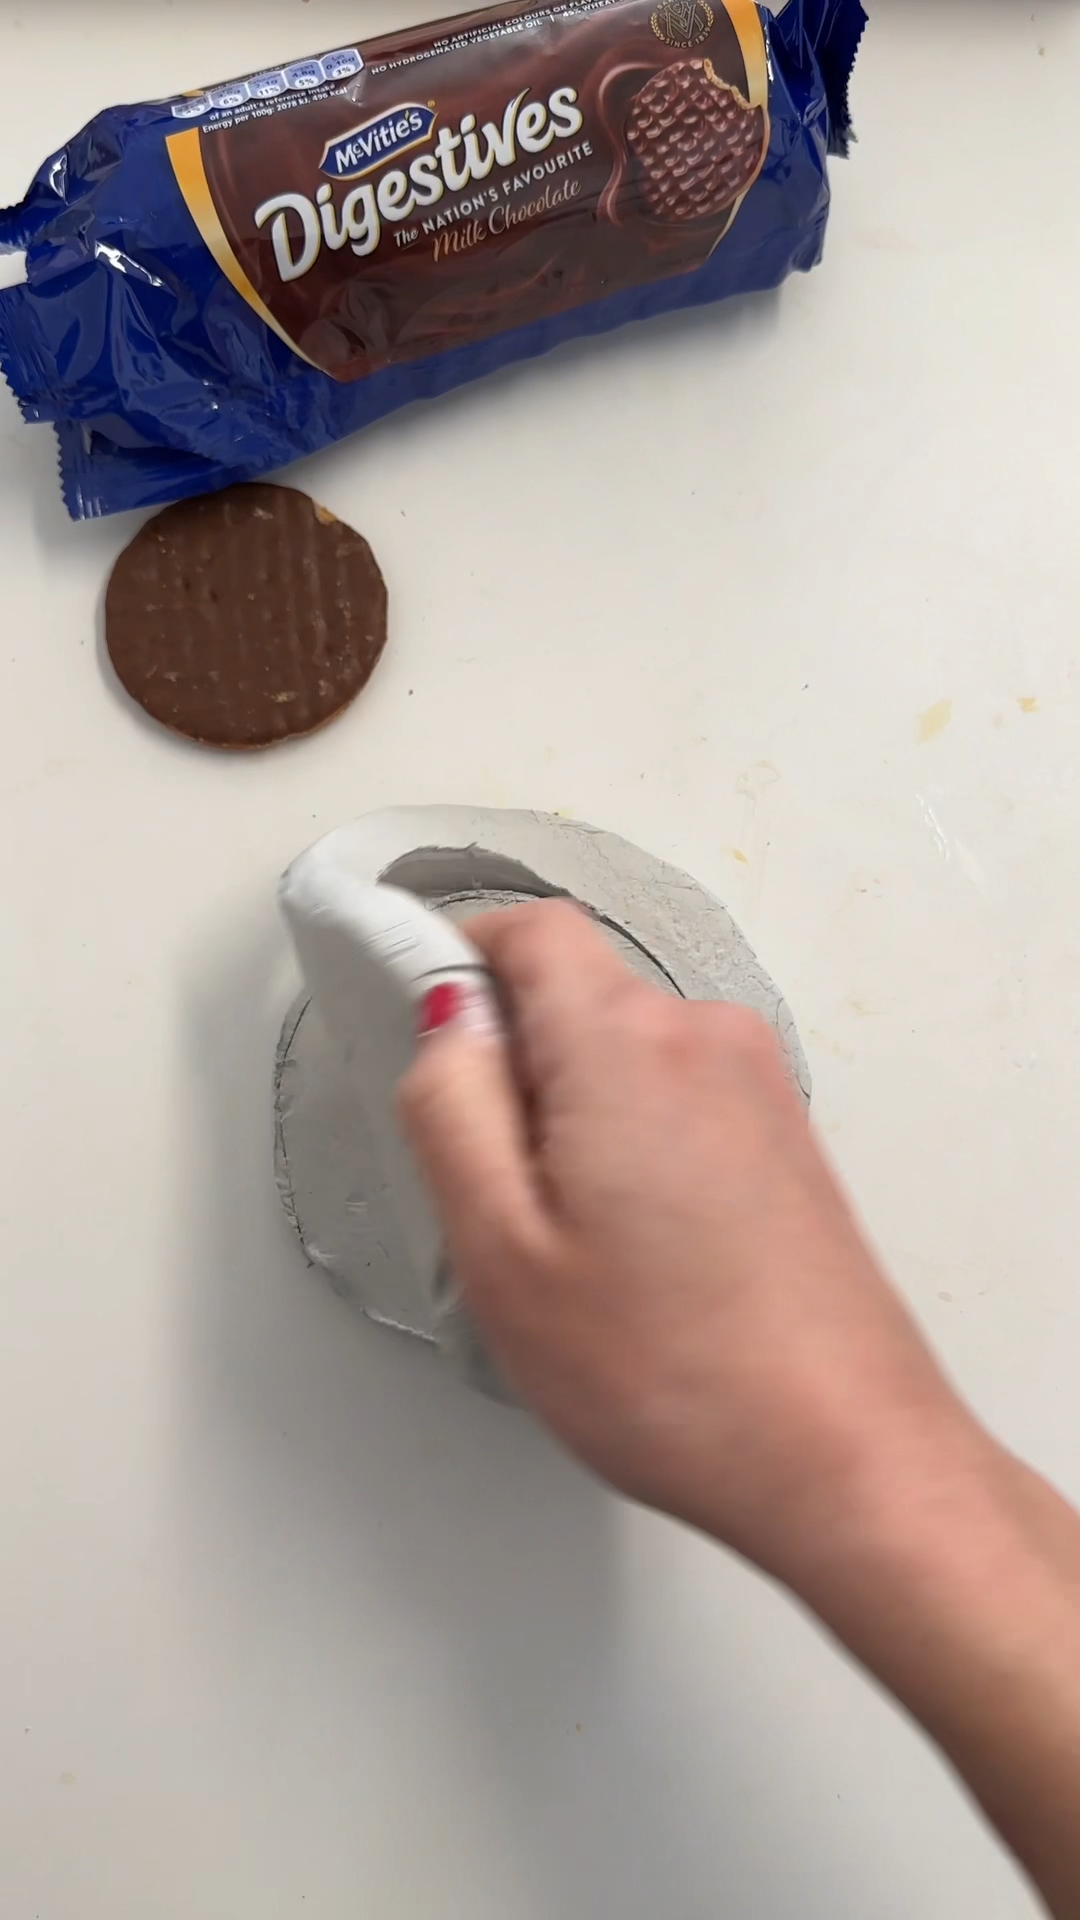
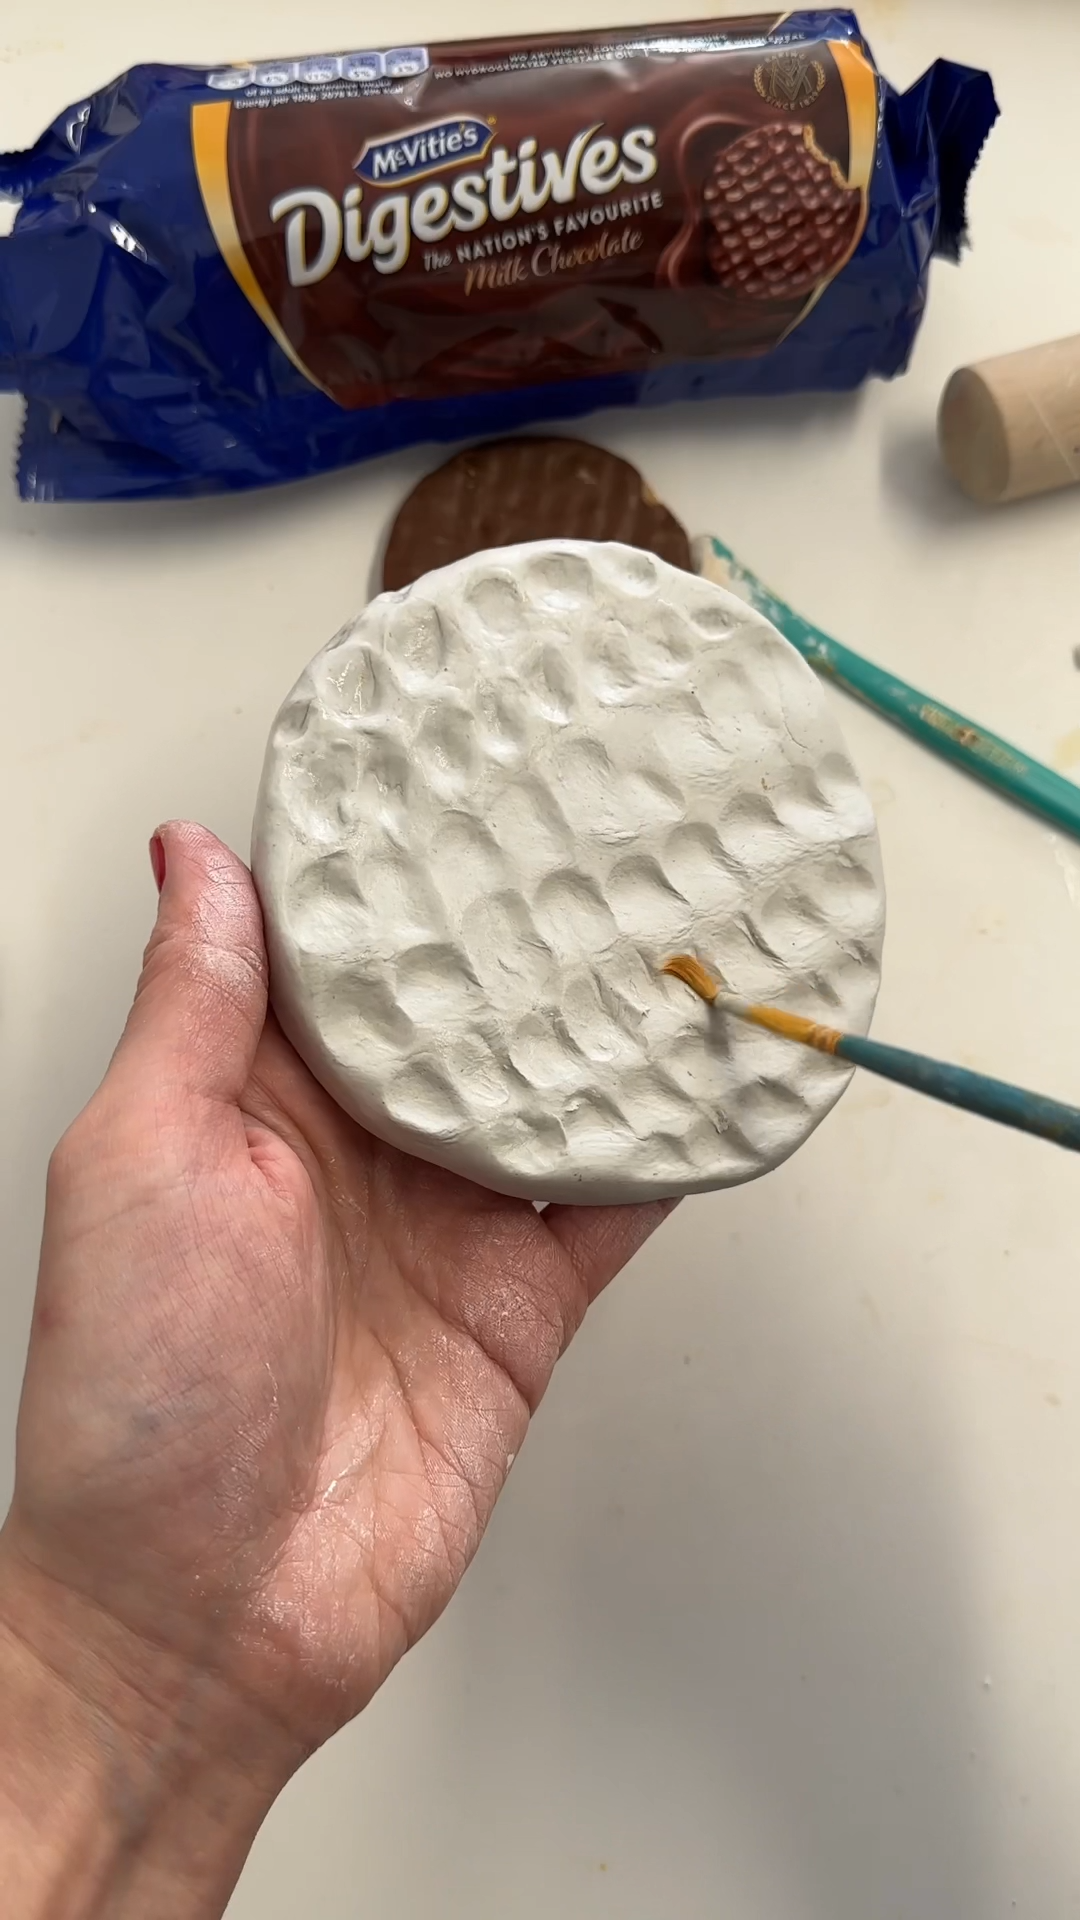
step 2: press the chocolate ripple texture 🍫
now comes the satisfying bit.
using your fingertips, gently press small dips across the top surface of the clay. don’t aim for perfect symmetry. Uneven little ripples are exactly what you want.
once you’re happy with the pattern, lightly brush across the surface with a soft paintbrush to soften the texture.

step 3: leave the clay to dry fully
at this stage the coaster should already resemble a biscuit.
leave the clay somewhere flat and dry it overnight or until completely firm.
resist the urge to paint too early. fully dry clay will hold paint much better and prevent warping.
Tip: Turn the coaster once during drying so both sides dry evenly.
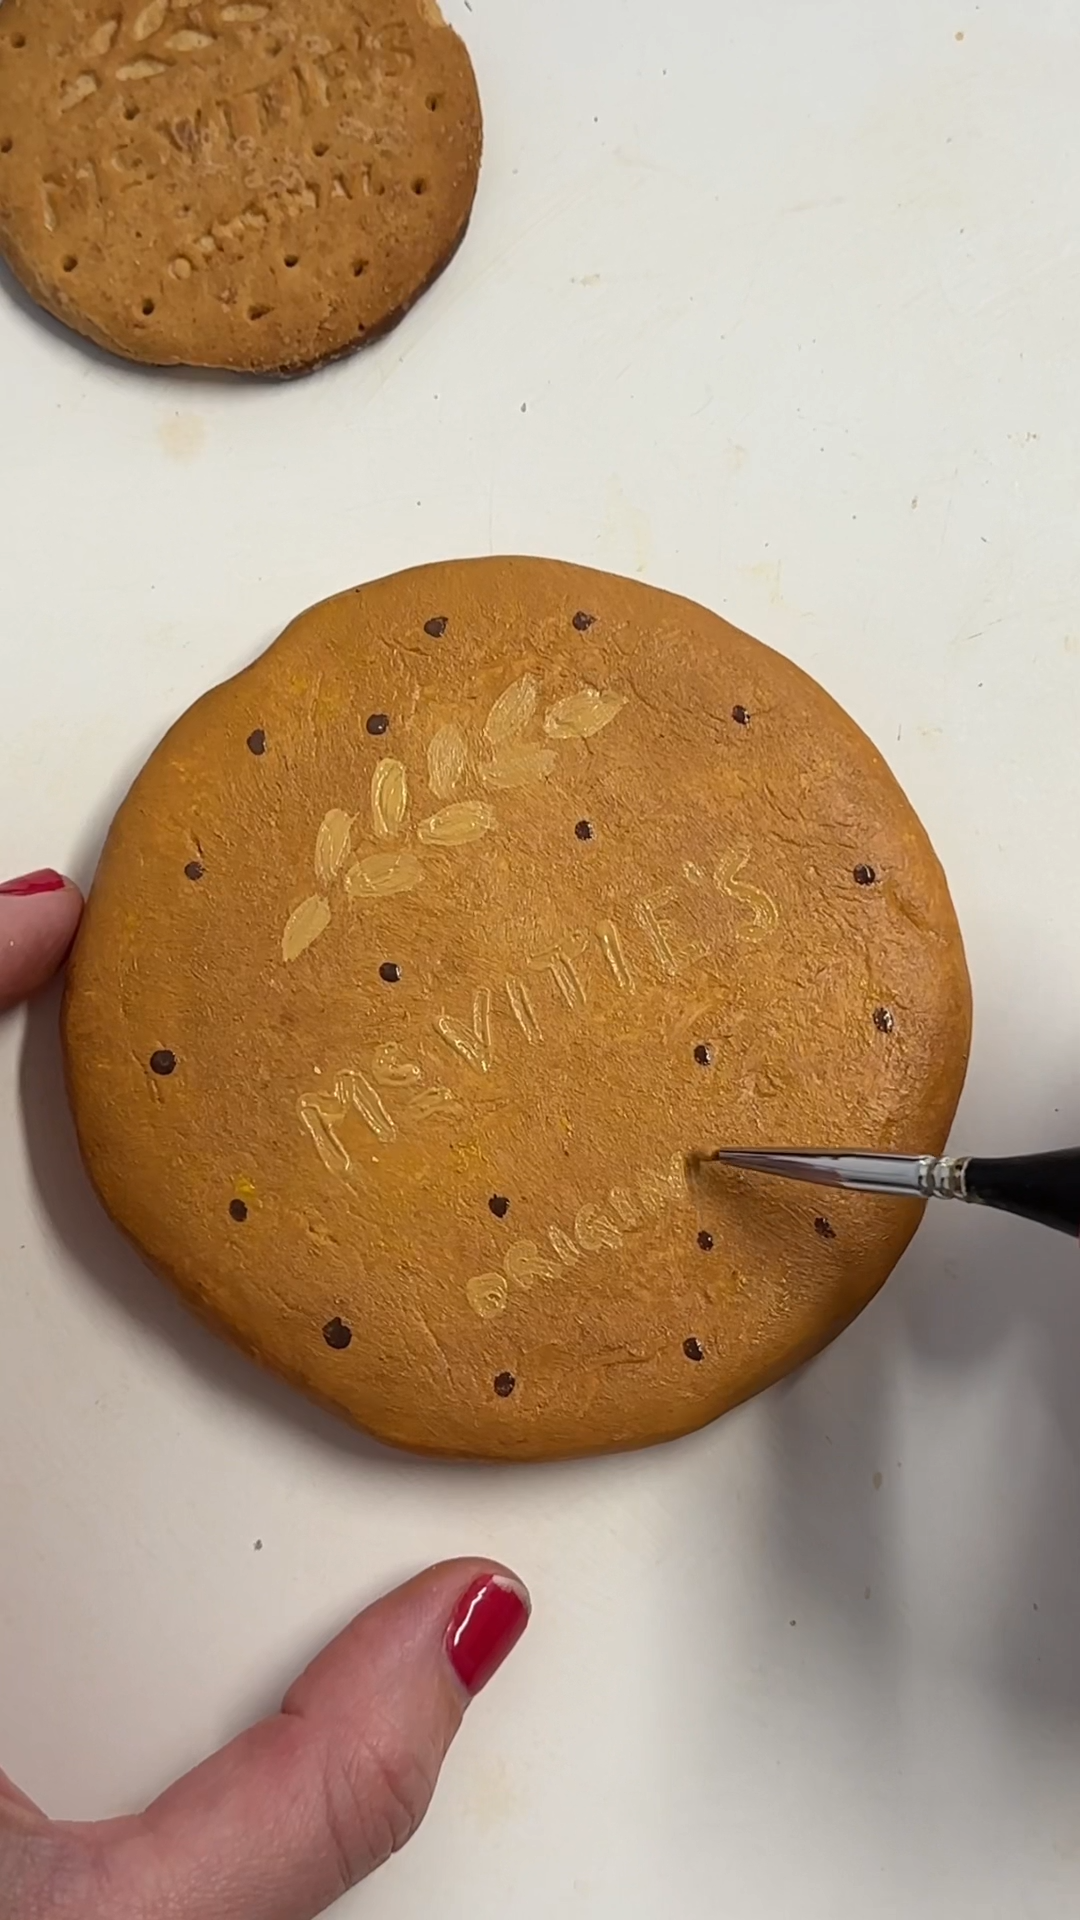
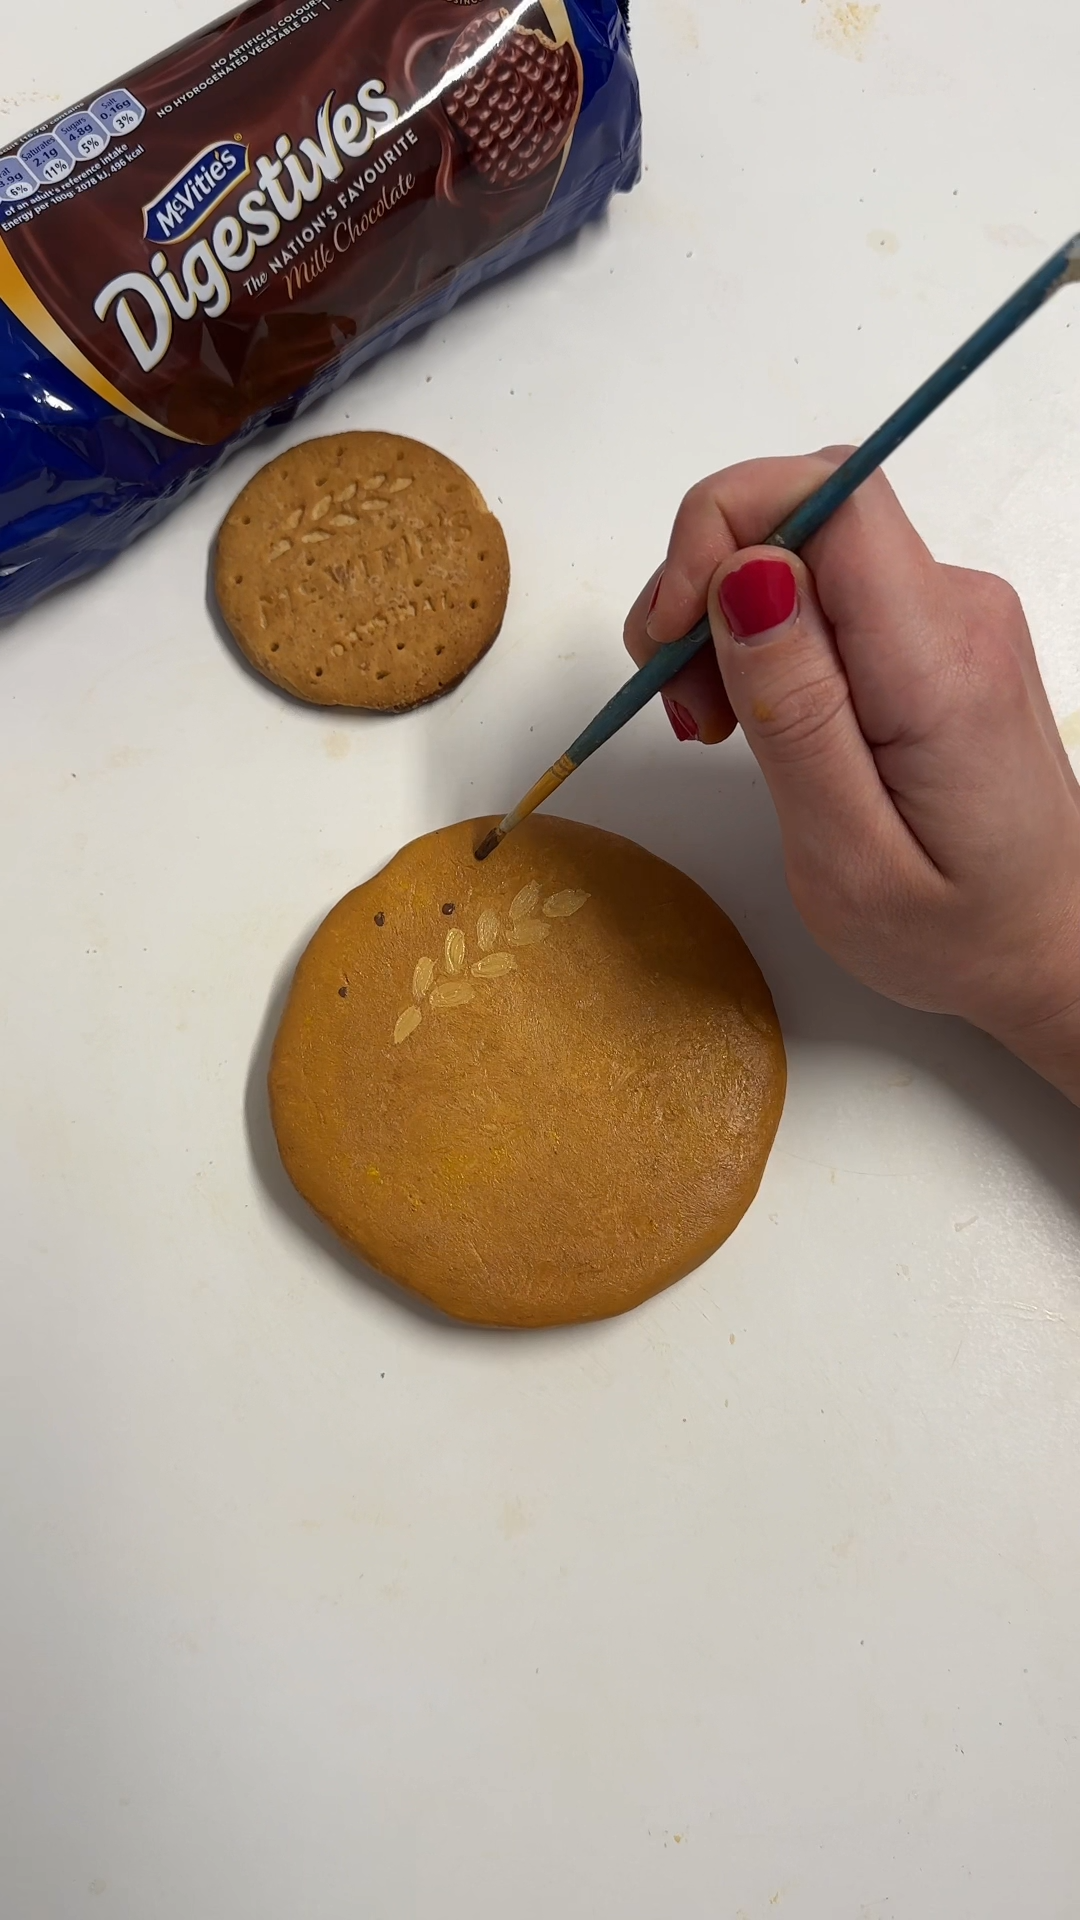
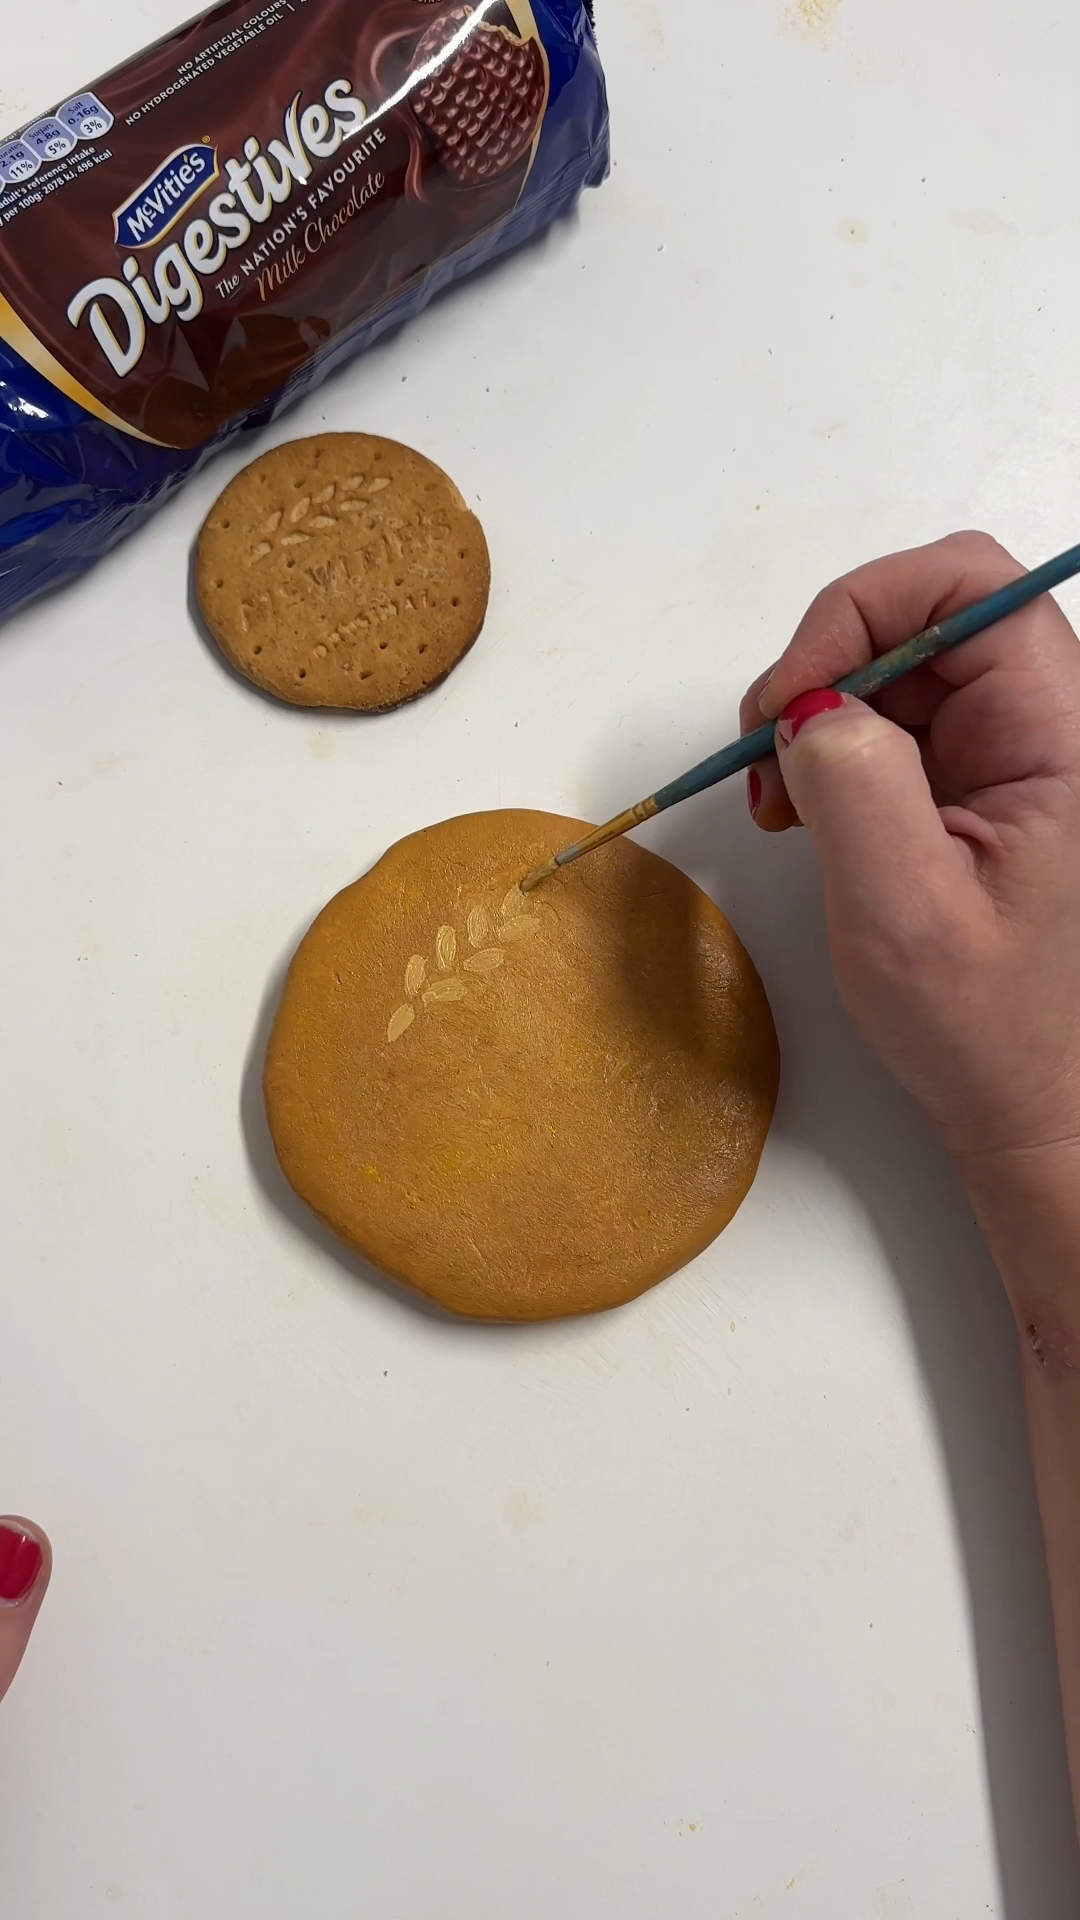
step 4: paint the biscuit base ✨
start with the underside of the coaster.
paint it a warm golden-biscuit brown using acrylic paint. once the base coat is dry, add small dots or tiny marks with a fine brush to mimic the baked biscuit texture.
this small detail adds a lot of realism.
tip: mixing two brown tones together can help create a more natural biscuit colour.
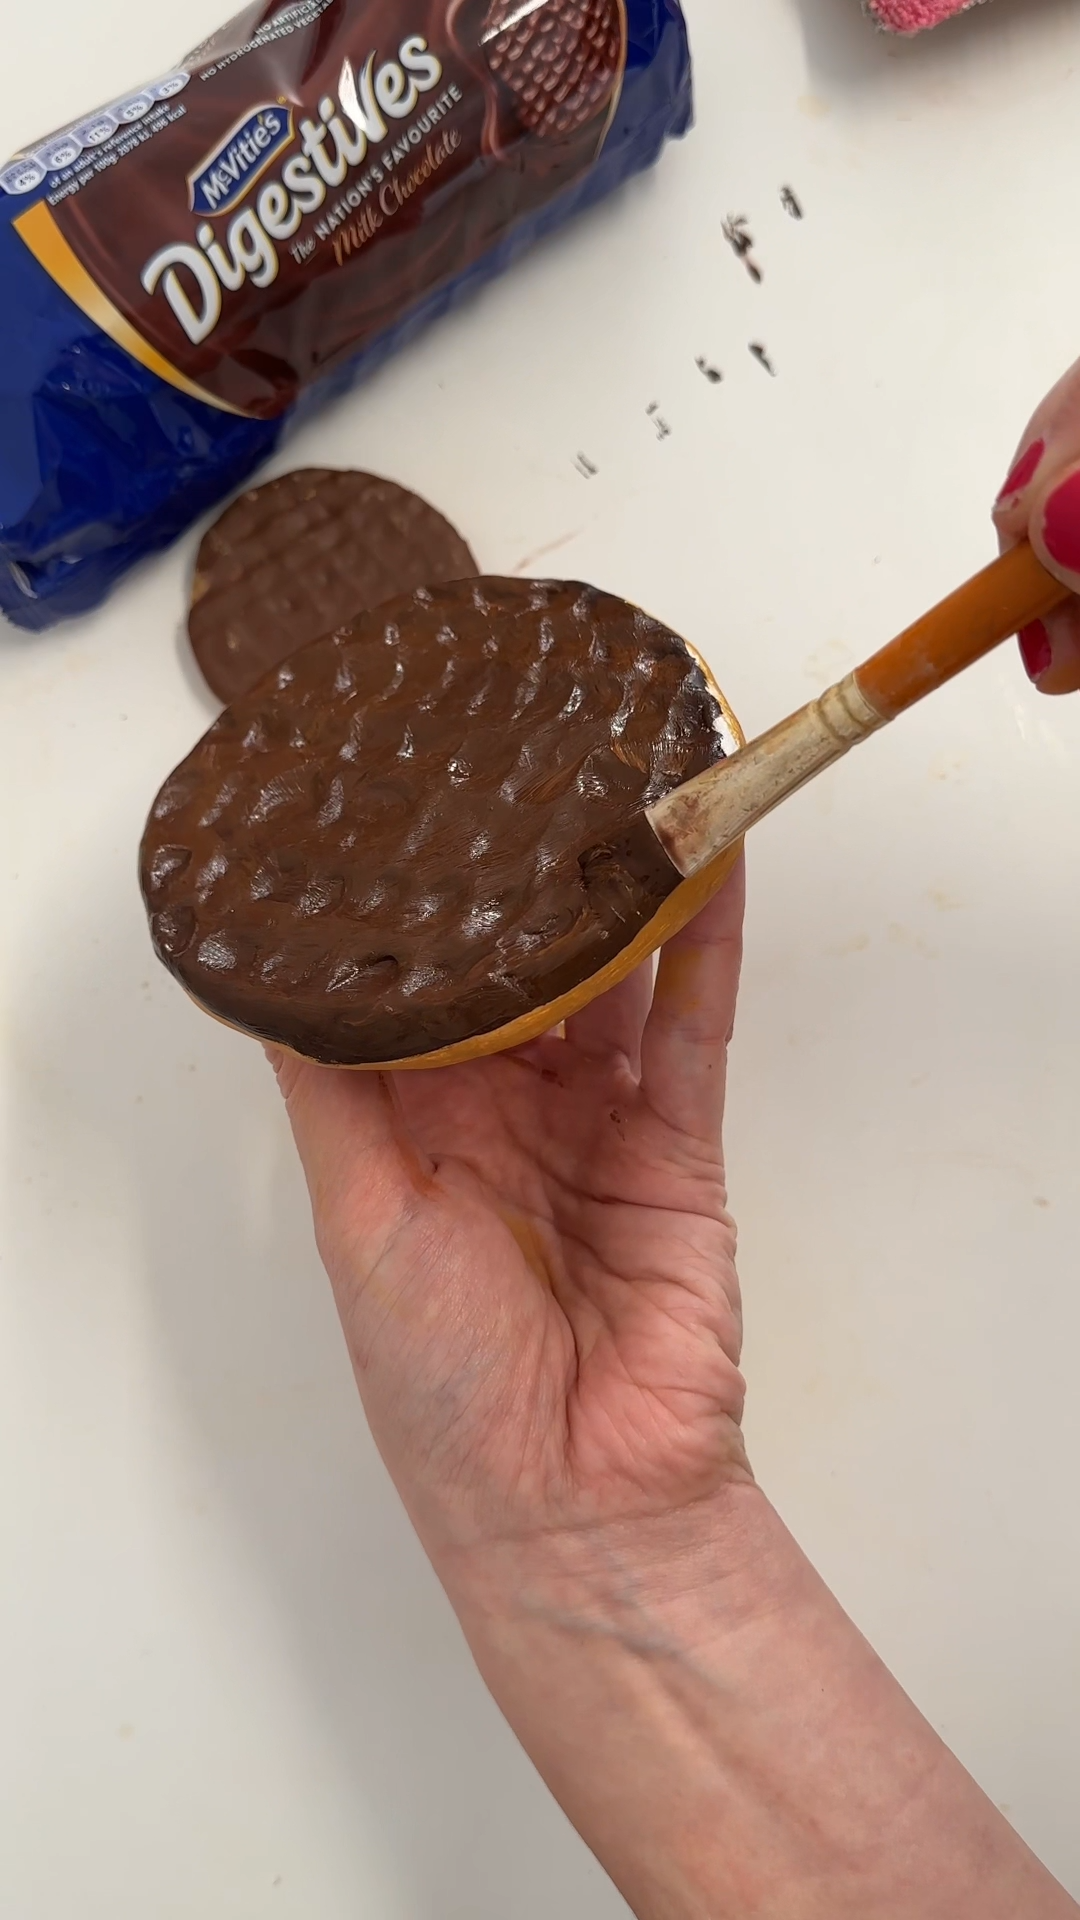
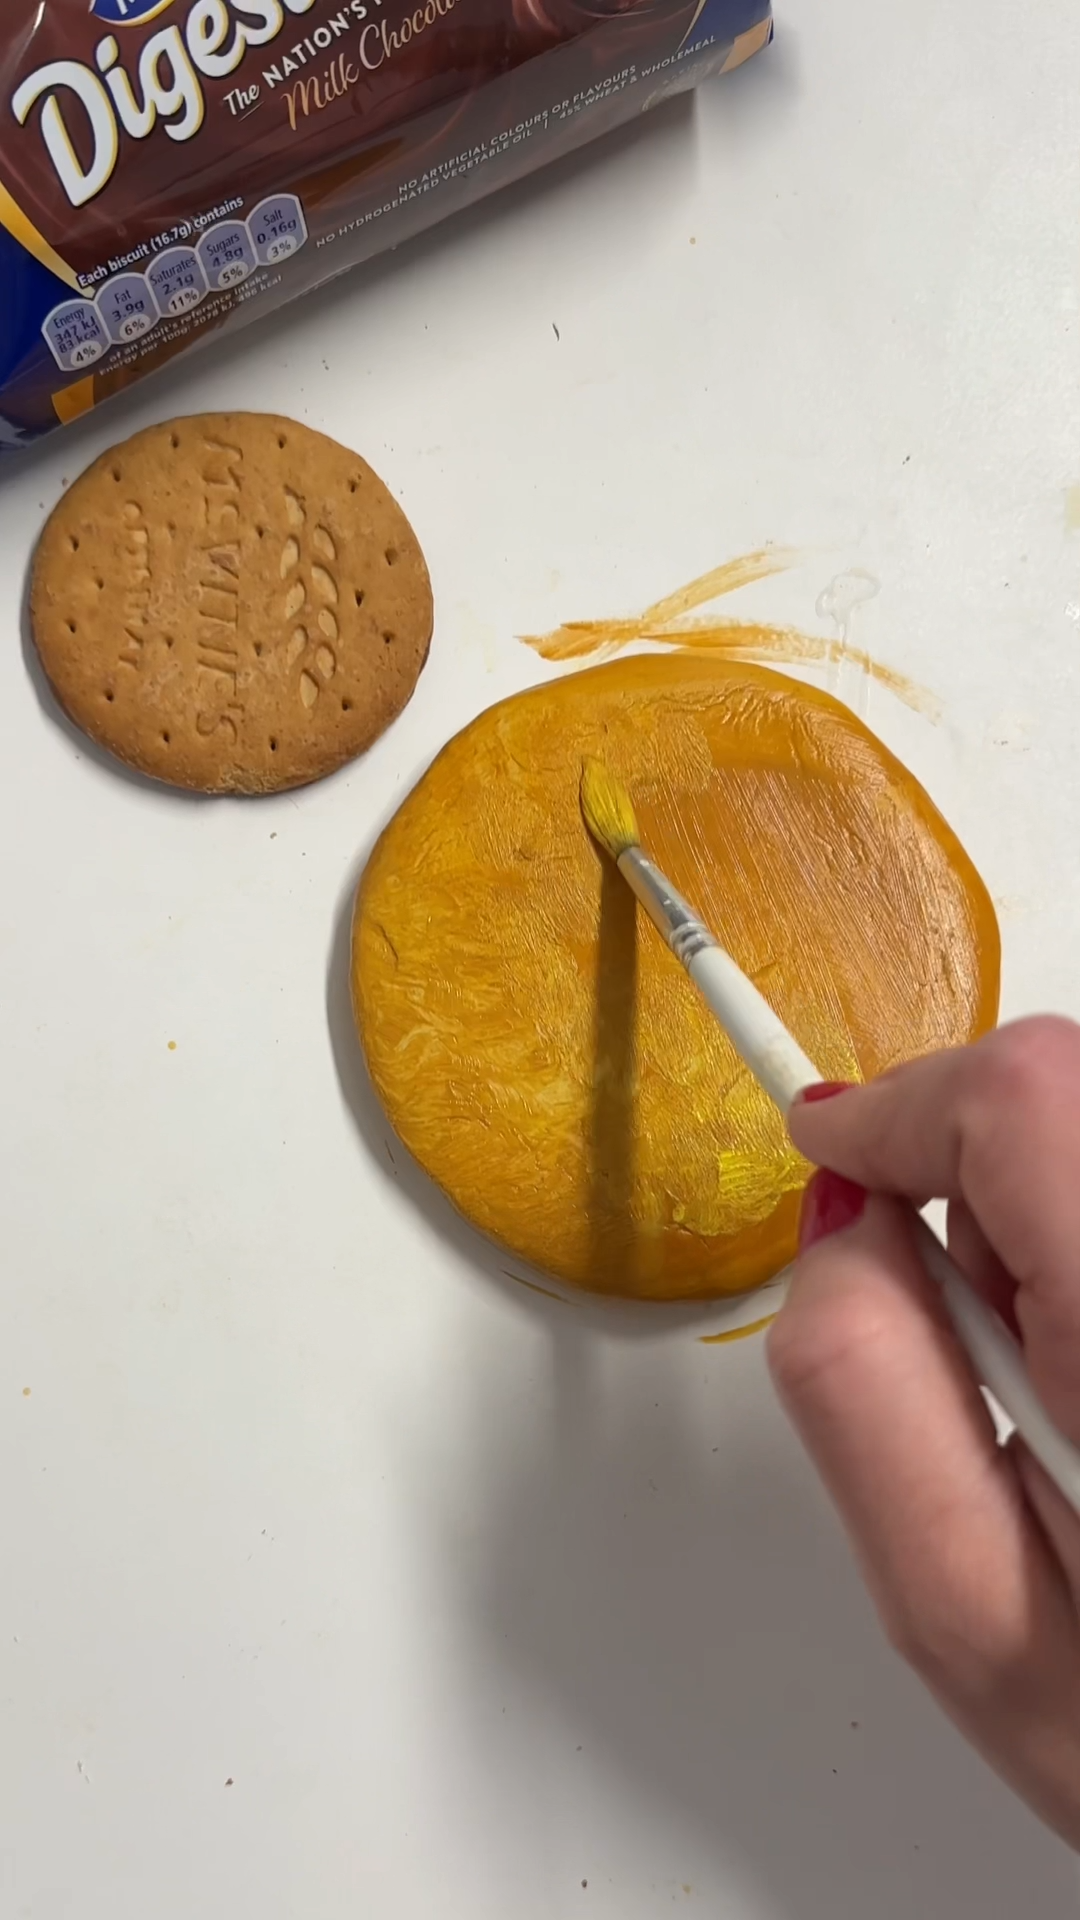
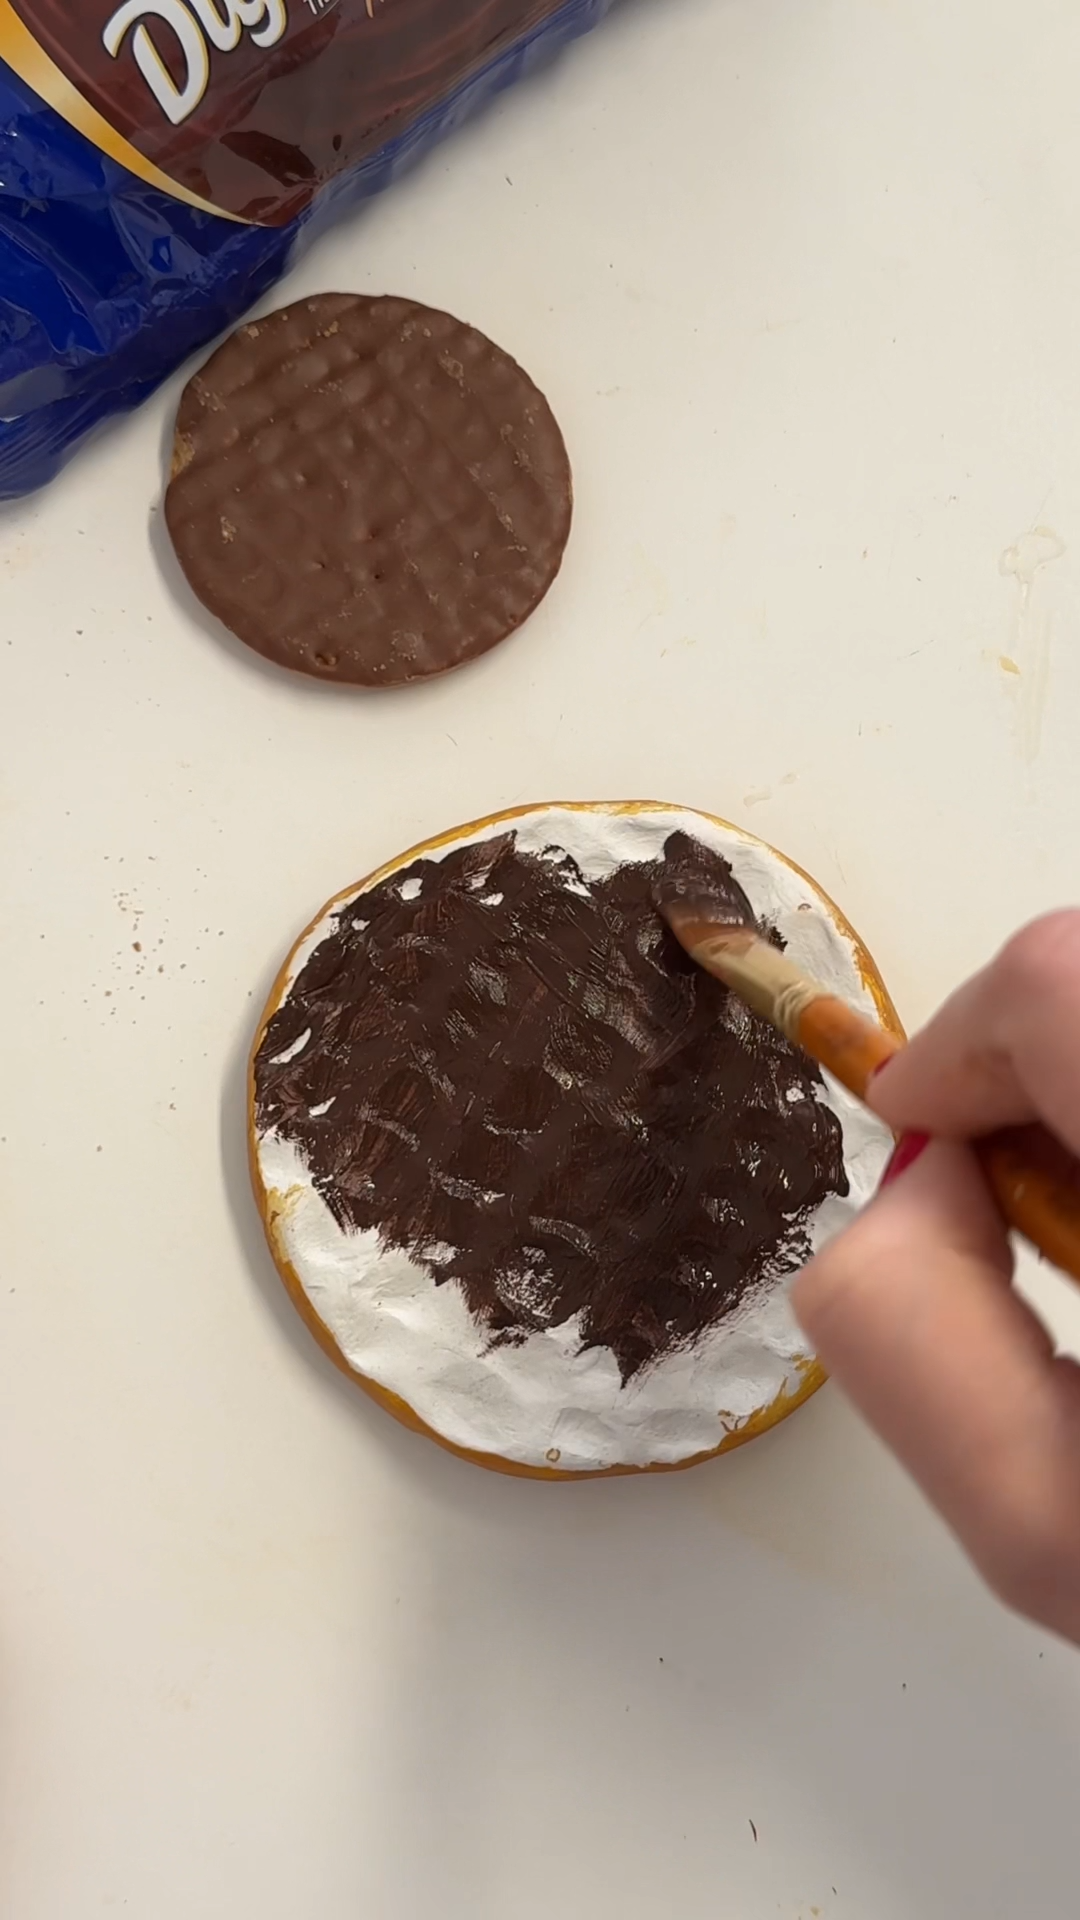
step 5: paint the chocolate and seal 🍫
flip the coaster over and paint the textured surface with a rich chocolate brown.
follow the ripple texture with your brush strokes so the paint settles naturally into the dips.
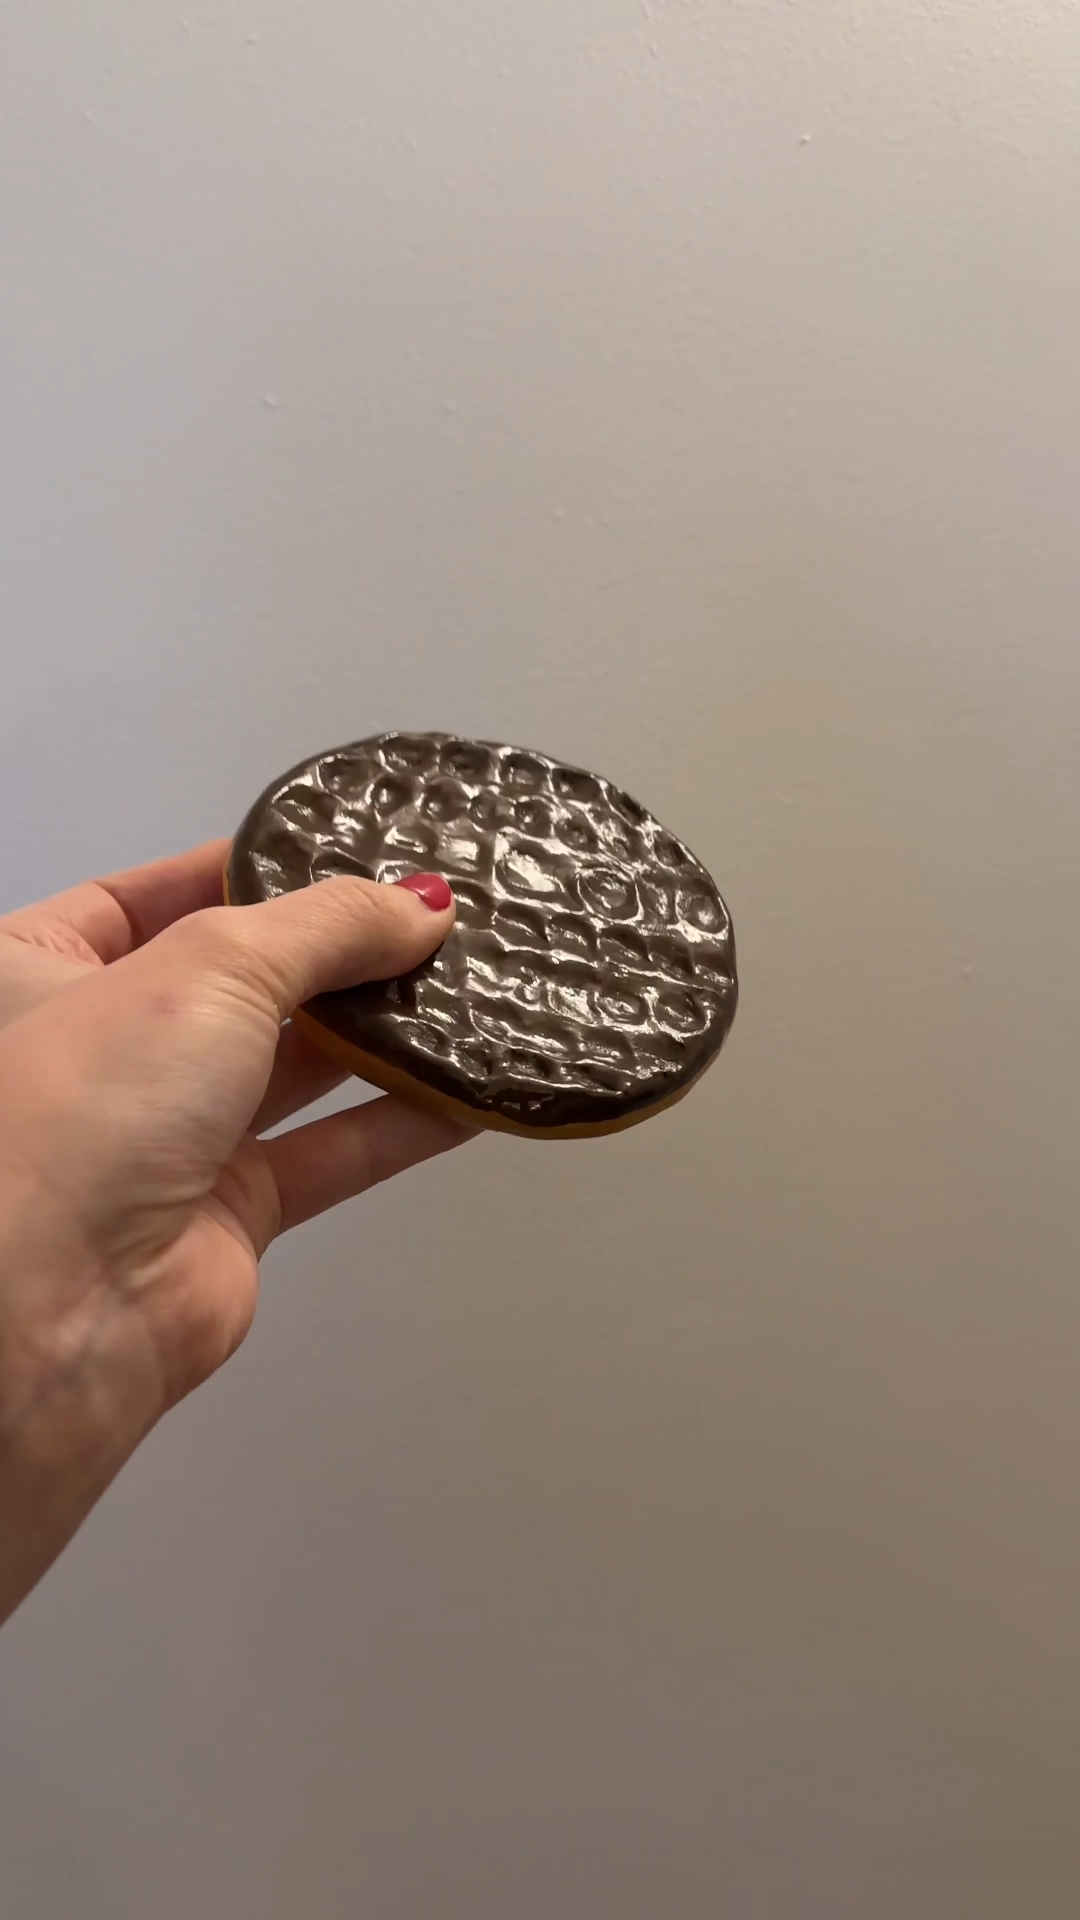
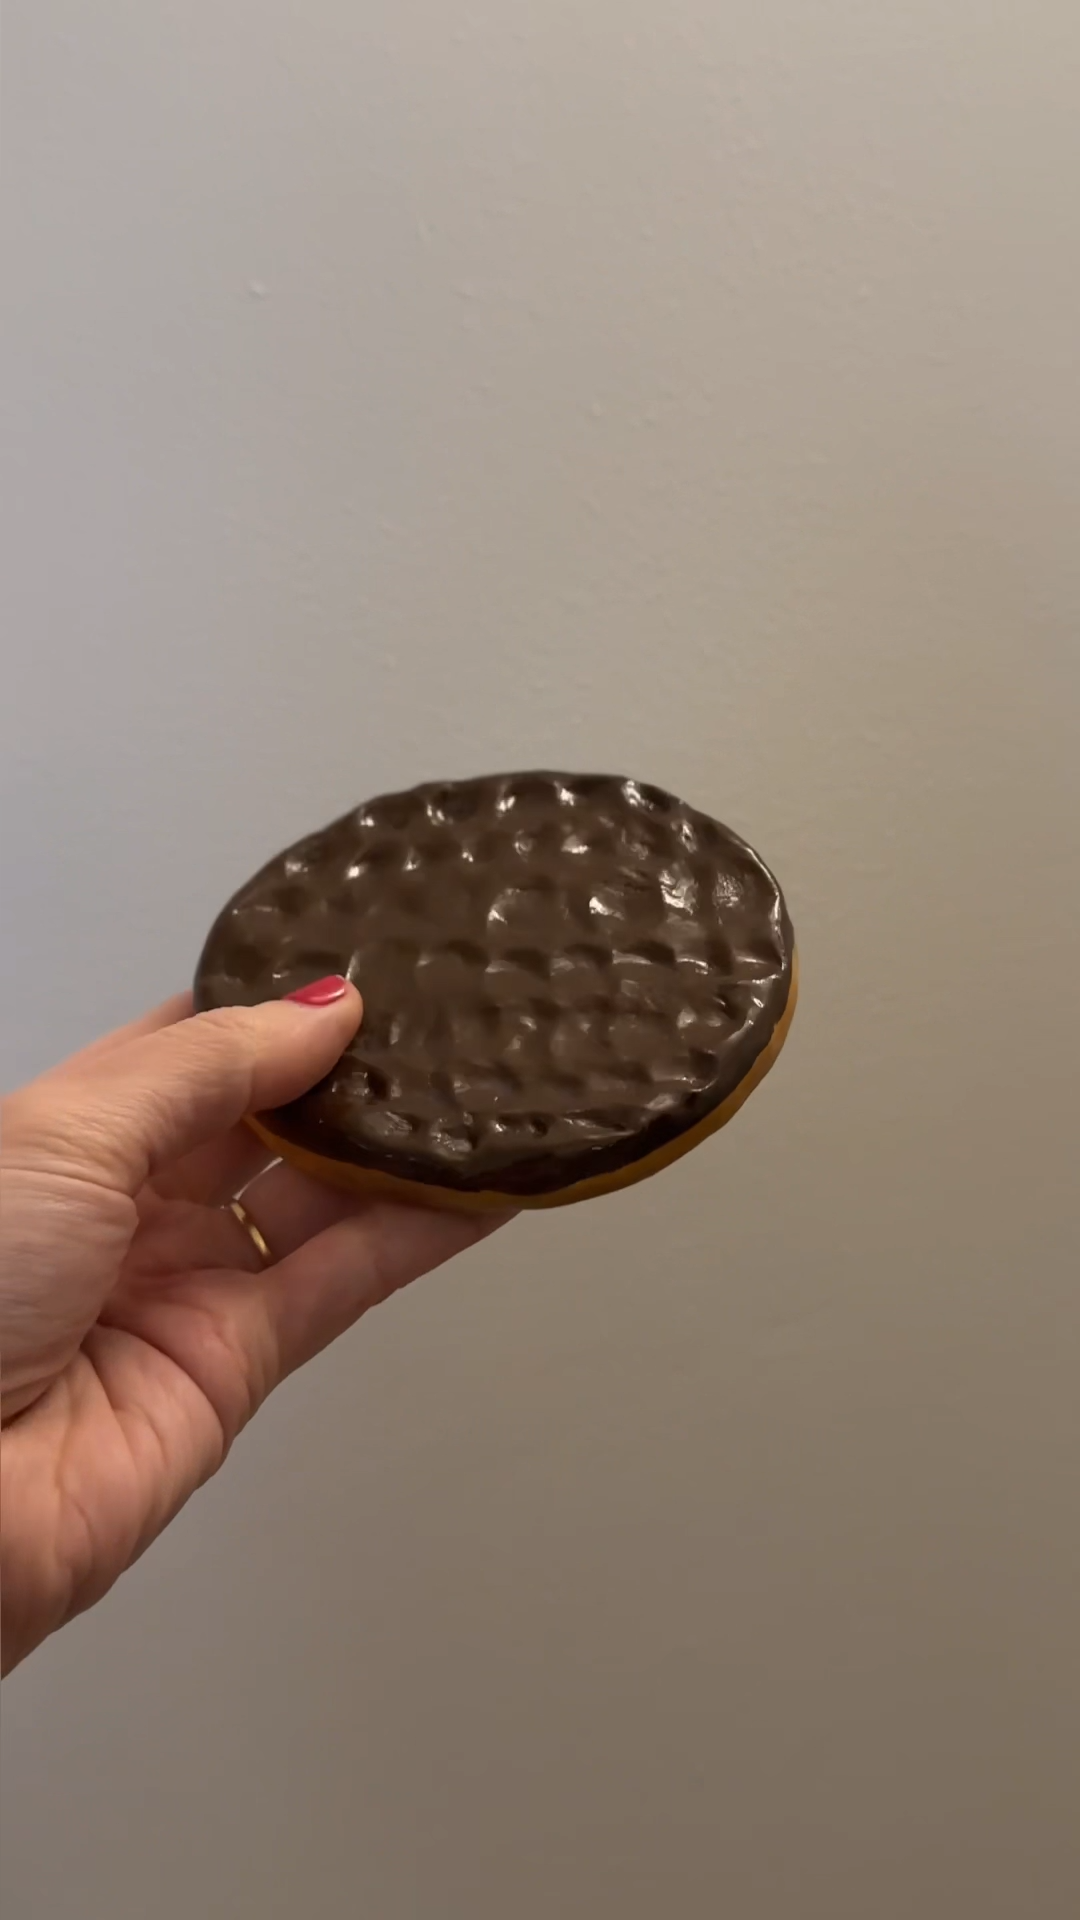
once everything is completely dry, apply a coat of acrylic gloss or varnish to give it that shiny chocolate finish.

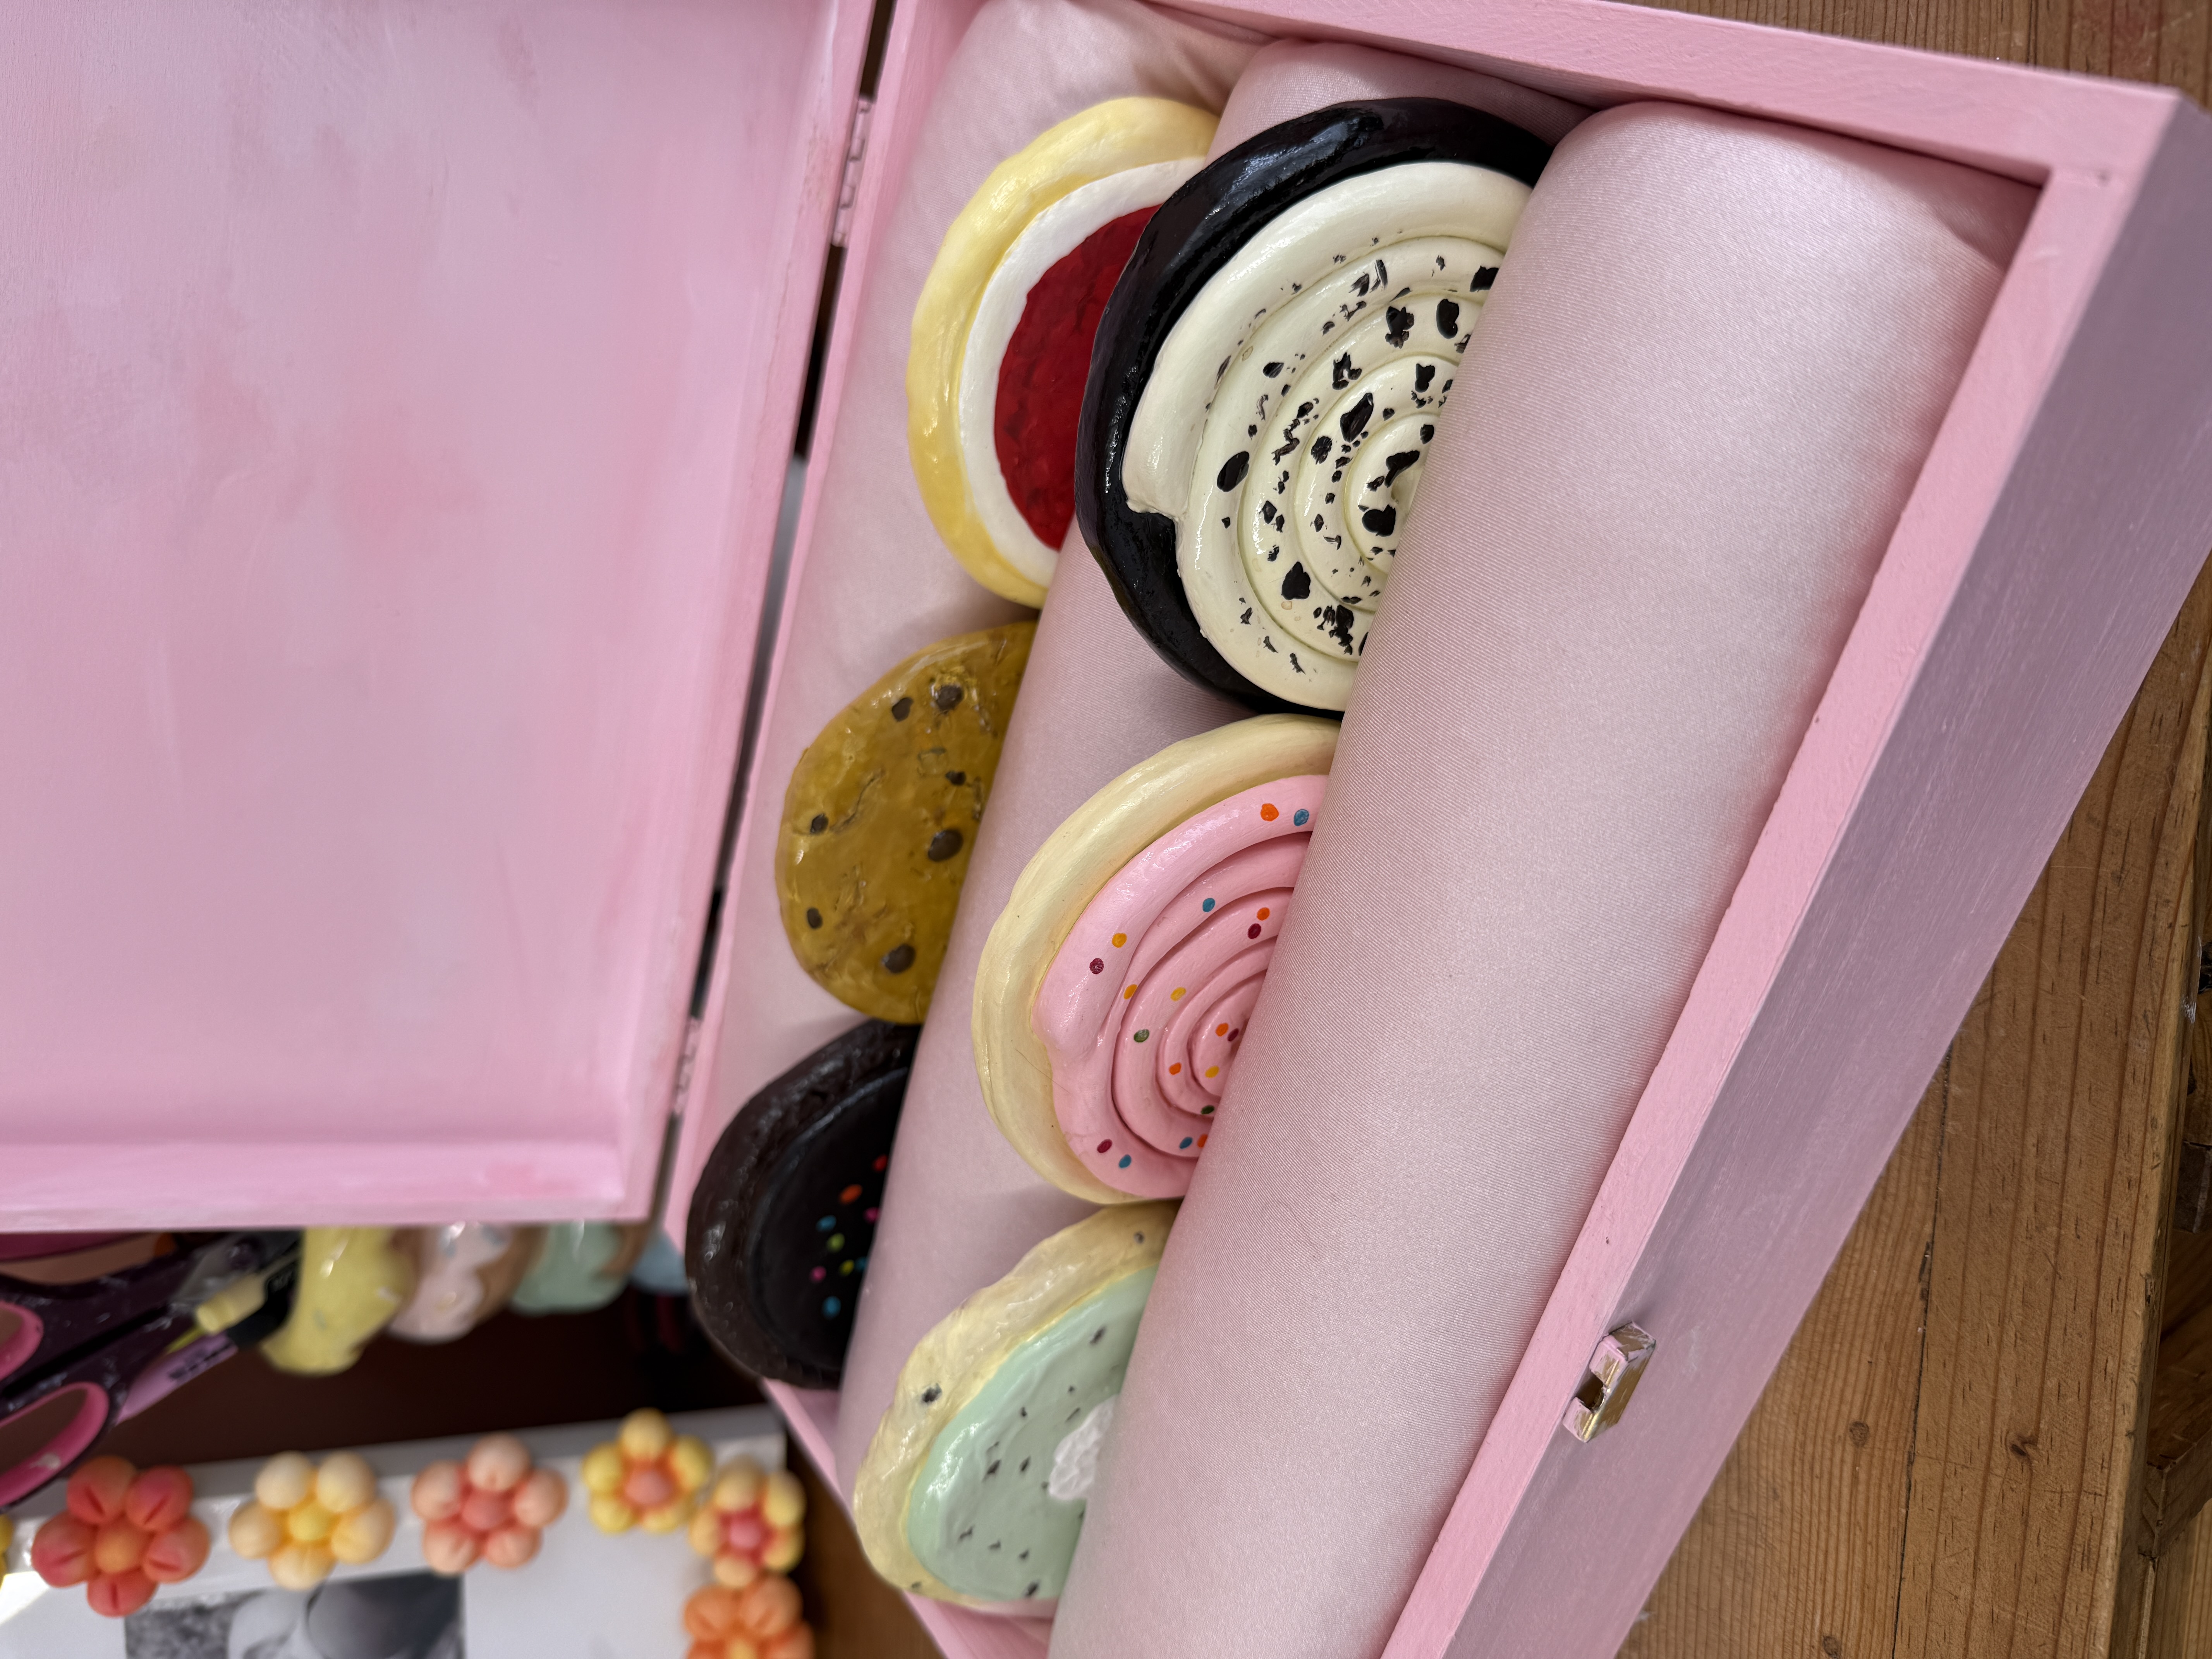
the verdict 💭
i’m so pleased with these.
there’s something oddly satisfying about turning something as ordinary as a biscuit into a functional object. the ripple texture ended up working even better than I expected. once the gloss goes on, it suddenly looks incredibly convincing.
putting a mug down on what looks like a chocolate digestive will never get old
drying time depends on thickness and room conditions. for a coaster like this, leaving it overnight usually works well. thicker clay may take longer.
air dry clay isn’t naturally waterproof. a layer of acrylic varnish or gloss helps protect the surface, but these are best used as decorative coasters rather than for very wet glasses.
not necessarily, but it makes getting the proportions very easy. if you don’t have one, you can trace a circle roughly the same size.
yes, as long as the clay isn’t rolled too thin and it’s allowed to dry fully before use.
• making the clay slab too thin
• pressing the chocolate texture too deeply
• sealing before the paint is fully dry

more like this
looking for more DIY inspiration? Take a look at some other projects I've done similar to this one.
join my monthly craft club
a monthly drop of new bits, behind-the-scenes chaos, and ideas to brighten your brain. pop your email in and i’ll send you something nice