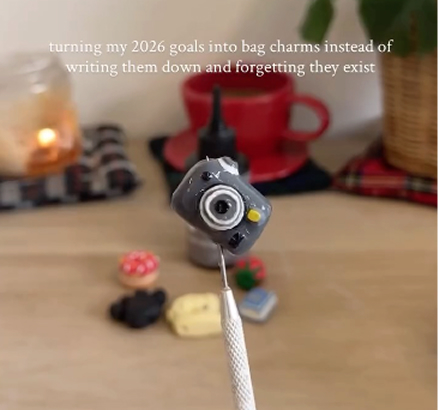
diy air dry clay jewellery box bed and dresser set 🛏️
a playful little jewellery set that turns storage into a tiny handmade bedroom scene.
🎁 such a unique handmade gift idea
🎨 completely customisable colours and patterns
🛏️ playful and a bit nostalgic
✨ functional but still feels like art
learn how to make a DIY air dry clay jewellery box set shaped like a bed and mini dresser. this beginner-friendly project is perfect for creating a unique handmade gift. with simple tools and a glossy resin finish, you’ll end up with a functional and decorative piece for storing rings and small jewellery.
• air dry clay
• rolling pin
• sculpting or carving tool
• paint brushes
• acrylic or clay paint
• small mirror
• UV resin
• UV lamp (for curing)
• flat work surface
tip: aim for around 2cm thickness for both the bed and dresser to keep everything sturdy

Welcome to my online studio of arts, crafts, and everything in between! I post regular DIY crafts here as well as on my social channels to help give everyone of every skill-level the opportunity to create beautiful, handmade gifts and decorations. If you want regular projects delivered to your inbox, use the form below, or follow me on socials!
the idea 💭
what if a jewellery box didn’t look like a jewellery box at all?
what if it looked like a tiny bedroom instead?
every time i take my jewellery off, it ends up in a little pile somewhere near the bed. rings, earrings, all just kind of scattered… so i thought, how about a bed to hold everyday pieces, and a mini dresser for special rings.
I wanted this to feel soft and nostalgic, like something you’d find in a dollhouse, but still fully functional.
once I started shaping the clay, it quickly turned into one of those builds where each detail makes you want to add another.
step 1: roll and cut your clay base
start by rolling your clay into a smooth ball, then flatten it into an even slab using a rolling pin.
aim for roughly 2cm thickness so the base feels solid and durable. then cut out your bed shape.
take a moment to smooth the surface before moving on.

step 2: carve the bed details
gently carve out the pillow and duvet sections.
this is where the piece starts to feel soft and tactile, so don’t rush it.
keep the lines shallow and rounded for a more natural look.
⚠️ watch out: carving too deep can weaken the structure

step 3: build the dresser and add features
shape a small rectangular block for the dresser, keeping it around 2cm thick.
add small feet underneath, then carve out a slot for rings.
cut a section at the top and press-fit the mirror into place.

step 4: dry your pieces fully
leave both pieces to air dry for 24–48 hours depending on your environment.
they should feel completely firm and no longer cool to the touch before moving on.
this stage is quiet but really important for strength.

step 5: paint and decorate your set
start with your base colours, then build up details like stars, stripes, and outlines.
soft pinks with gold accents work beautifully, but this is where you can really make it your own.
let each layer dry before adding the next.
tip: thinner layers of paint give a smoother finish

step 6: seal with resin for a glossy finish
apply a layer of uv resin across all surfaces to seal and protect your piece.
use a uv lamp to cure the resin until fully hardened.
this step gives that lovely glossy finish and makes everything feel more durable.


the verdict 👩⚖️
I think the dresser might actually be my favourite part of this. something about the tiny mirror and the ring slot just works.
I love balancing form and function, and while this leans towards being decorative, i can confirm it works so well!
I’d probably experiment with bolder colours next time, but as it is, it’s got that soft, slightly nostalgic feel I was aiming for.
usually 24–48 hours depending on thickness and room conditions. thicker pieces like this need the full drying time to avoid cracking.
yes, especially for something functional. Sealing with UV resin protects the surface and adds durability.
yes, acrylic paint works perfectly and gives strong colour coverage.
it’s secured using a pressure fit directly into the clay. you can add adhesive if needed for extra hold.
• making the clay thinner than 2cm
• not letting it dry the full 24–48 hours
• applying resin before paint is fully dry
.jpg)

.jpg)
.jpg)
.jpg)
.jpg)
.jpg)
.jpg)
more like this
looking for more DIY inspiration? Take a look at some other projects I've done similar to this one.
join my monthly craft club
a monthly drop of new bits, behind-the-scenes chaos, and ideas to brighten your brain. pop your email in and i’ll send you something nice