diy air dry clay sunglasses holder brooch 🕶️☀️
a colourful wearable summer craft that gives your sunglasses somewhere cheerful to hang.
☀️ keeps your sunglasses close on sunny days
🎨 every holder can have its own shape and pattern
✨ the glossy finish makes the colours really pop
👕 wear it on a top, a jacket or your jeans
make a chunky air dry clay sunglasses holder with a hole through the middle, then pin it to your top or your jeans and hook your sunnies straight through. paint it however you like, seal it for a glossy finish, and you've got a little piece of jewellery that also stops you leaving your sunglasses on a pub table.
no clay experience needed. if you can roll out pastry, you can do this one.

- air dry clay
- a paper template for each design (grab my free printable one below)
- a small rolling pin and a craft knife
- a little water and some sandpaper
- white and coloured acrylic paint
- uv resin and a compatible uv lamp, or gloss mod podge if you'd rather skip the resin
- 10mm glue-on pin backs with butterfly clutches
- super glue

welcome to my online studio of arts, crafts and everything in between! i post regular diy crafts here and over on my socials. pop your email in below and i'll send you the free air dry clay starter kit - plus new projects to your inbox every month.
the idea 💭
that was the thought behind these little clay holders. the sunshine has fully arrived this summer. sunglasses are everywhere, and i wanted a simple way to keep them close without tucking them into a pocket or balancing them on my head.
the plan was to make chunky shapes with a hole through the middle, then pin them onto a top or jeans so the glasses could hook straight through. i expected that centre opening to be the fiddly part, but the pieces dried without cracking, warping or breaking.
that made the whole build feel surprisingly relaxed. once the shapes were dry it became a colour playground of stripes, checks and glossy resin. time to roll, cut and make a cheerful little summer collection.
step 1: roll an even slab
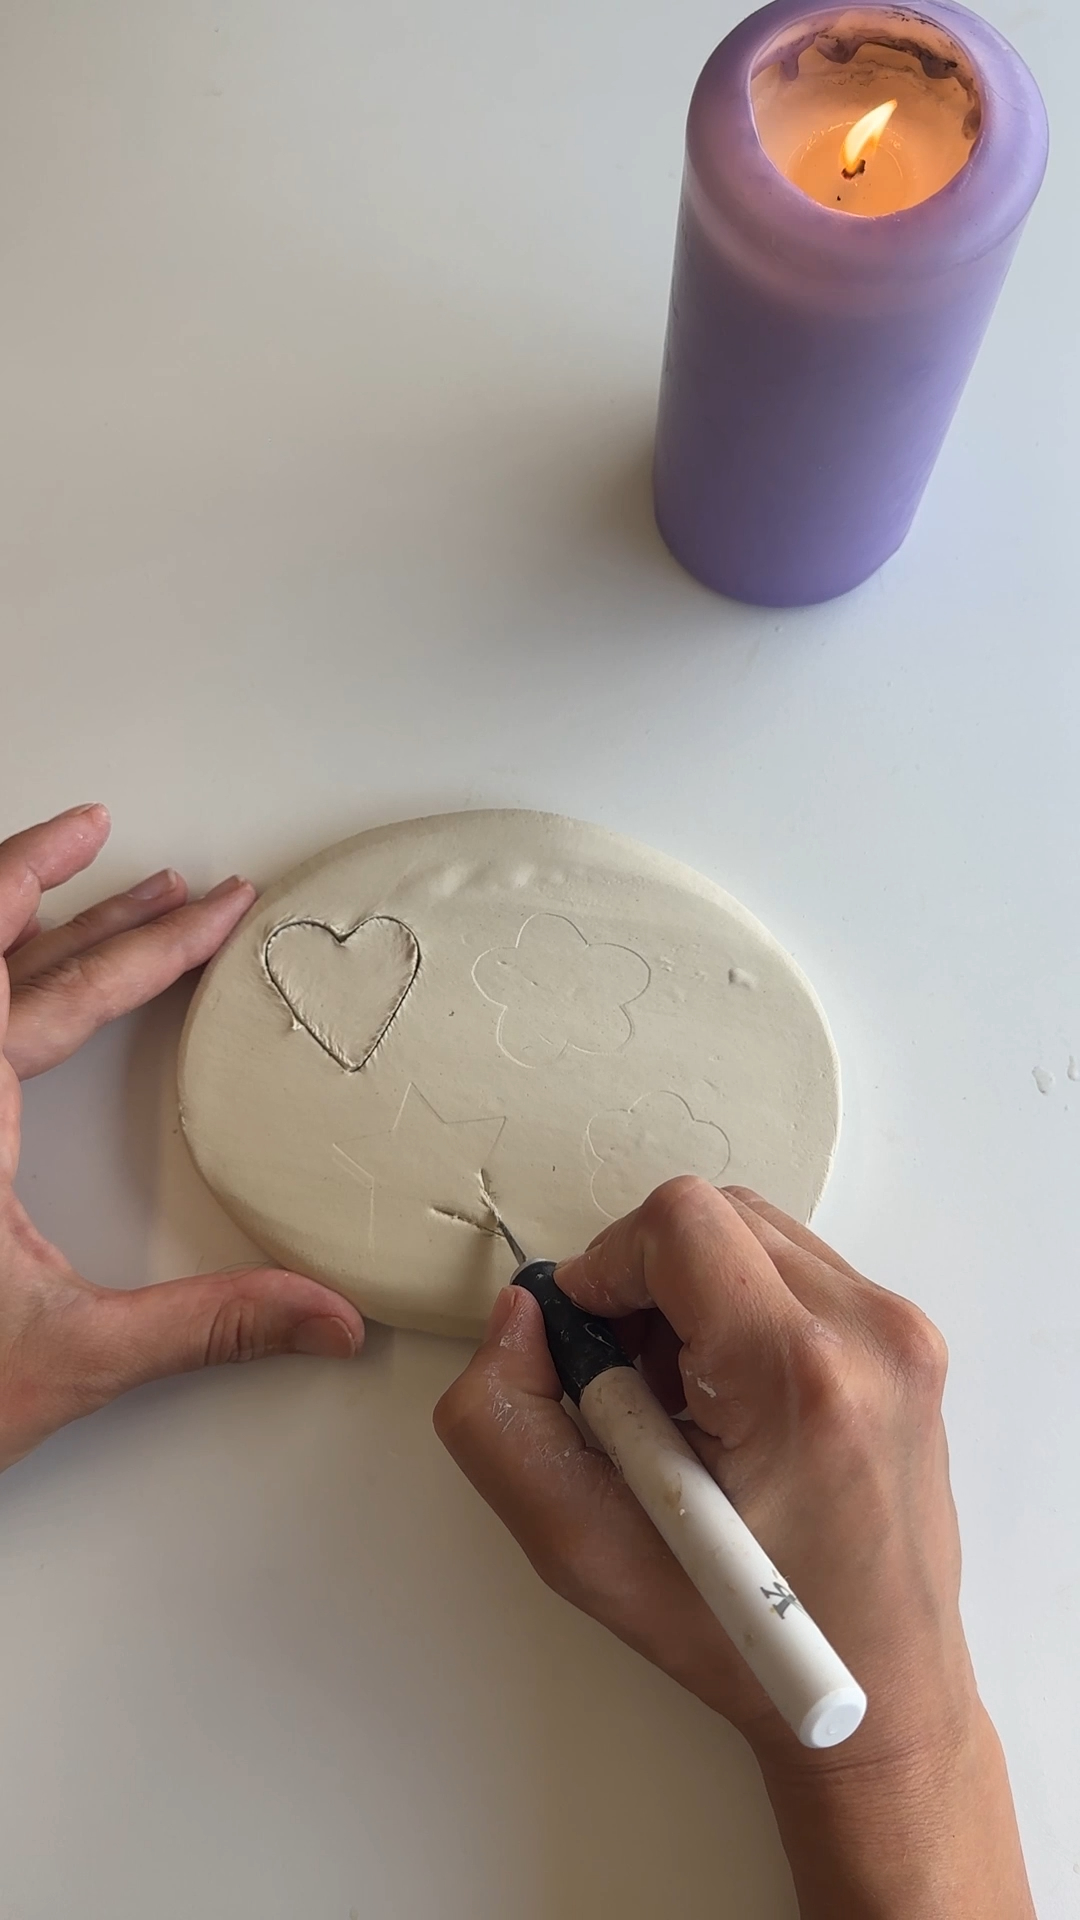
draw your own shapes. whatever the shape you go for, aim for around 60mm wide with a 15mm hole in the middle - big enough for a sunglasses arm to slide through without a wrestle.
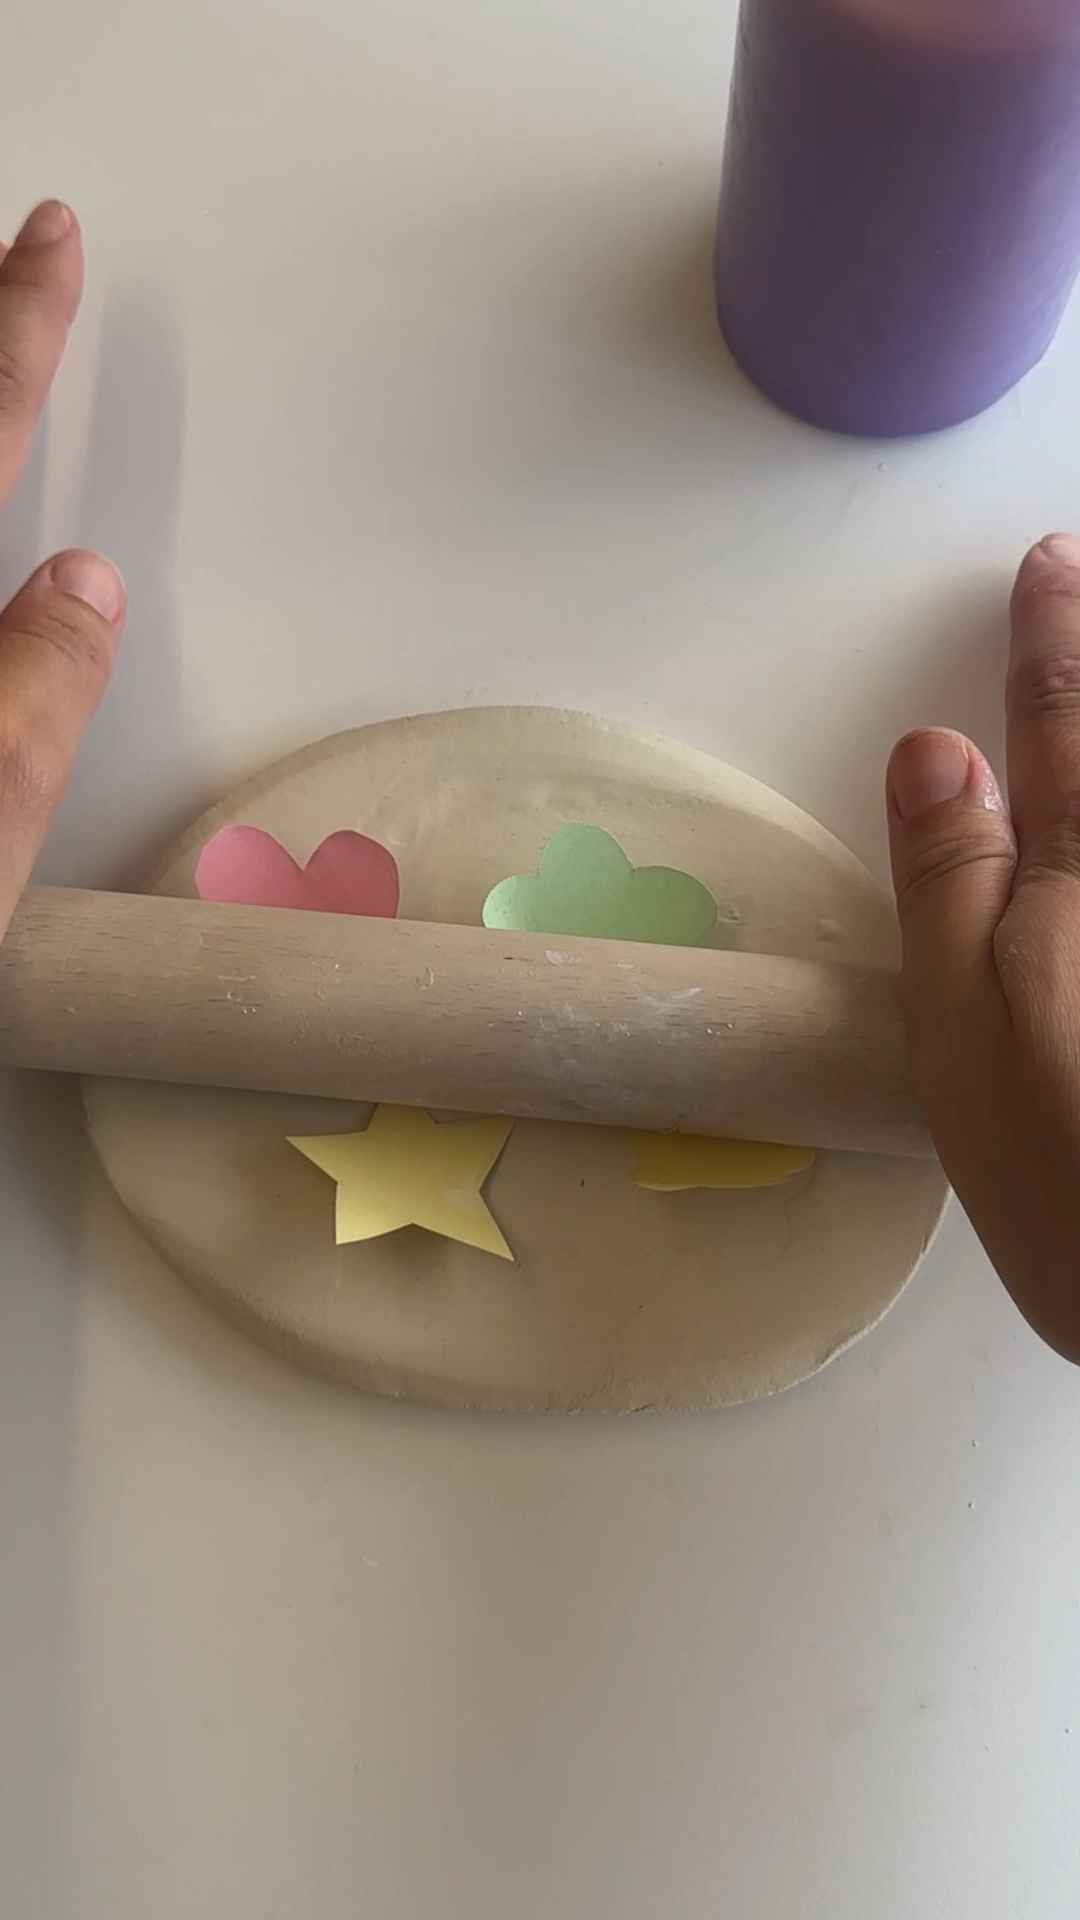
roll your clay out to an even 8mm thick. thinner than that and the pieces feel flimsy once they're dry.
tip: leave at least 8mm of clay all the way around the central opening so the finished holder isn't delicate.
step 2: cut and smooth
lay a template onto the clay and guide your craft knife carefully around the outside edge. cut the central opening, then lift the piece away from the leftover clay.
dip a finger in water and smooth over any rough edges and the surface.
watch out: keep the knife upright as you cut, or the sides come out sloped rather than crisp.
step 3: dry, then sand
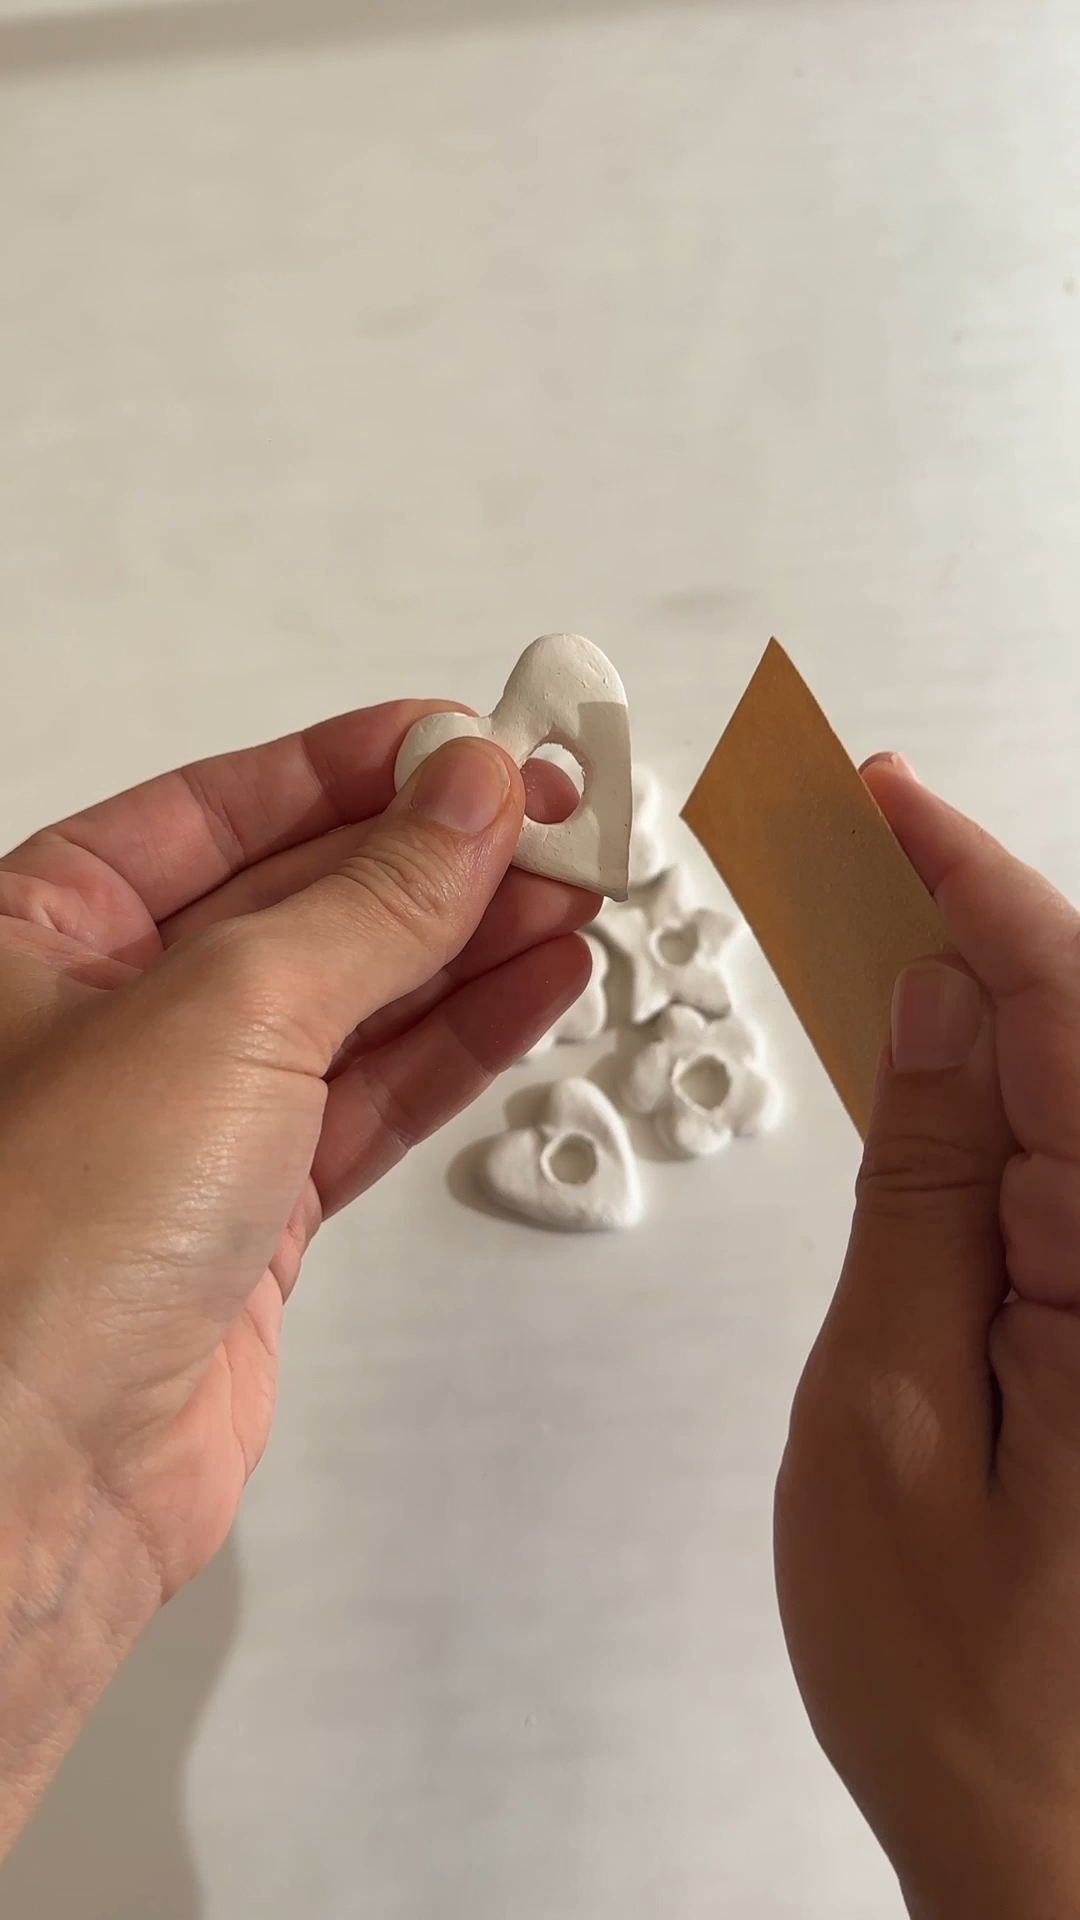
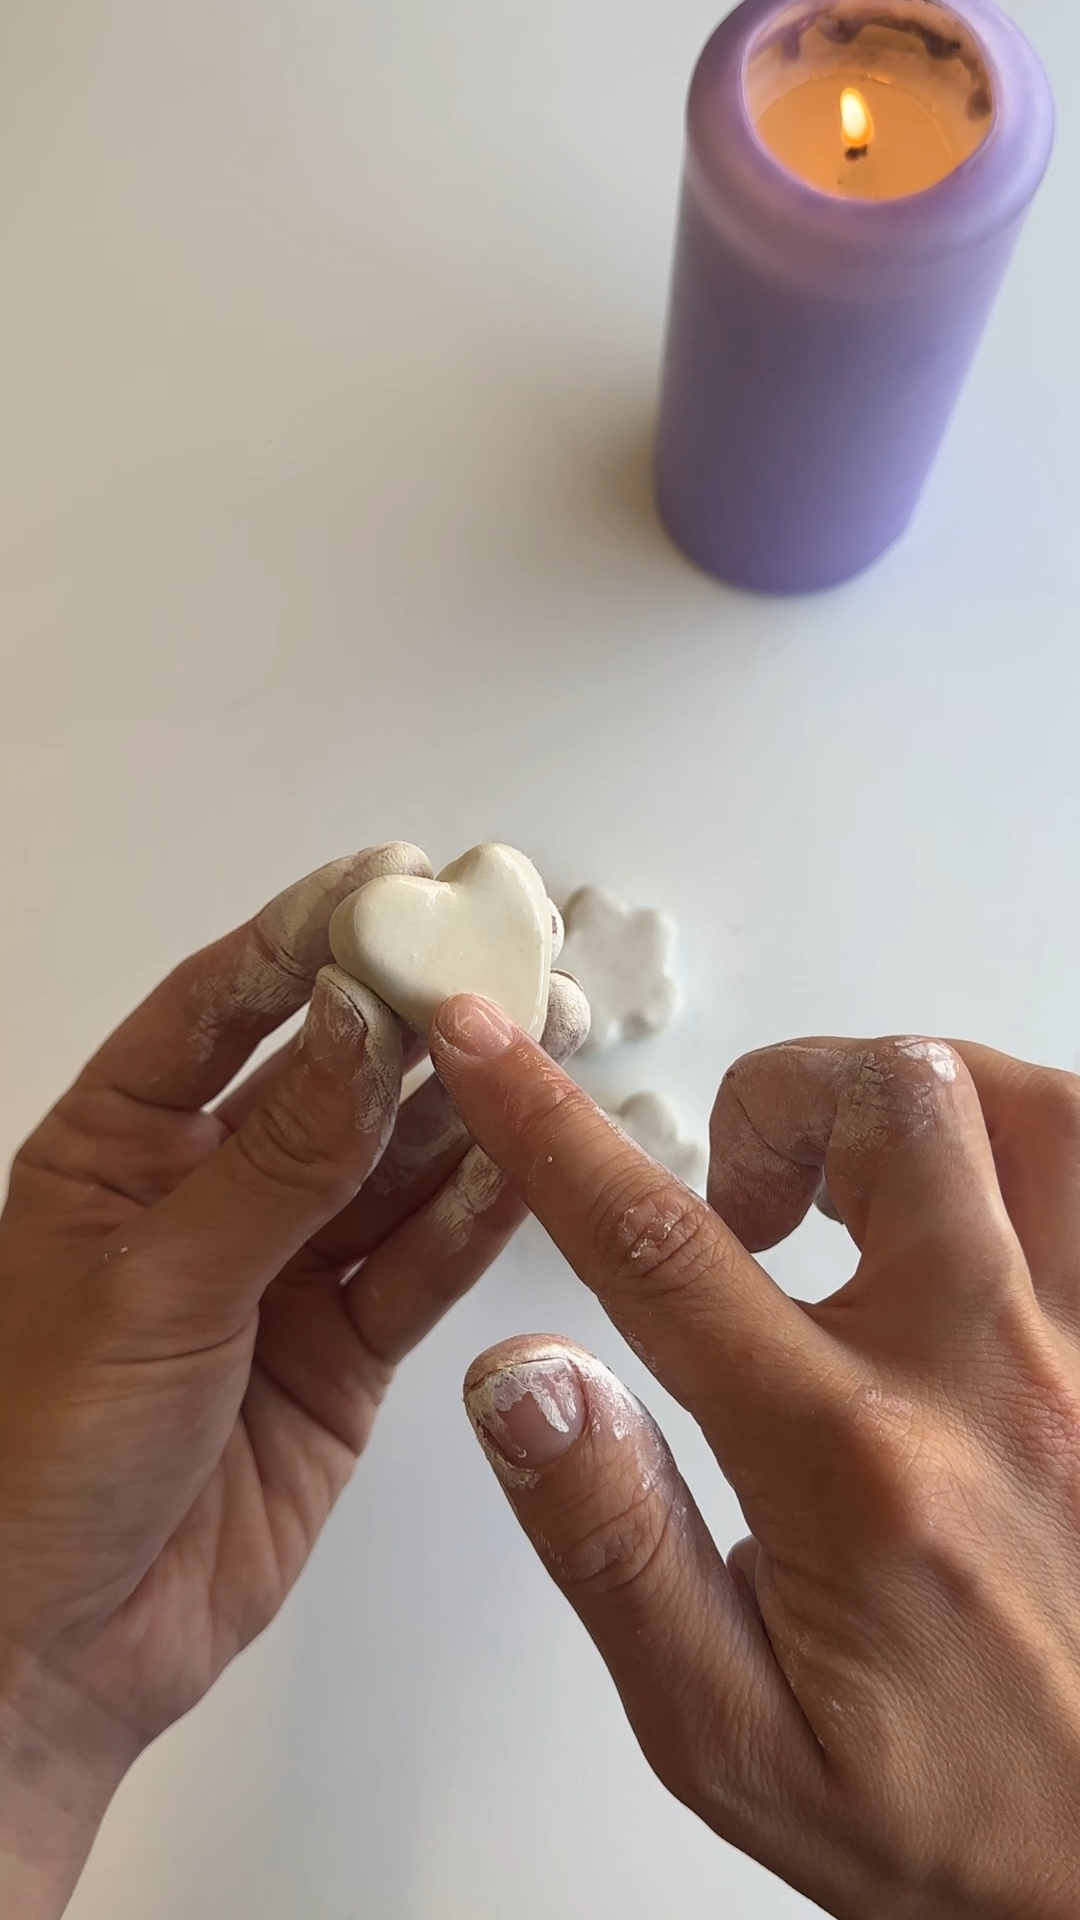
leave the pieces flat for 24-48 hours. they need to feel completely firm and dry all the way through before you touch them with sandpaper - this is the step everyone rushes and regrets.
smooth the faces, the outer edges and the central opening. hold the piece in your hand rather than pressing it down onto the table.
tip: spend most of your sanding time inside the opening. that's where the sunglasses will sit, and a rough edge in there will scratch the arm.
step 4: paint bold designs
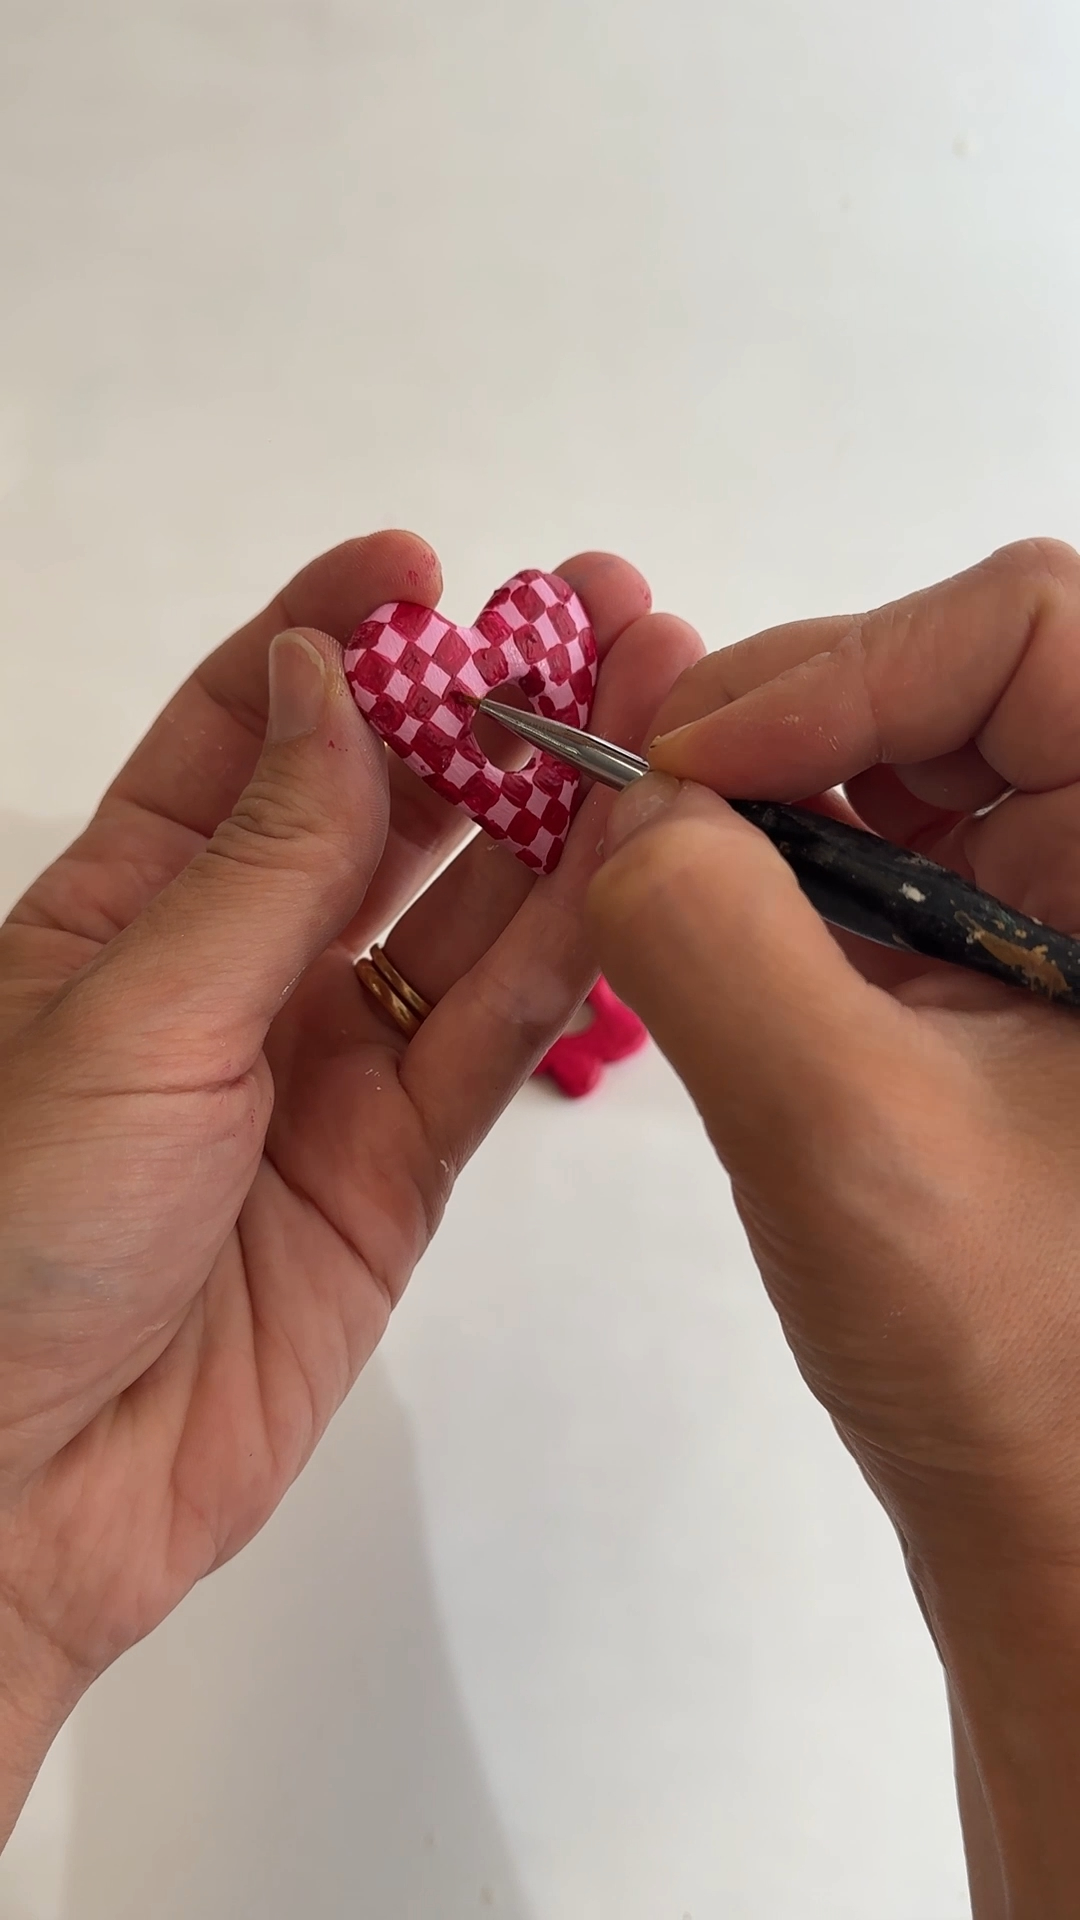
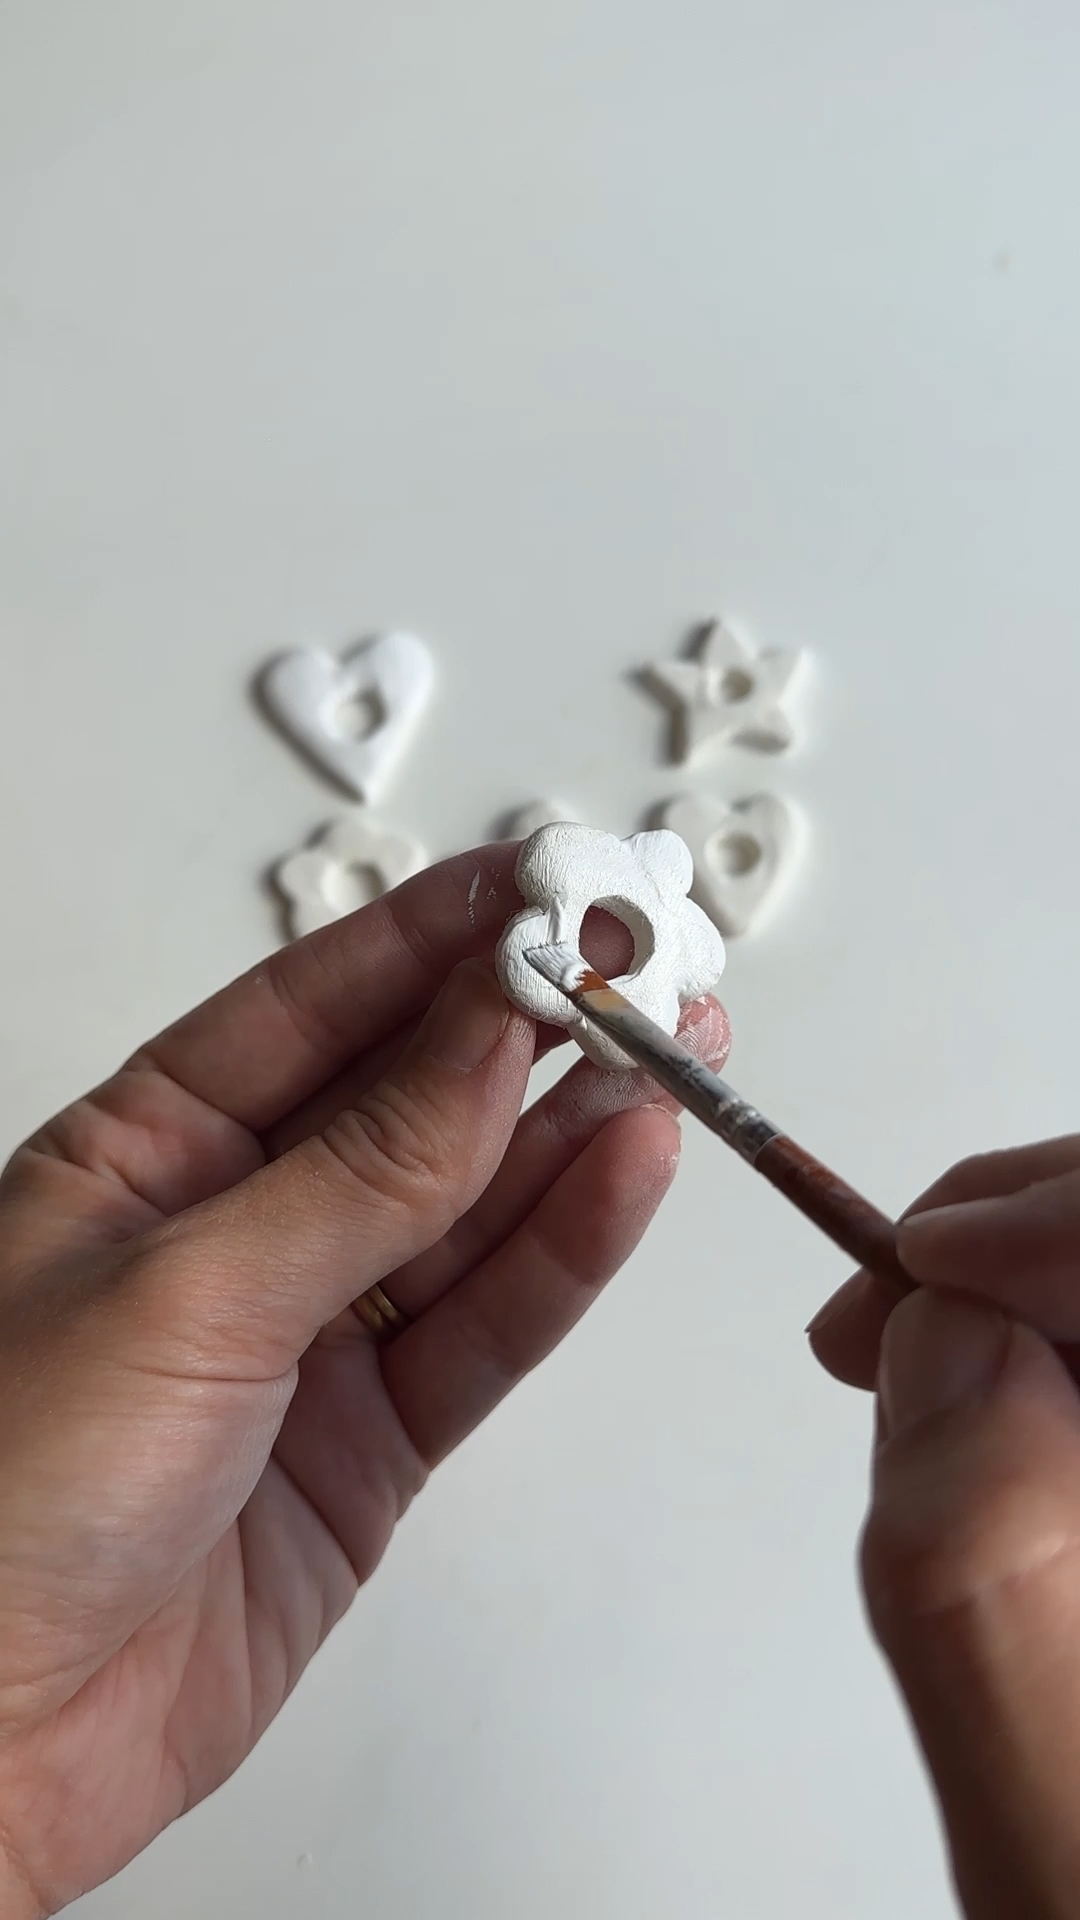
give every shape a white acrylic base coat and leave it 10-15 minutes until it feels dry.
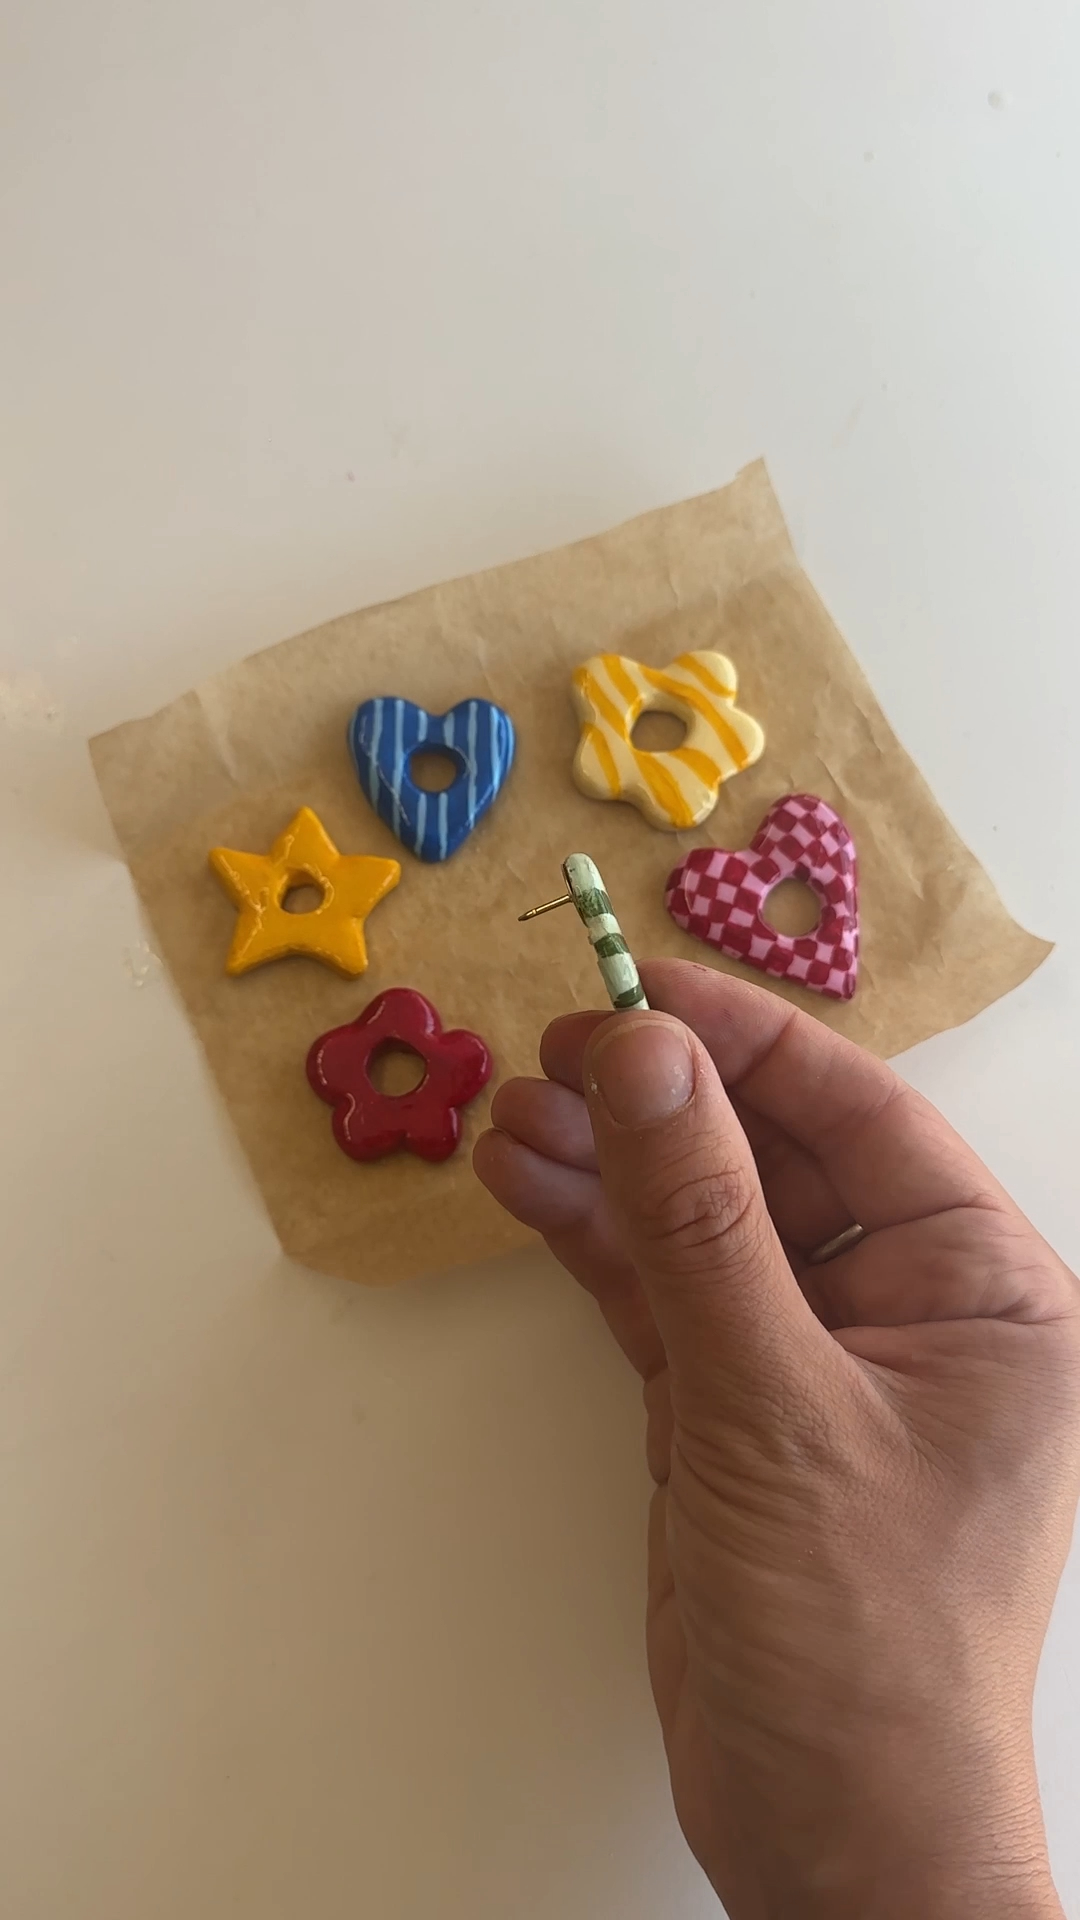
now go wild. stripes, checks, waves, dots, whatever you fancy. leave the finished designs another 10-15 minutes and check the paint is properly dry before you seal.
tip: the white base is what makes yellow, pink, blue and green read as bright rather than muddy.
step 5: seal for a glossy finish
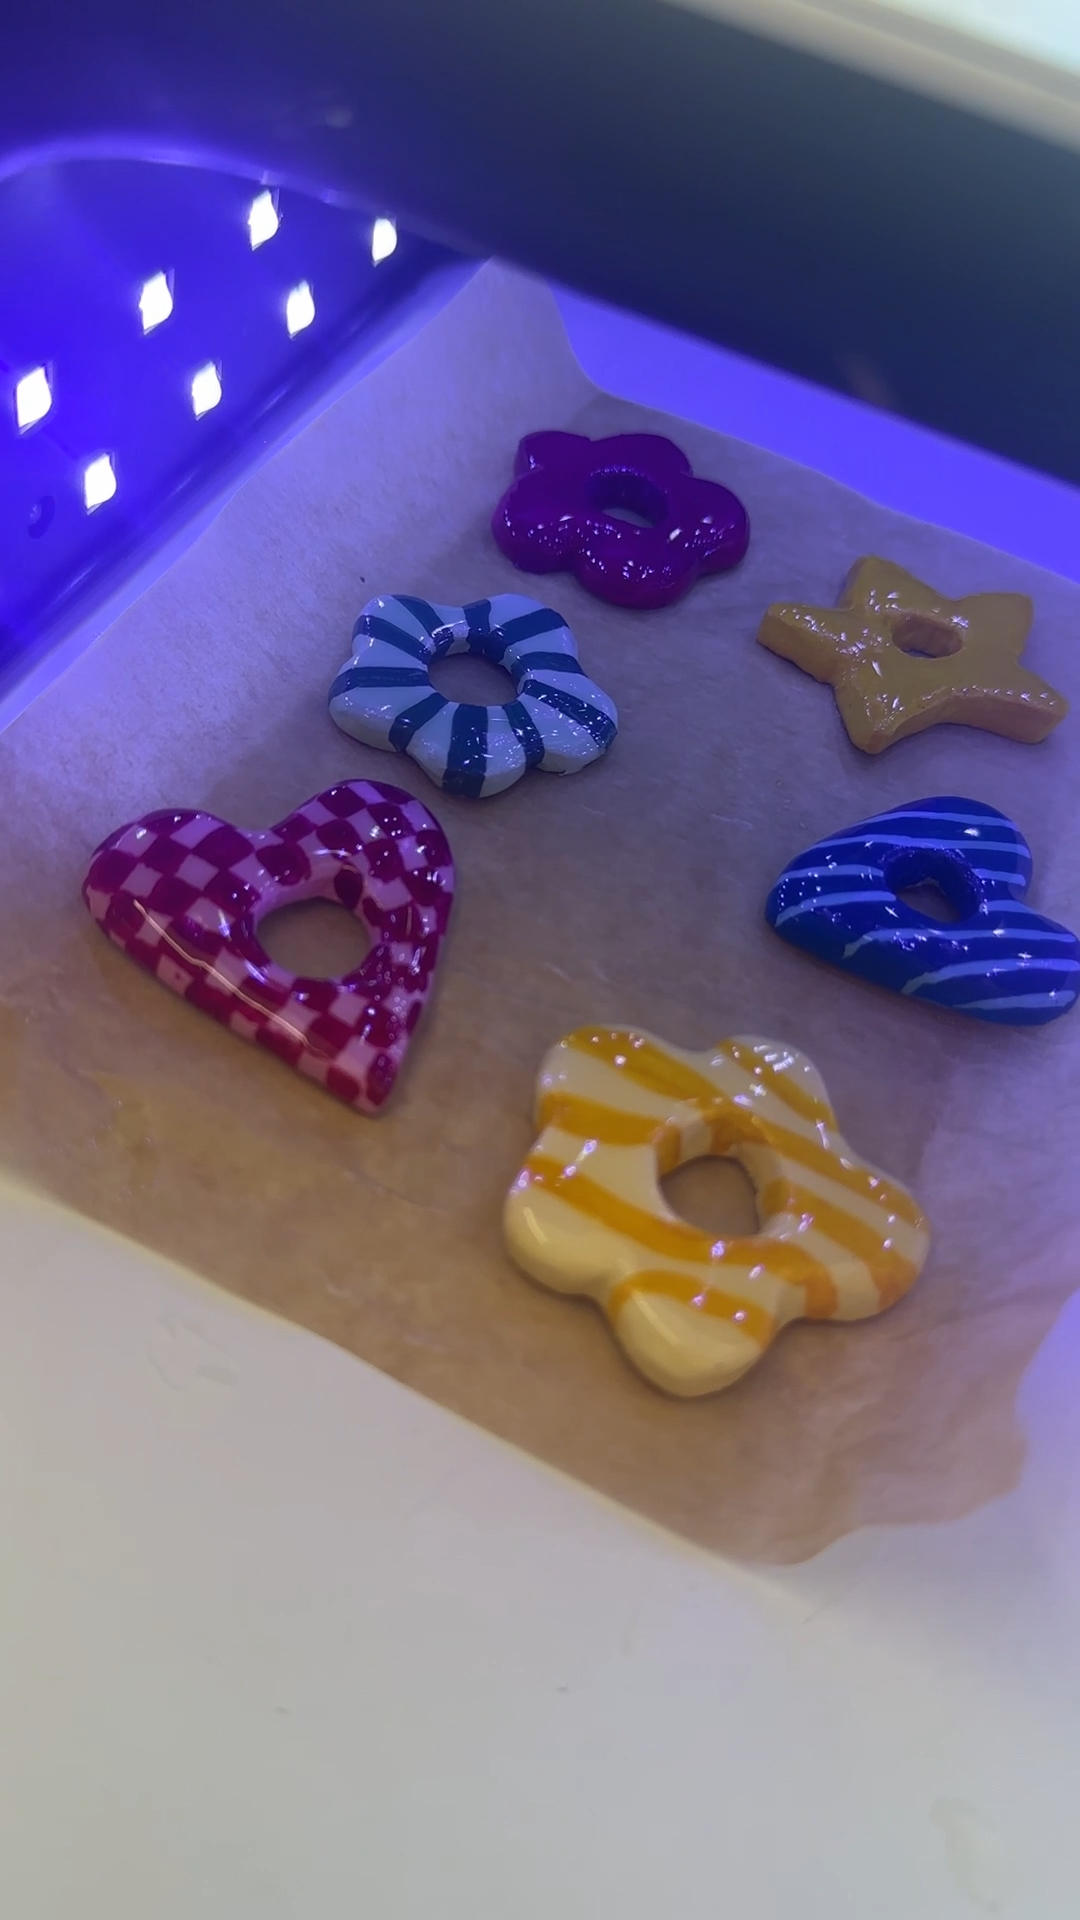
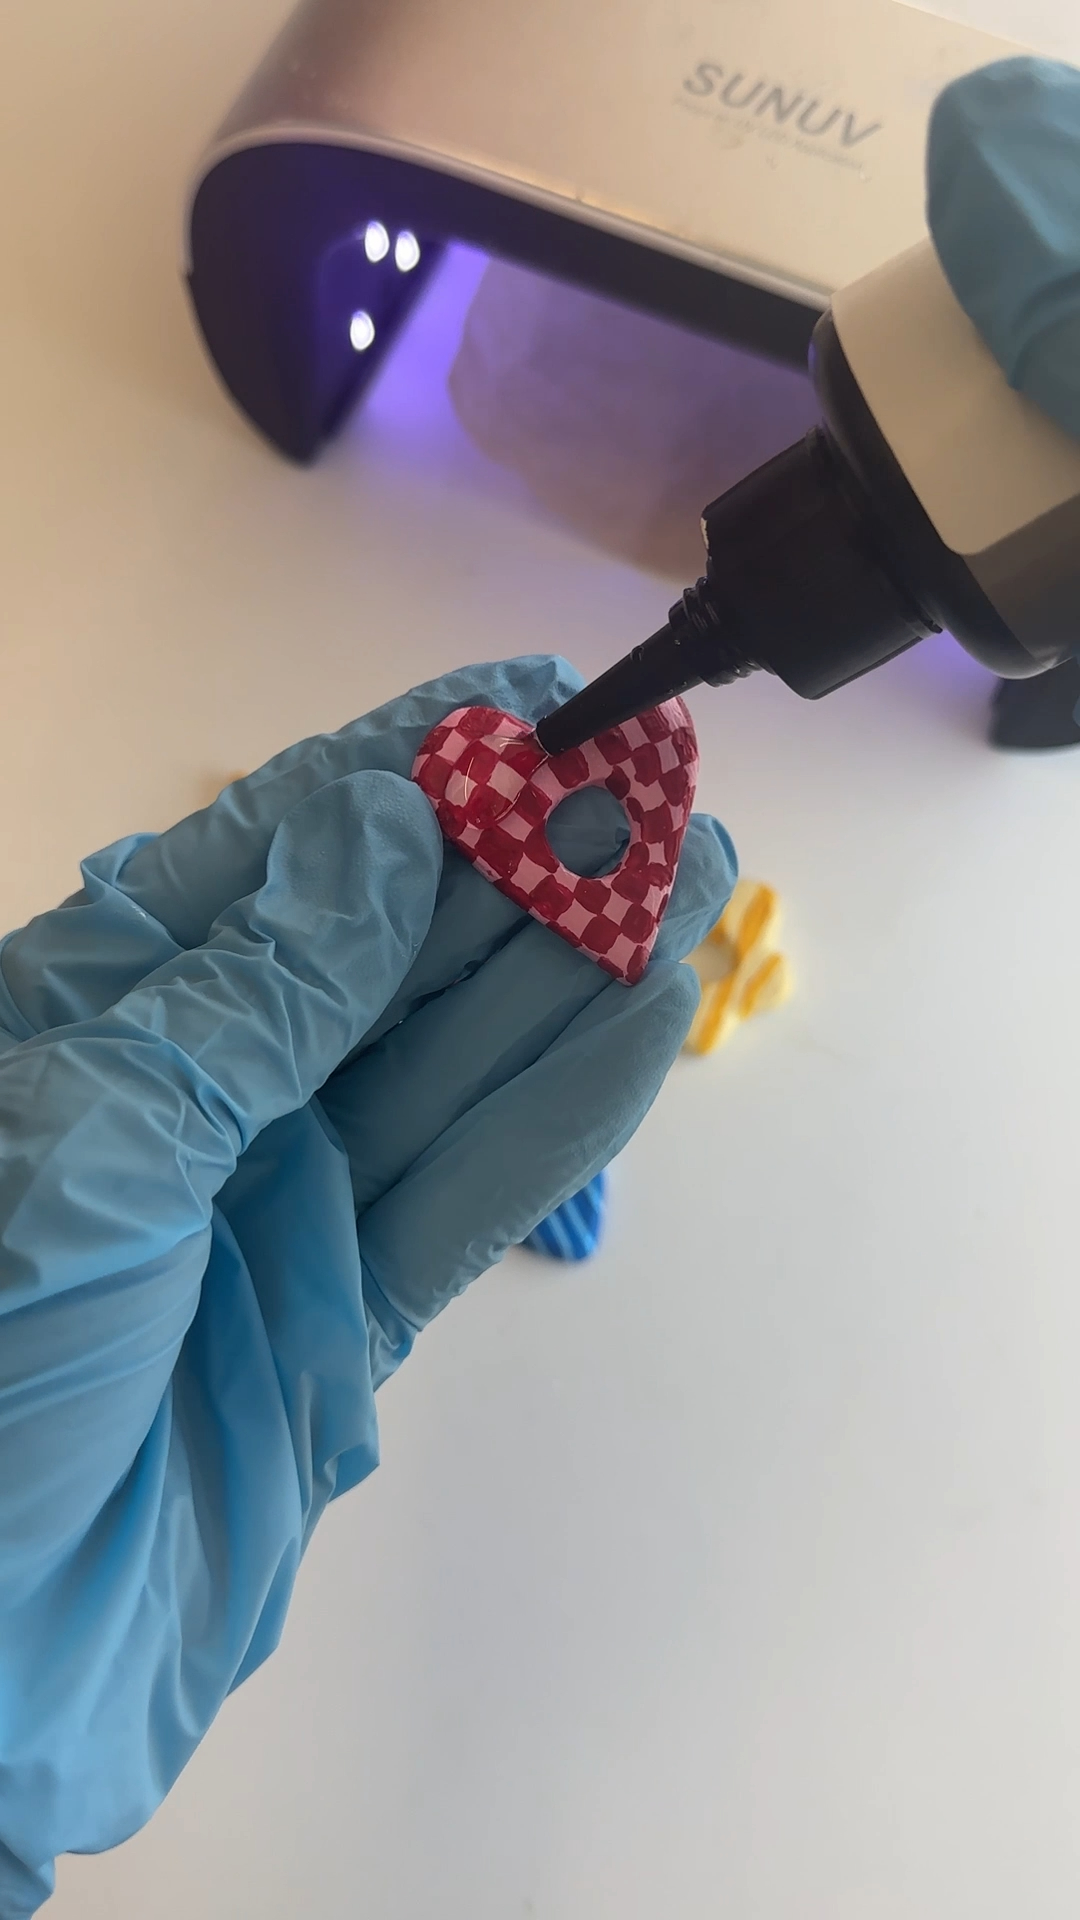
coat the painted surface with an even layer of uv resin and cure it under your lamp for 30-90 seconds, following the timings on your particular bottle.
a quick word on resin. it needs a bit of respect but not a lab coat. work somewhere with fresh air, wear the gloves your resin brand recommends, keep it off your skin, and don't look into the lamp. read the label on your bottle - formulations vary.
no resin? two coats of gloss mod podge or a clear acrylic varnish will give you a softer shine and work perfectly well. the holder won't be quite as glassy, but nobody will be able to tell
step 6: attach the pin back
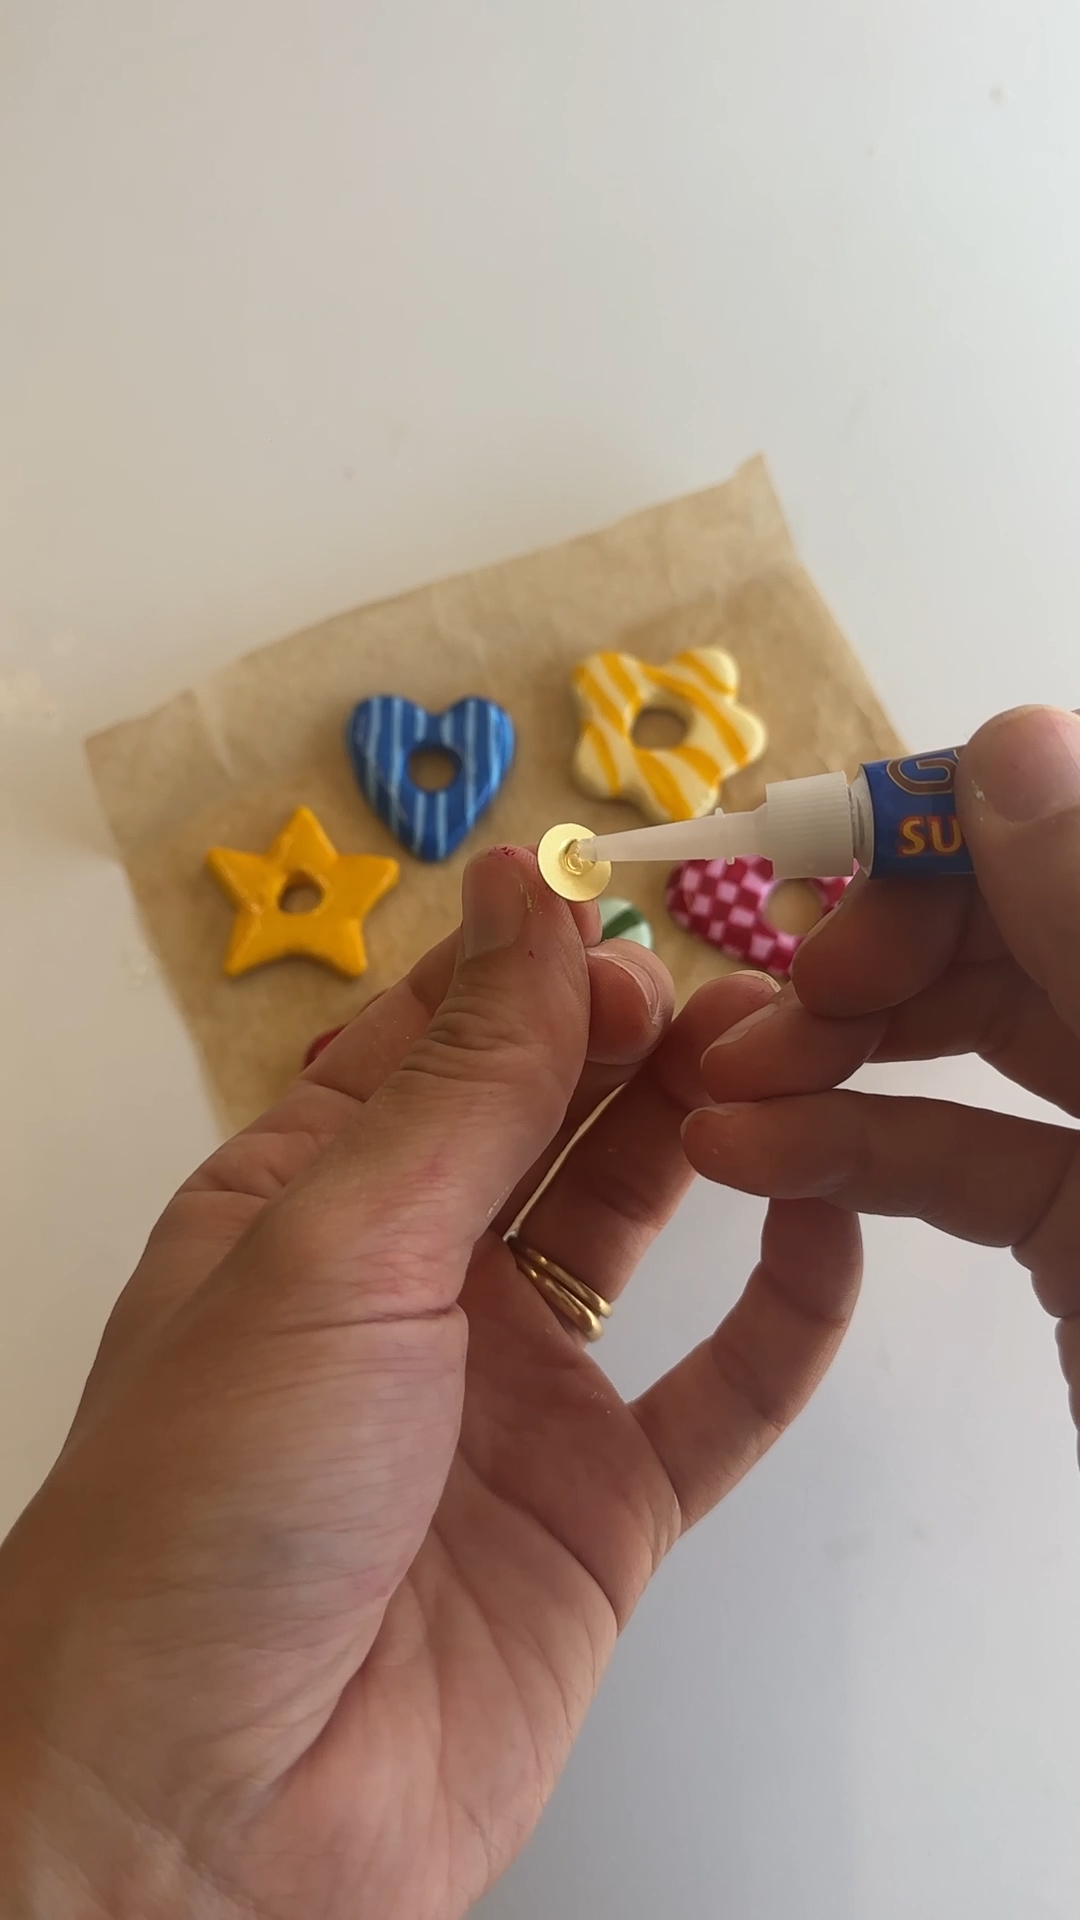
put a small blob of super glue on the round pad of the pin back and press it onto the back of the clay shape, sitting it slightly above centre so the holder hangs upright rather than tipping forward.
leave it the full bonding time on the packet. then pin it on and hook one arm of your sunglasses through the hole.
tip: test it with an older pair first. heavier sunglasses on a loose knit will pull the fabric and droop, so a firmer top or a waistband holds them better.
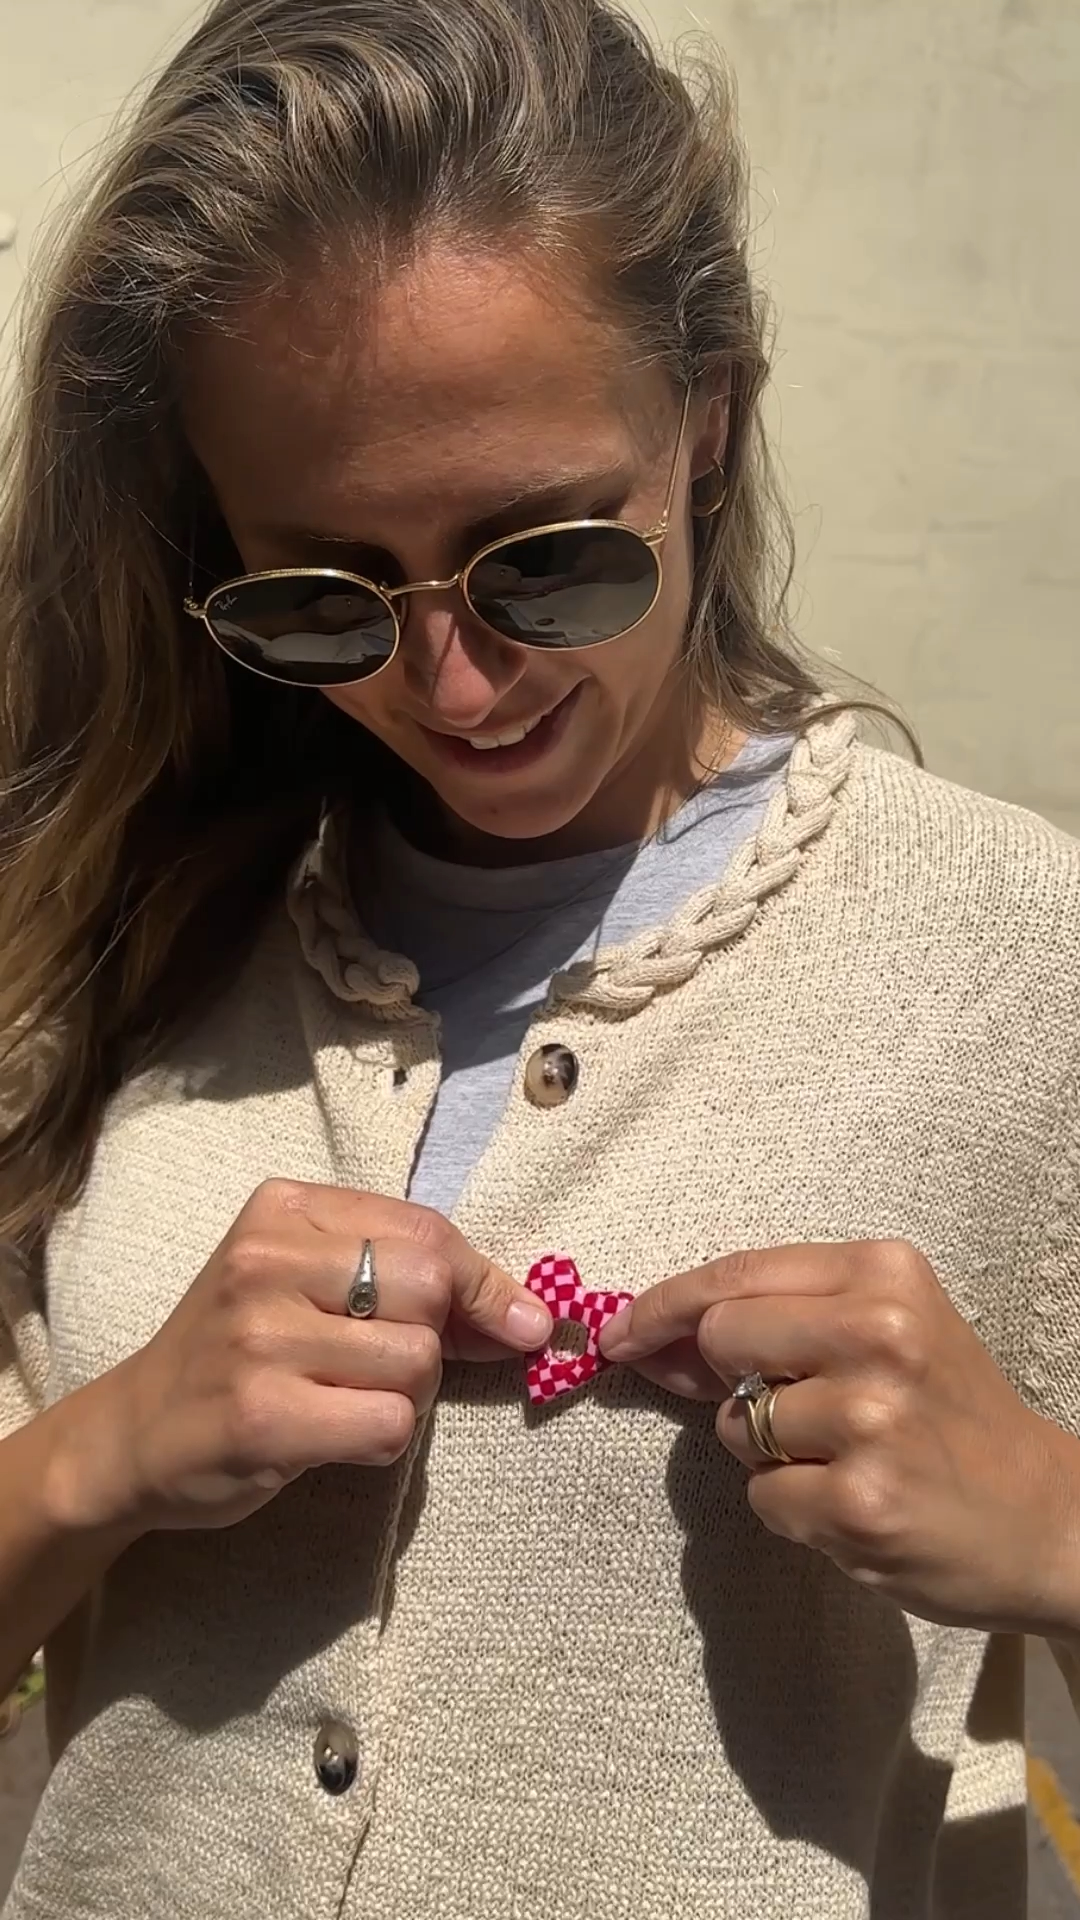

the best bit is how that centre opening turns a painted clay shape into something genuinely useful. pinned to a knitted top or the waistband of jeans, the sunglasses hook through neatly and stay close instead of disappearing into a bag.
the 8mm thickness earned its keep too. it gives the shapes enough presence for bold stripes and checks, and they still dried without a single crack. the glossy resin is the detail that makes them feel properly finished.
next time i'd happily make a much bigger batch in more mismatched colours.
at 8mm these sit in the medium category, so 24-48 hours. thinner pieces are quicker, sculptural ones take considerably longer. only sand or paint once the piece feels completely dry throughout. full drying guide here.
around 60mm wide and 60mm high depending on the shape, with a 15mm central opening and at least 8mm of clay around it.
no. resin gives the glassiest finish and protects the paint best, but gloss mod podge or a clear acrylic varnish will seal it just fine. whichever you use, the paint and the clay both need to be bone dry first.
yes, and it's what gives these their shine. check your resin is suitable for painted craft surfaces and follow its guidance on layer thickness and curing time.
a lapel or tie-tack style fitting with a flat round glue pad, a short post and a butterfly clutch. a 10mm pad gives the glue enough surface area to hold securely.
- making the central opening too small, or leaving too little clay around it
- sanding or painting before the clay is dry all the way through
- taking the resin out from under the lamp before it's fully cured
more like this
looking for more DIY inspiration? Take a look at some other projects I've done similar to this one.

join my monthly craft club
pop your email in and i'll send you the free air dry clay starter kit - plus a monthly drop of new bits, behind-the-scenes chaos, and ideas to brighten your brain.