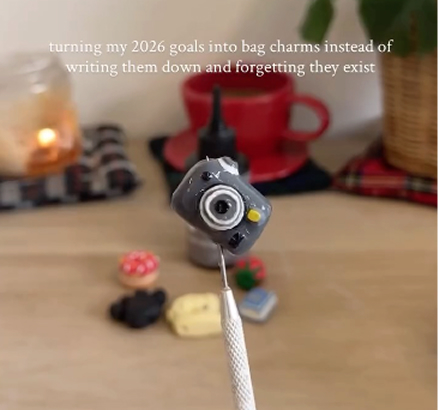
diy polymer clay lighter cases 🍒🍌
a playful, beginner-friendly craft that turns everyday lighters into glossy, custom mini works of art
🎨 completely customisable with endless designs
⚡ quick win you can finish in one sitting
🎁 makes a brilliant handmade gift
learn how to make diy polymer clay lighter cases in just a couple of hours. this beginner-friendly project is perfect for adding personality to everyday objects or creating small handmade gifts. the finished cases are fully functional, removable, and sealed with a glossy resin finish.
• a standard lighter
• foil
• polymer clay
• rolling pin
• craft knife
• ruler
• small paintbrush
• acrylic paint
• UV resin
• UV lamp (365–405 nm)
tip: aim for around 6mm thickness when rolling your clay so it feels sturdy but still easy to wrap.

Welcome to my online studio of arts, crafts, and everything in between! I post regular DIY crafts here as well as on my social channels to help give everyone of every skill-level the opportunity to create beautiful, handmade gifts and decorations. If you want regular projects delivered to your inbox, use the form below, or follow me on socials!
the idea 💭
I’ve always loved those tiny everyday objects that somehow end up feeling really personal. lighters are one of them. they’re everywhere, but they’re also kind of boring.
I wanted to see if I could turn something so simple into something you’d actually want to keep on display. something playful and colourful.
the idea was to build a removable clay case that still lets the lighter work properly. that meant keeping the shape clean and not blocking any of the important bits.
once the base was sorted, it was time for the fun part. adding cherries, trying tie dye (which… didn’t quite work), and then switching to bananas instead.
such a fun craft, and you can make so many and switch out your lighter for whichever one you're in the mood for that day 💖
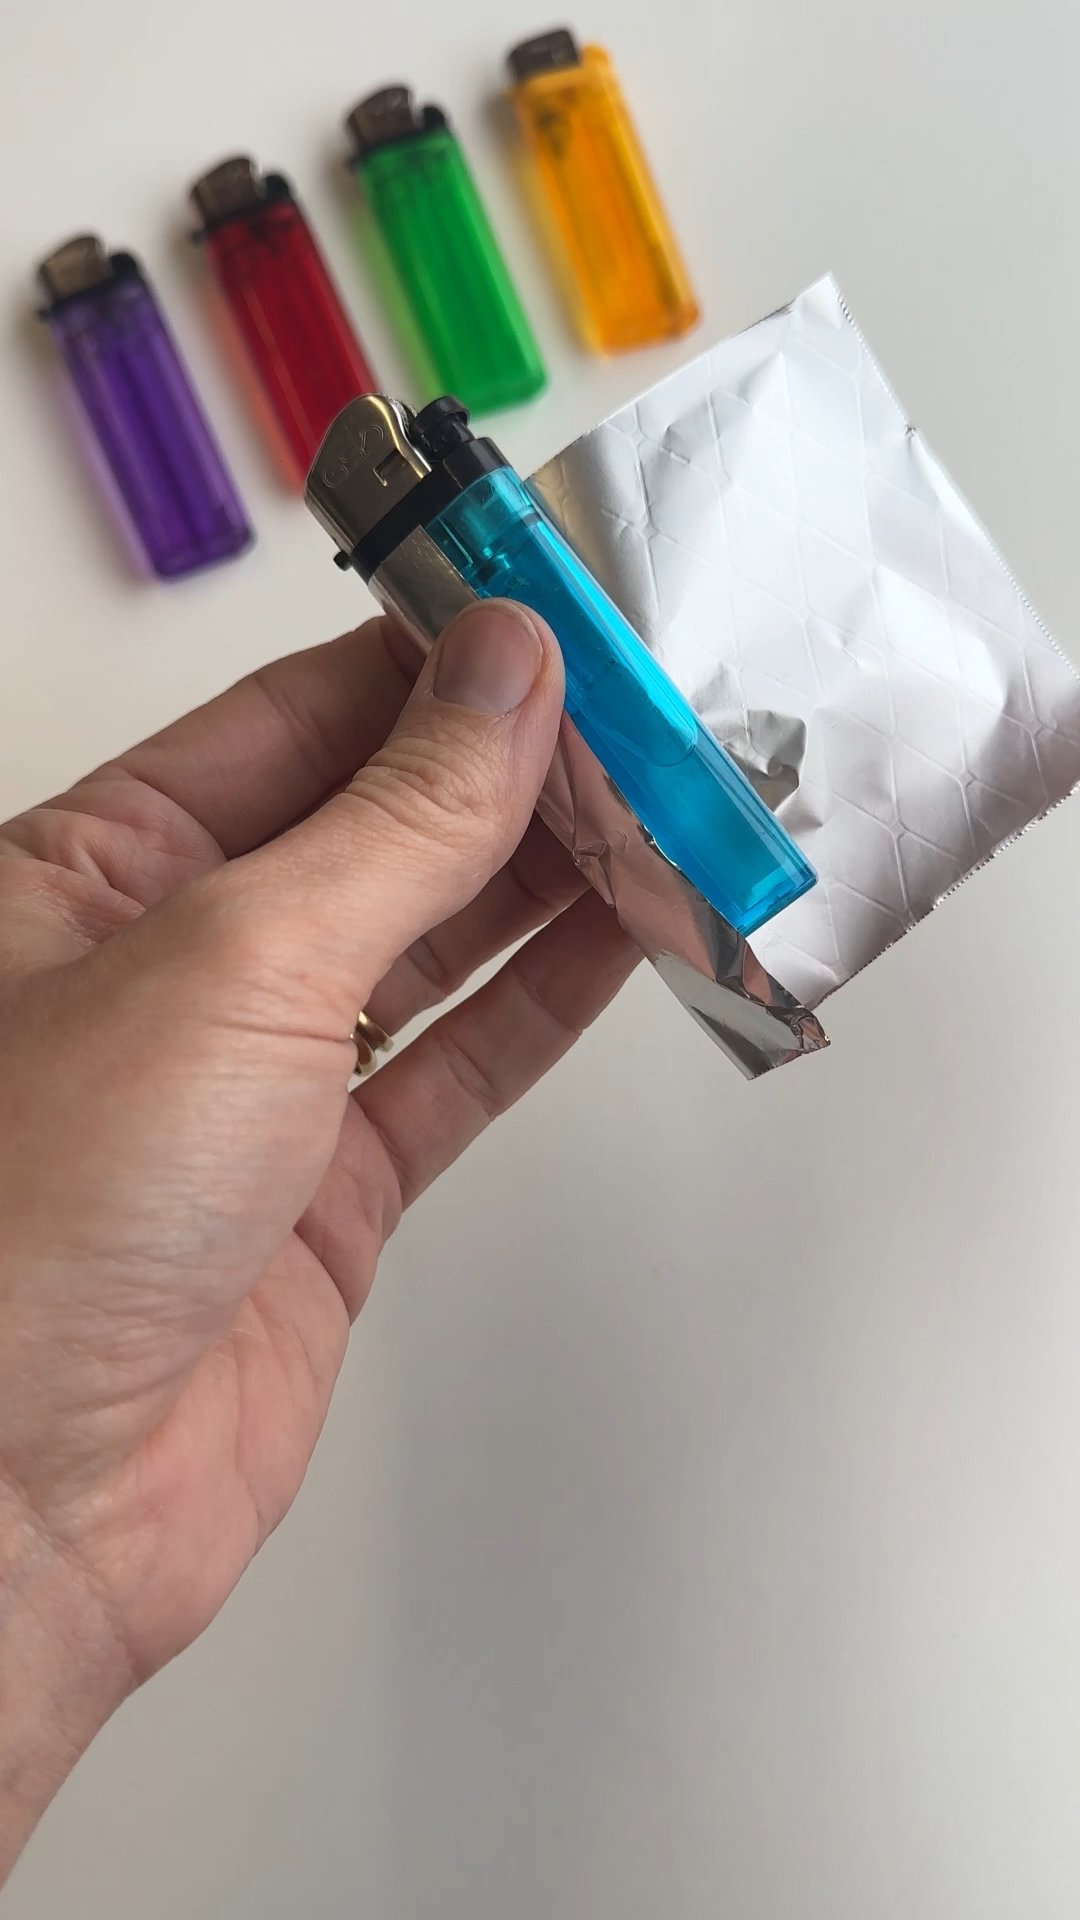
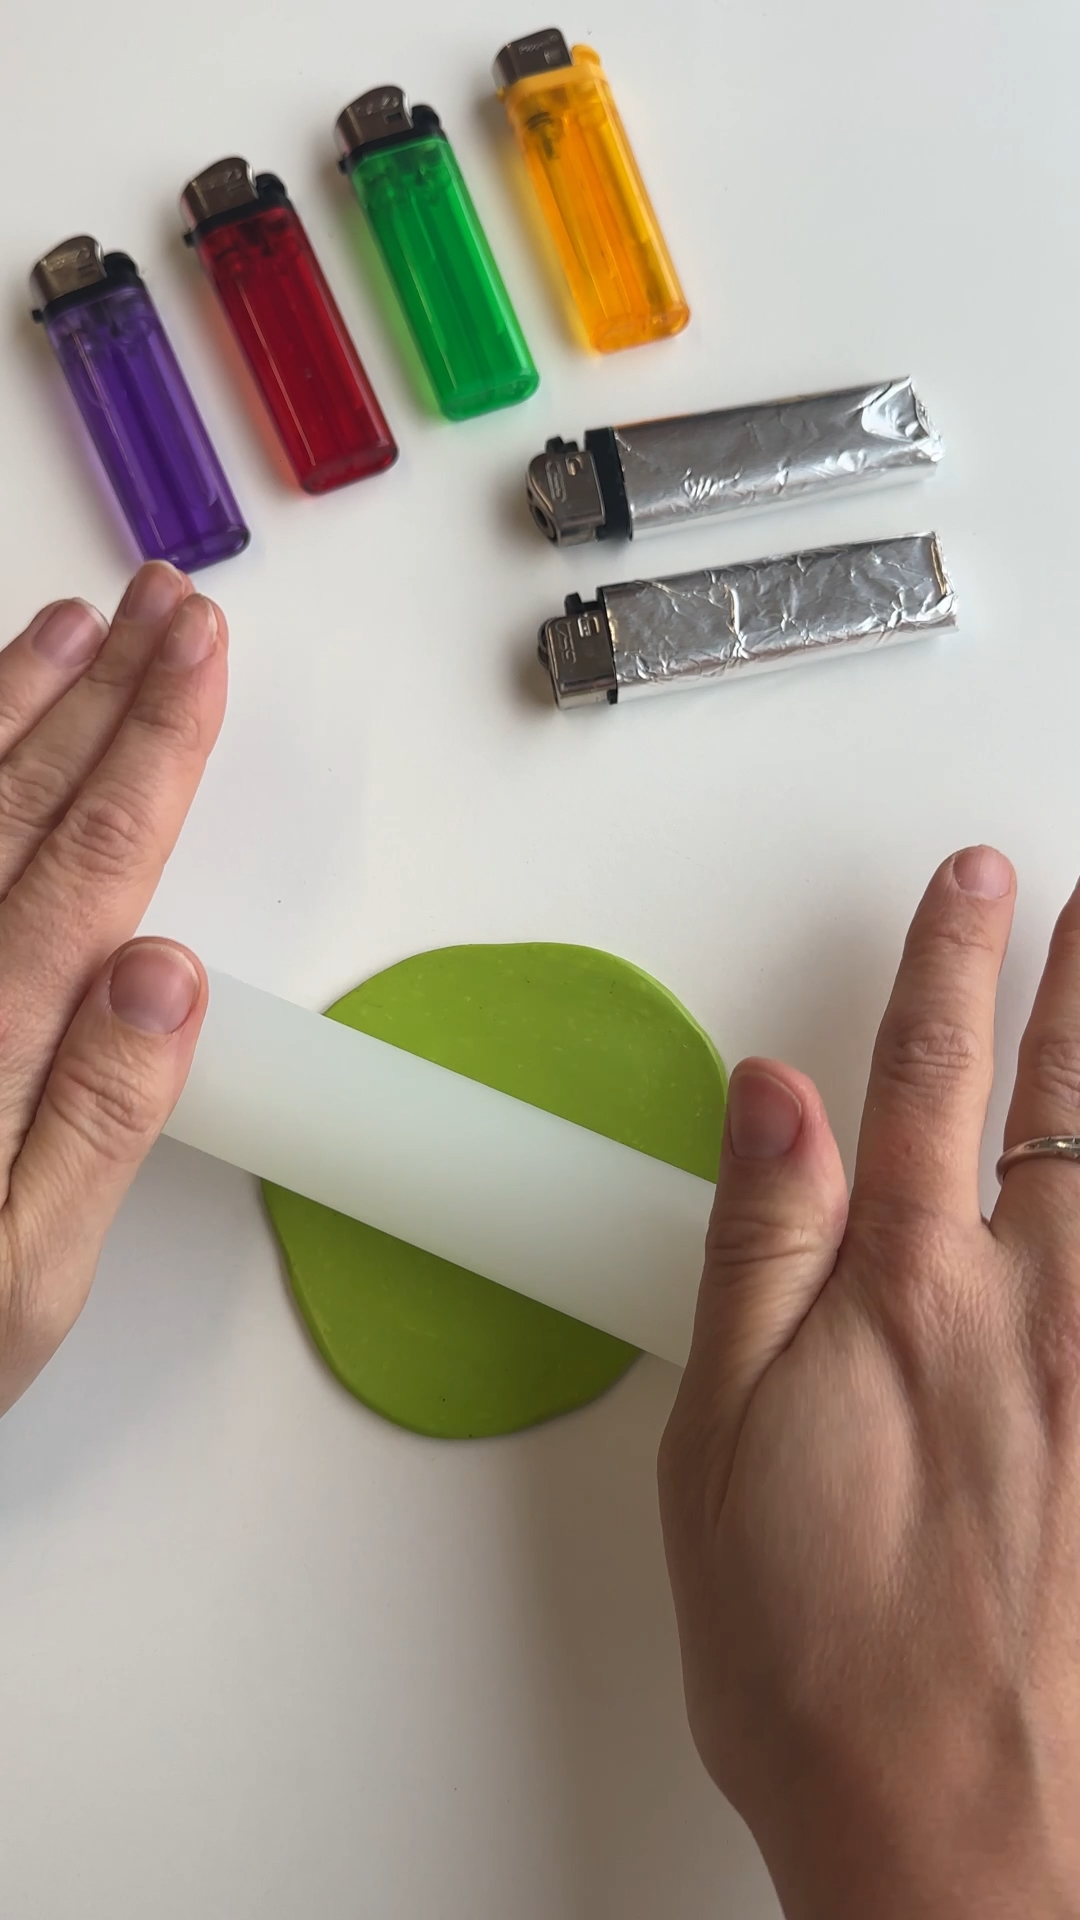
step 1: wrap the lighter to create a base layer
cut a piece of foil and wrap it tightly around your lighter. press and scrunch it so it fits neatly, especially around the bottom.
this creates a barrier so your clay case doesn’t stick permanently.
tip: make sure the top mechanism stays completely clear so the lighter can still spark safely.

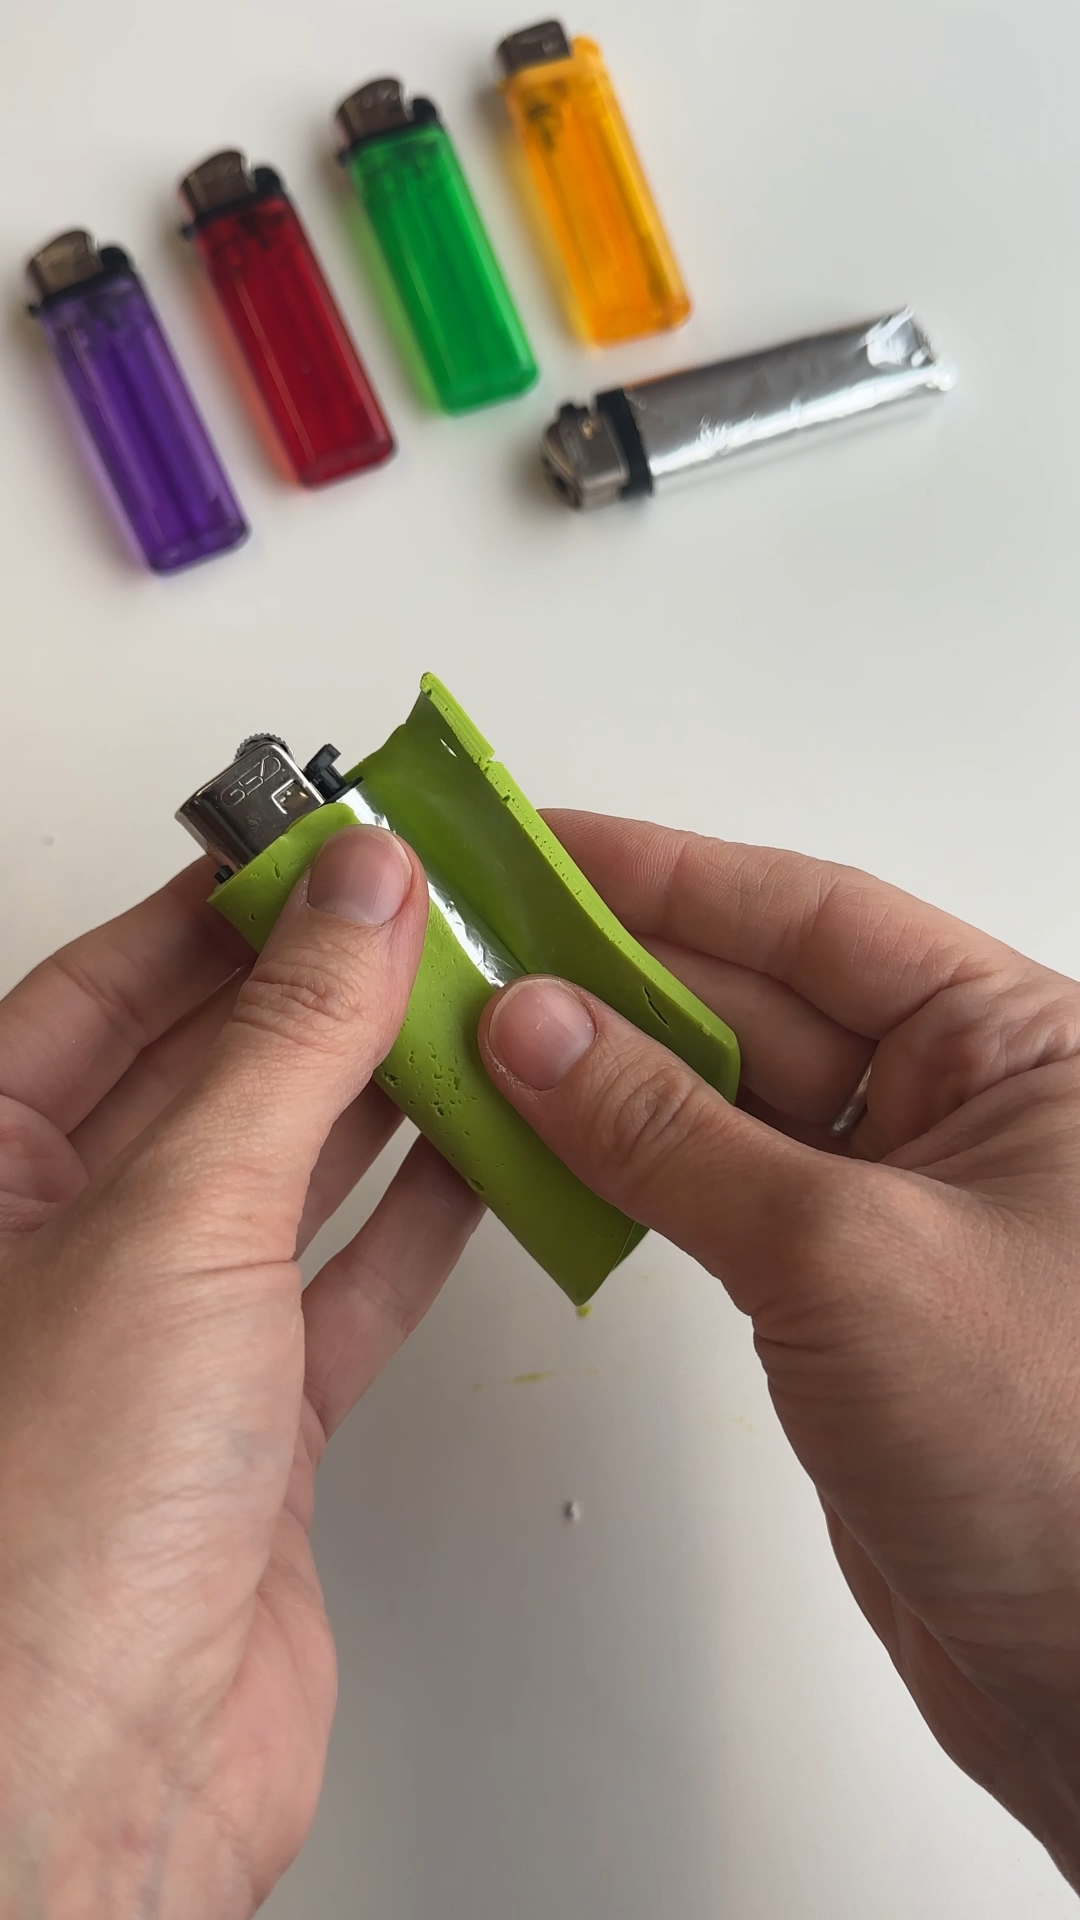
step 2: shape and wrap the clay casing
roll out your polymer clay to roughly 6mm thick, then cut it to match the size of your lighter.
wrap the clay around the foil-covered lighter and gently press it into place. blend the seam until it feels smooth and continuous.
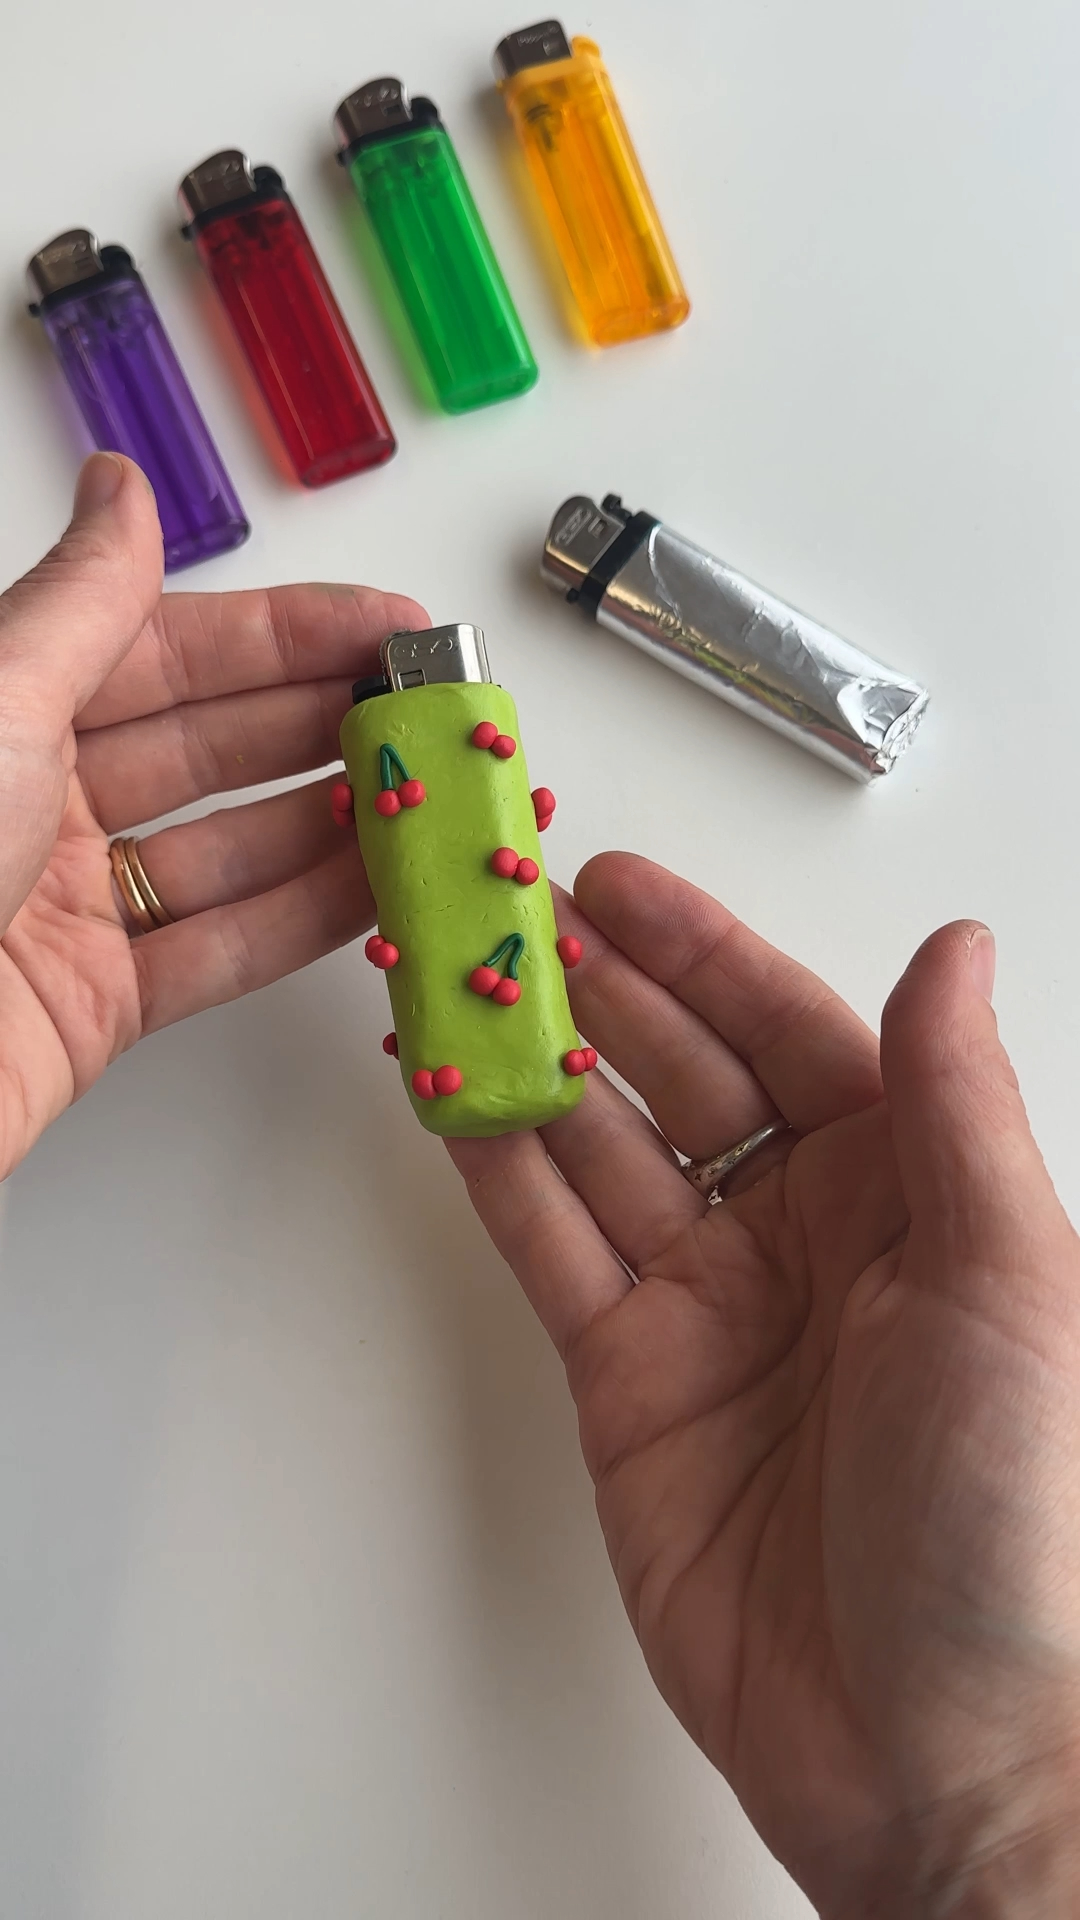
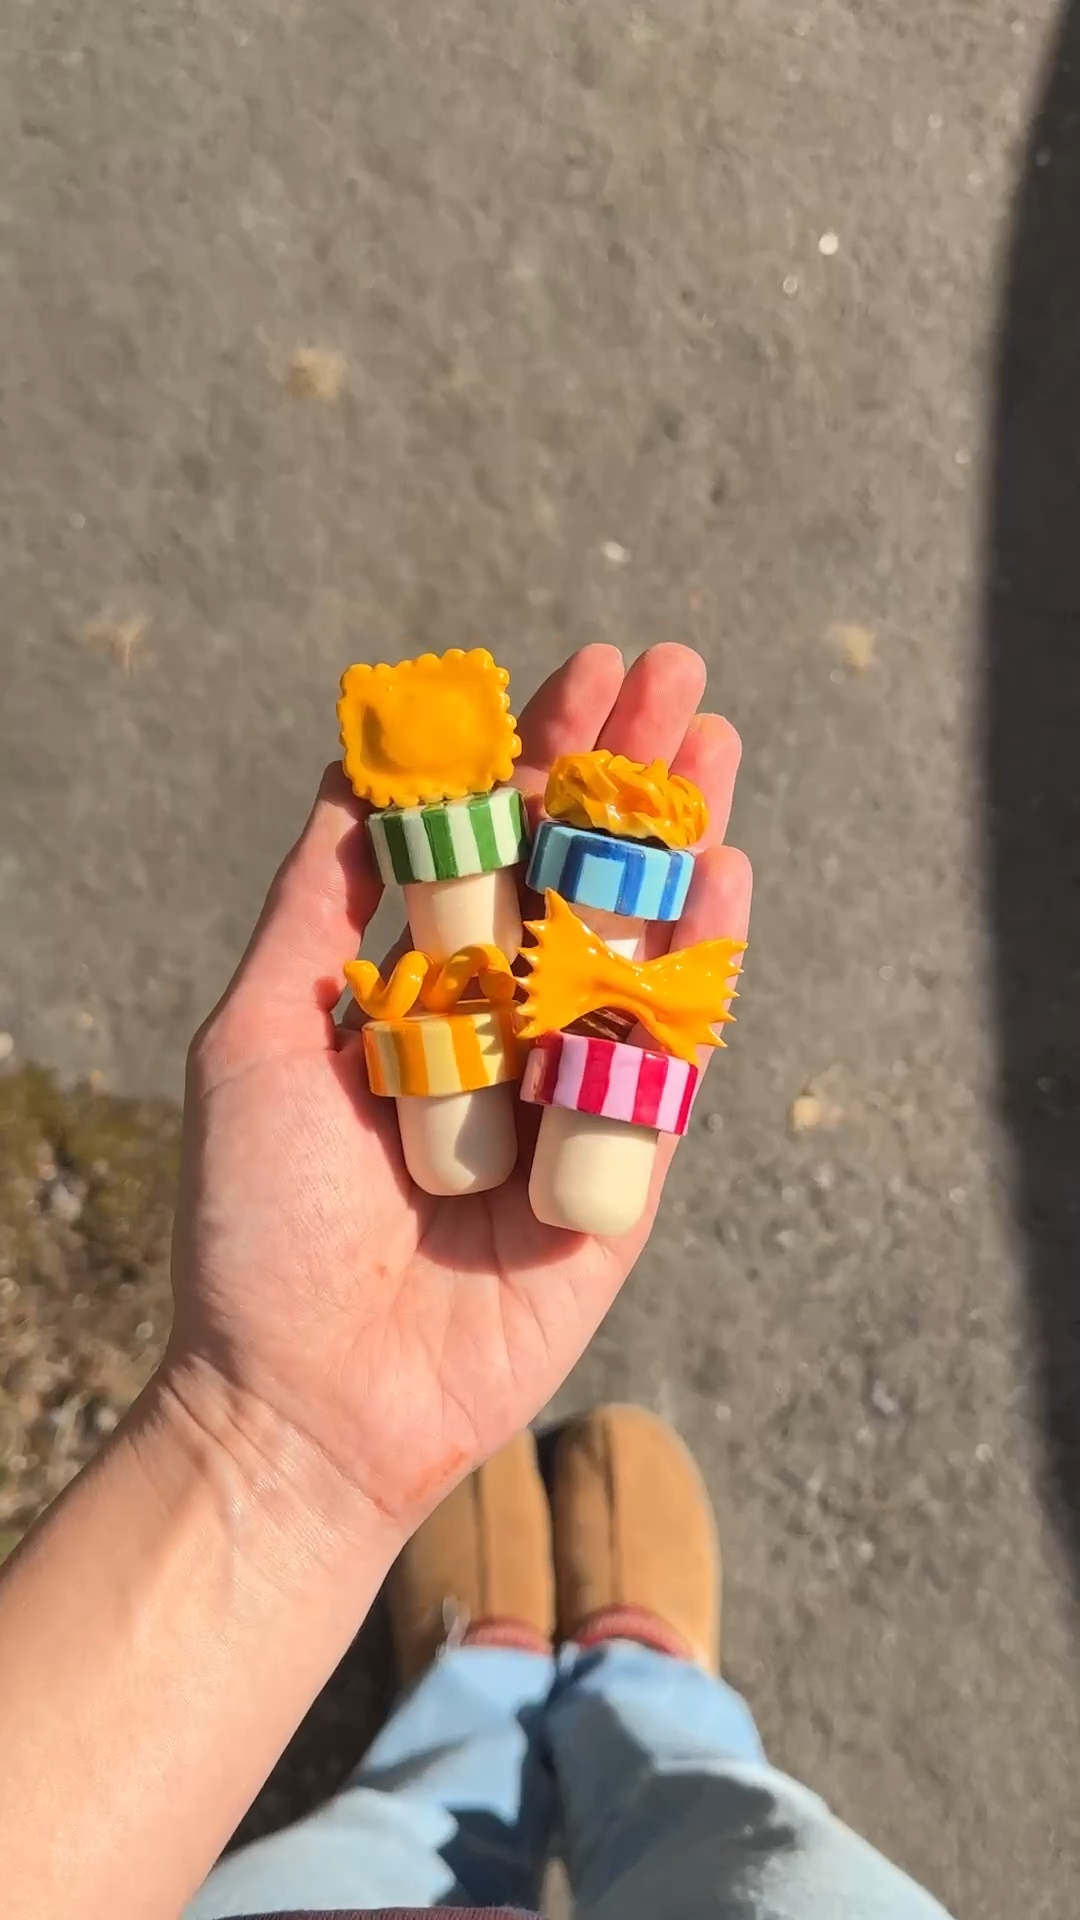
step 3: add your decorative elements
create small shapes like cherries or bananas and press them onto the surface.
for the bananas, shape small curved pieces and attach them evenly around the lighter. for cherries, roll tiny balls and add stems.
step 4: paint and refine the details
use a small brush and acrylic paint to add details like banana tips or texture.
this step really brings the designs to life and makes them feel more finished.
tip: use a very light hand with paint. a little goes a long way here.

step 5: bake and seal the finish
place your pieces in the oven and bake at 130°C for around 20 minutes (within the 275°F / 130–135°C guideline of 15–30 minutes per 6mm thickness).
once cooled, apply a layer of UV resin and cure under a 365–405 nm UV lamp for 2–4 minutes until glossy and set.


the verdict 👩⚖️
the fit is SO satisfying. the foil lining means the lighter slides in and out smoothly without catching. I could slide them in and out all day 😂
I already know I’m going to make loads more of these. they’re the kind of thing you can swap out depending on your mood, the season, or even just the outfit you’ve got on that day.
I think these will make great gifts. so quick to make, and so easy to personalise. exactly the kind of thing people don’t buy for themselves but absolutely love getting.
you can, but it won’t be as durable or heat-resistant as polymer clay. polymer clay is a better choice for something handled often.
a general rule is 15–30 minutes per 6mm of thickness at 130–135°C. for this project, baking at 130°C for around 20 minutes worked well.
yes, as long as the ignition area is left clear and uncovered. always avoid placing clay near the flame opening.
not essential, but it gives that glossy finish and adds durability. without it, the surface will stay more matte.
using a 365–405 nm UV lamp, it typically cures in around 2–4 minutes depending on thickness.
• making the clay too thin
• covering the lighter mechanism
• rushing the resin curing
.jpg)
.jpg)
.jpg)
.jpg)
.jpg)
.jpg)
.jpg)
.jpg)
.jpg)
.jpg)
more like this
looking for more DIY inspiration? Take a look at some other projects I've done similar to this one.
join my monthly craft club
a monthly drop of new bits, behind-the-scenes chaos, and ideas to brighten your brain. pop your email in and i’ll send you something nice