diy polymer clay hair pins 🍓🌸
a sunny little polymer clay project for making colourful strawberry and flower hair pins that actually hold your hair
🍓 playful and wearable
🌸 easy to customise with any shape, any colour, any vibe
☀️ perfect for a crafty afternoon in the sun
✨ surprisingly sturdy once the resin’s on
🎁 genuinely giftable - they look way more boutique than they should
learn how to make diy polymer clay hair pins using colourful clay and a glossy uv resin top coat. this beginner-friendly project is perfect for a summery craft afternoon, and the finished pins are actually useful - they slide through a bun or half-up twist and hold your hair like a shop bought accessory.
I made a strawberry and a flower, but the whole point is that once you’ve got the shape + pin combo down, you can swap in literally anything: stars, hearts, shells, bows, your initials, a tiny pumpkin in october. endless versions 🥰
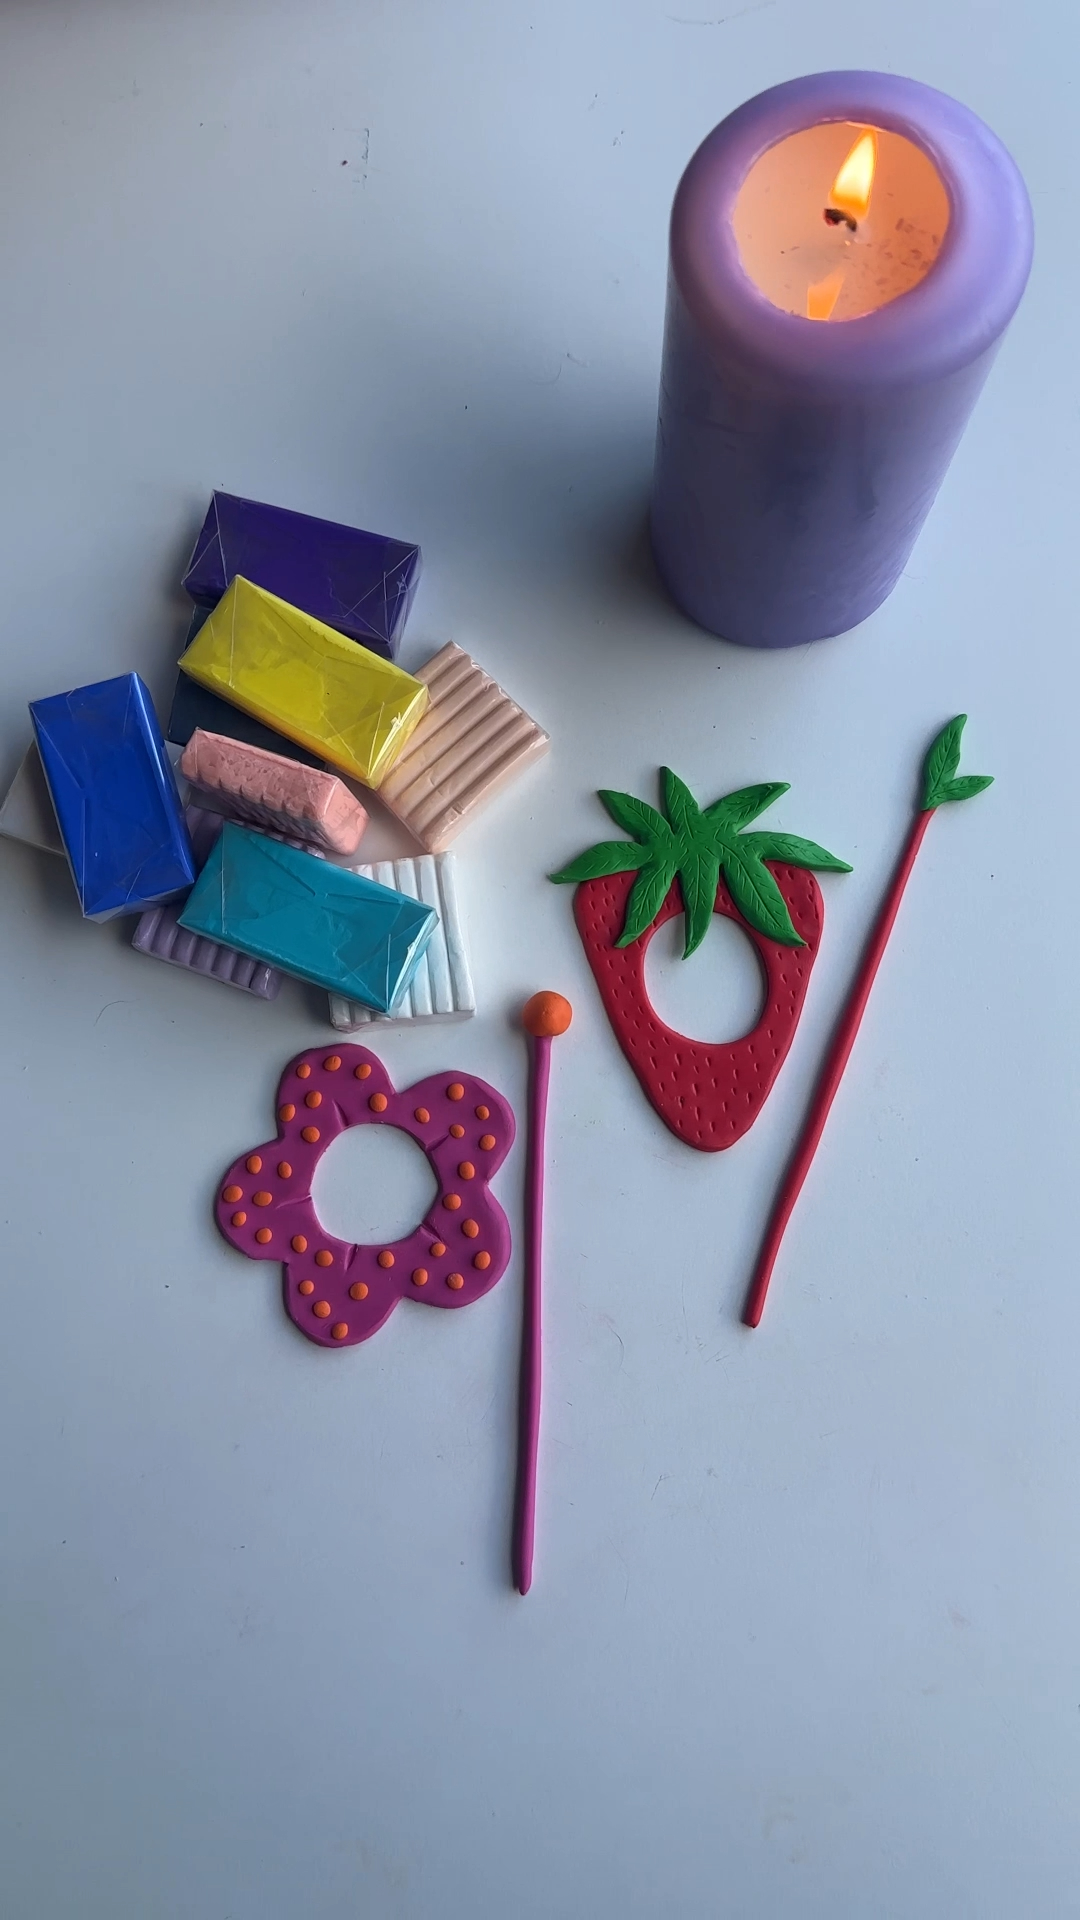
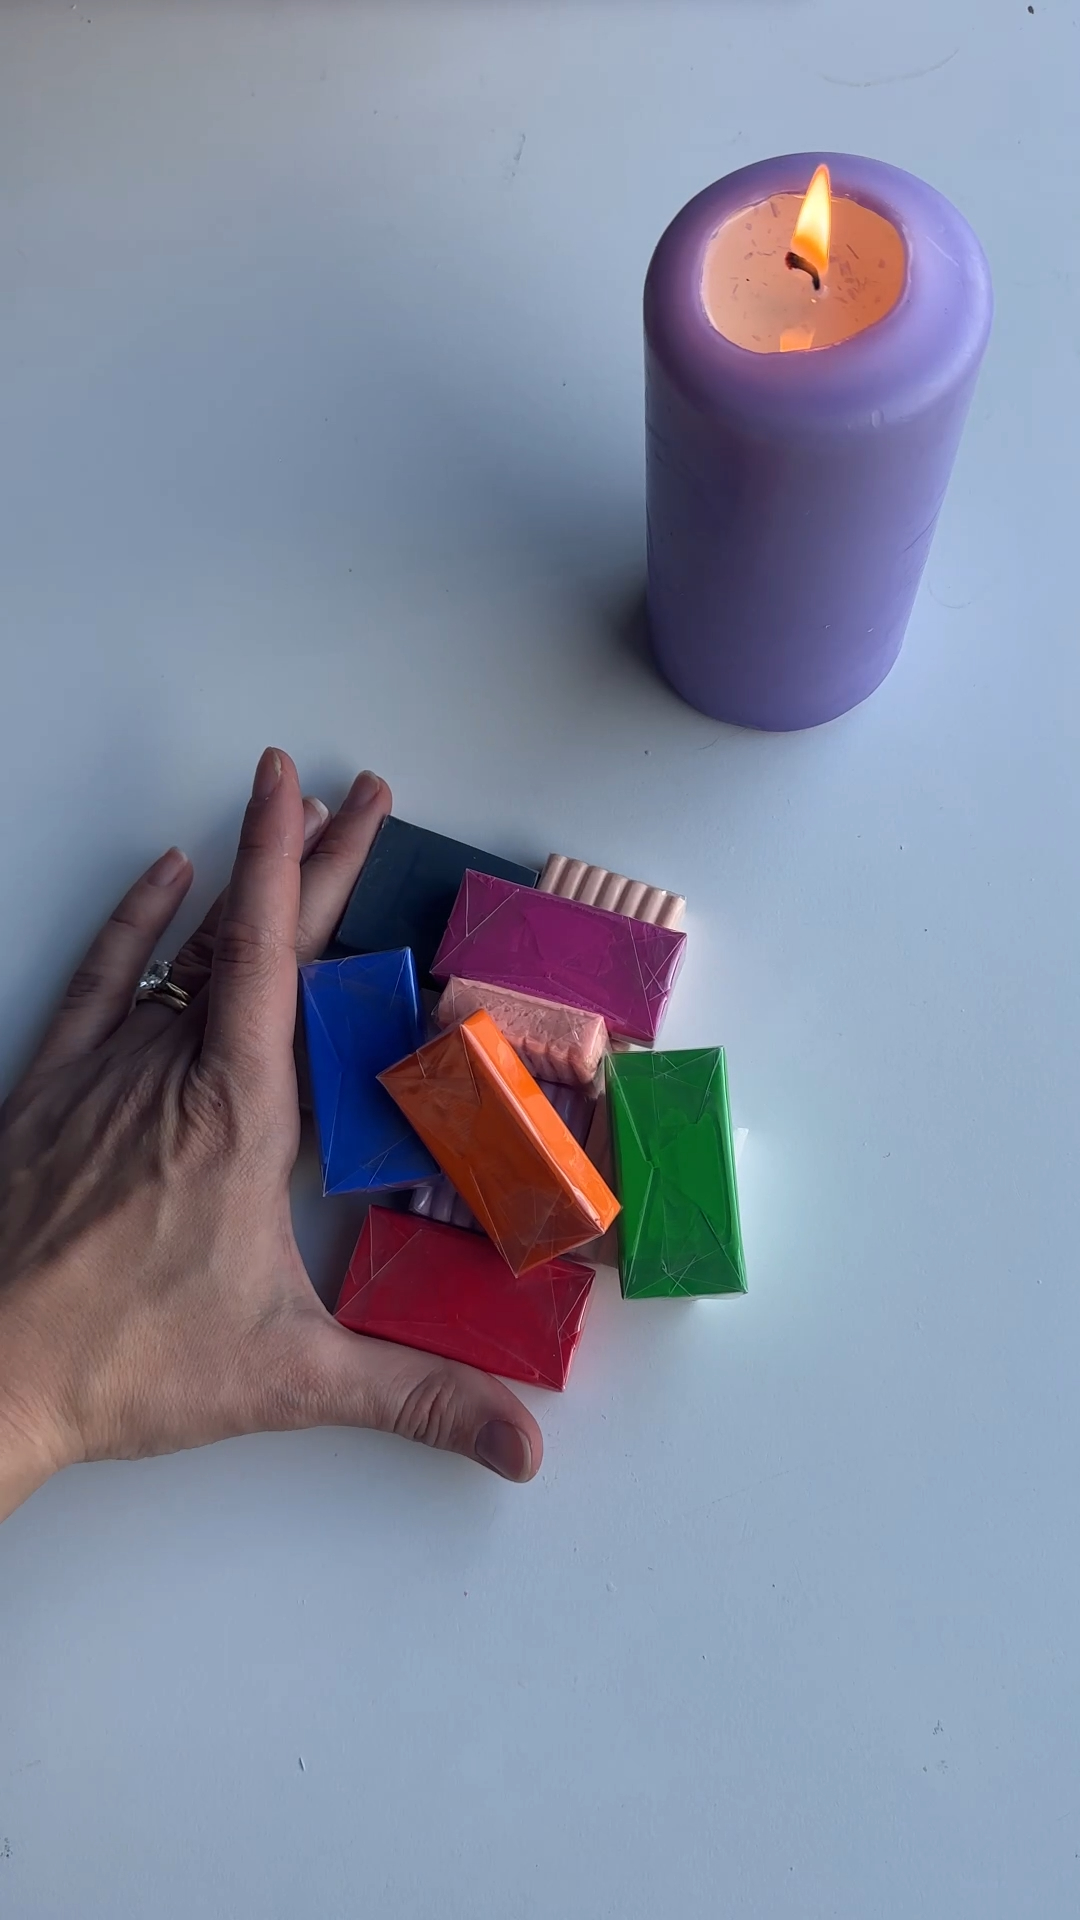
- polymer clay in your chosen colours
- clear uv resin
- rolling pin (a smooth glass or acrylic one if you have it)
- craft knife or clay blade
- needle tool (for the seed marks and surface details)
- a prit stick glue lid, or similar small round cutter — more on this in a sec 👇
- oven
- uv lamp
- small brush for resin
- gloves for handling resin
safety tip: work in a ventilated space when using uv resin, wear gloves, avoid skin contact, and always cure the resin fully before handling. tacky resin = not done yet.

Welcome to my online studio of arts, crafts, and everything in between! I post regular DIY crafts here as well as on my social channels to help give everyone of every skill-level the opportunity to create beautiful, handmade gifts and decorations. If you want regular projects delivered to your inbox, use the form below, or follow me on socials!
the idea 💭
this came from wanting a craft that felt full sun. the kind of thing you could make outside on a picnic blanket, with a pile of colourful clay on the table, a tea going lukewarm next to you and absolutely no pressure for everything to match.
I wanted to make hair pins that felt fun first, but still worked as actual accessories. the centre hole was the important bit — the pin has to slide through and hold the hair rather than just look cute sitting on the table.
the little worry was whether polymer clay would feel strong enough once it was baked. a hair pin has to take a bit of movement, especially when you’re twisting it through a bun. so I kept the clay around 2–3mm thick, kept the details soft, and finished everything with uv resin for that glossy, strengthened top coat. honestly?? the resin is what tips these from “cute craft thing” to “oh wait, that looks shop-bought”.
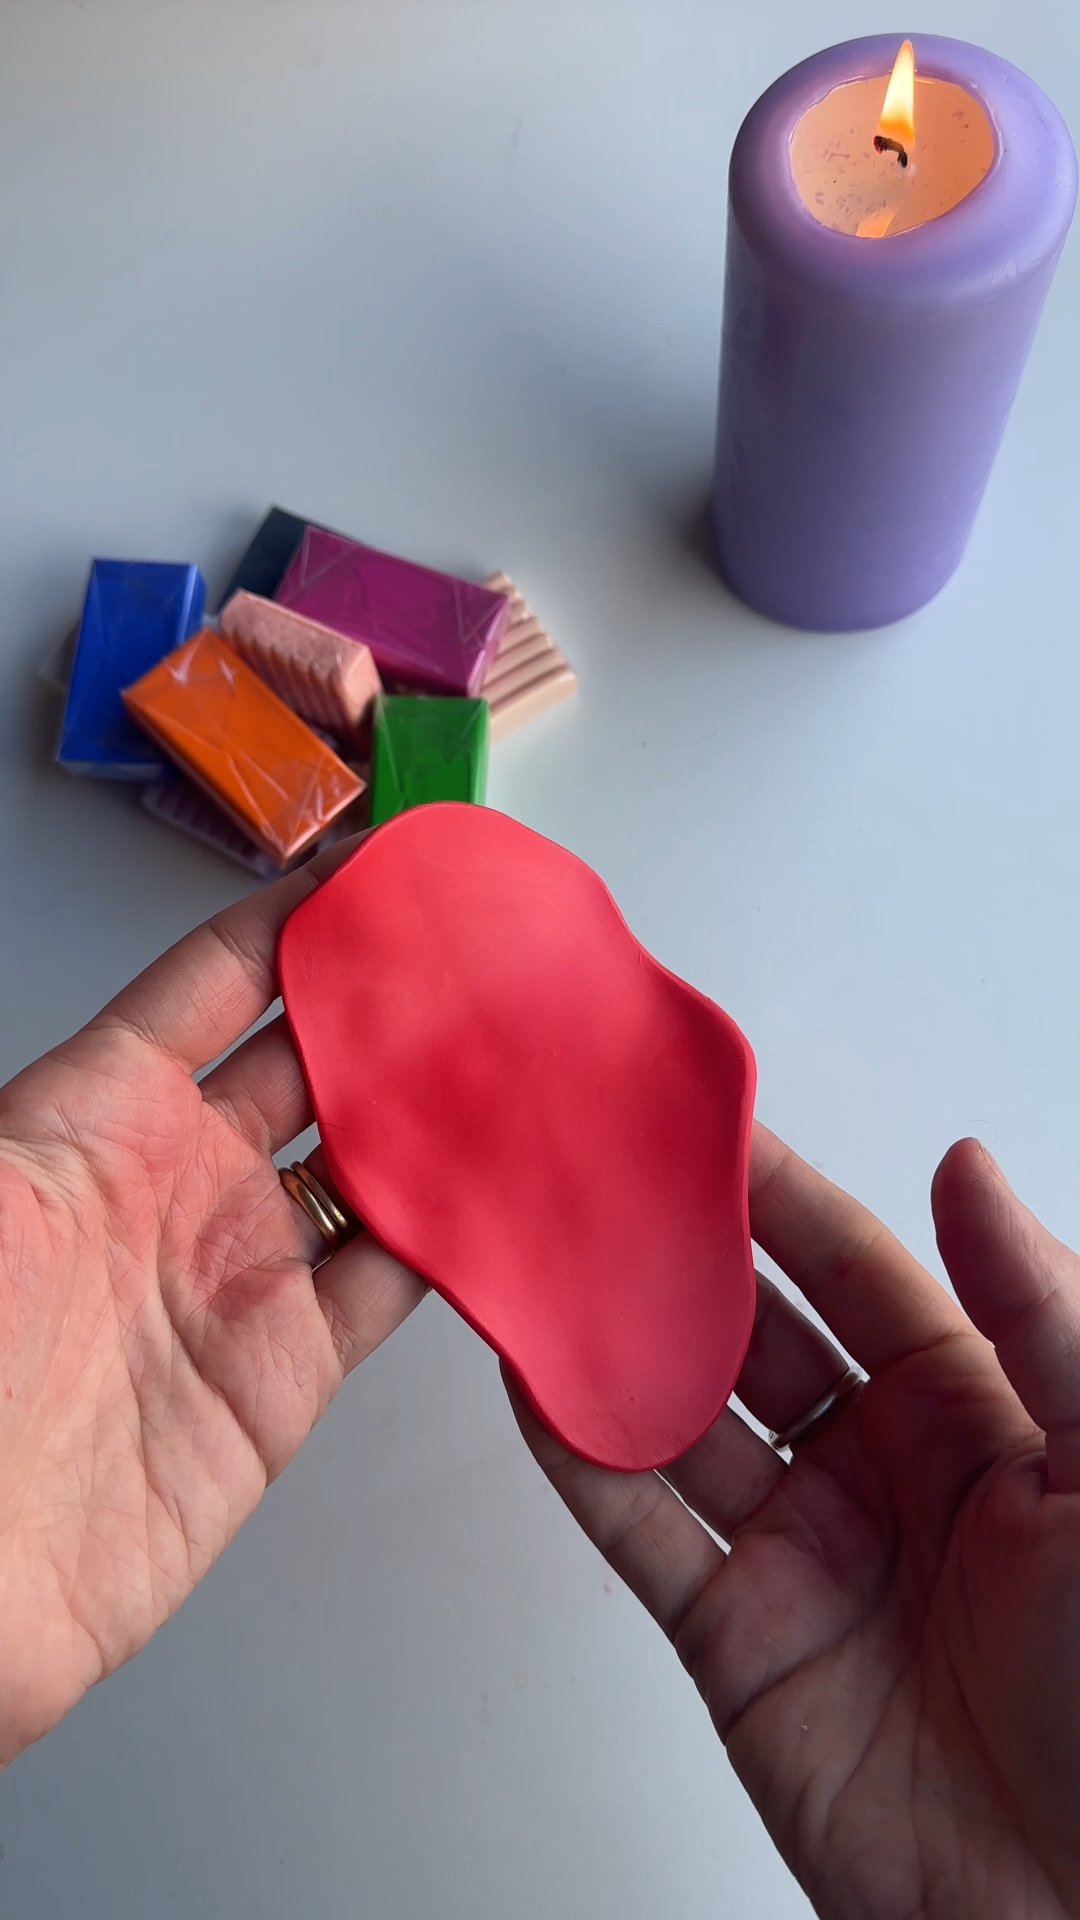
step 1: roll and cut the main hair pin shape
roll out your polymer clay to around 2–3mm thick. you want it to feel sturdy enough to hold its shape, but not so thick that it ends up bulky and heavy in your hair.
cut out your main design. I made a strawberry and a flower, but you could go with stars, hearts, shells, bows, mini pumpkins, your initial — whatever your vibe.
then use a prit stick glue lid (or similar small round cutter) to cut the centre hole. this is the bit the pin will eventually slide through, so size it on the generous side.
tip: before you bake, do a dry run — make sure the hole is comfortably bigger than the pin you’re planning to roll. clay shrinks a tiny bit when it bakes, and a too-tight hole is the single most common reason these don’t work after curing.

step 2: press in the details
use a needle tool to add the surface details. for the strawberry, press in tiny seed marks in a soft scattered pattern, then add little textured green leaves at the top.
for the flower, shape the petals first (I went with five rounded petals because that just felt right), then add little orange clay dots in the centre for a bold, retro feel — this is where it stops looking like a blob and starts looking like a flower.
this is the part where the design starts to come alive, so take your time and keep the marks soft rather than digging too deeply.

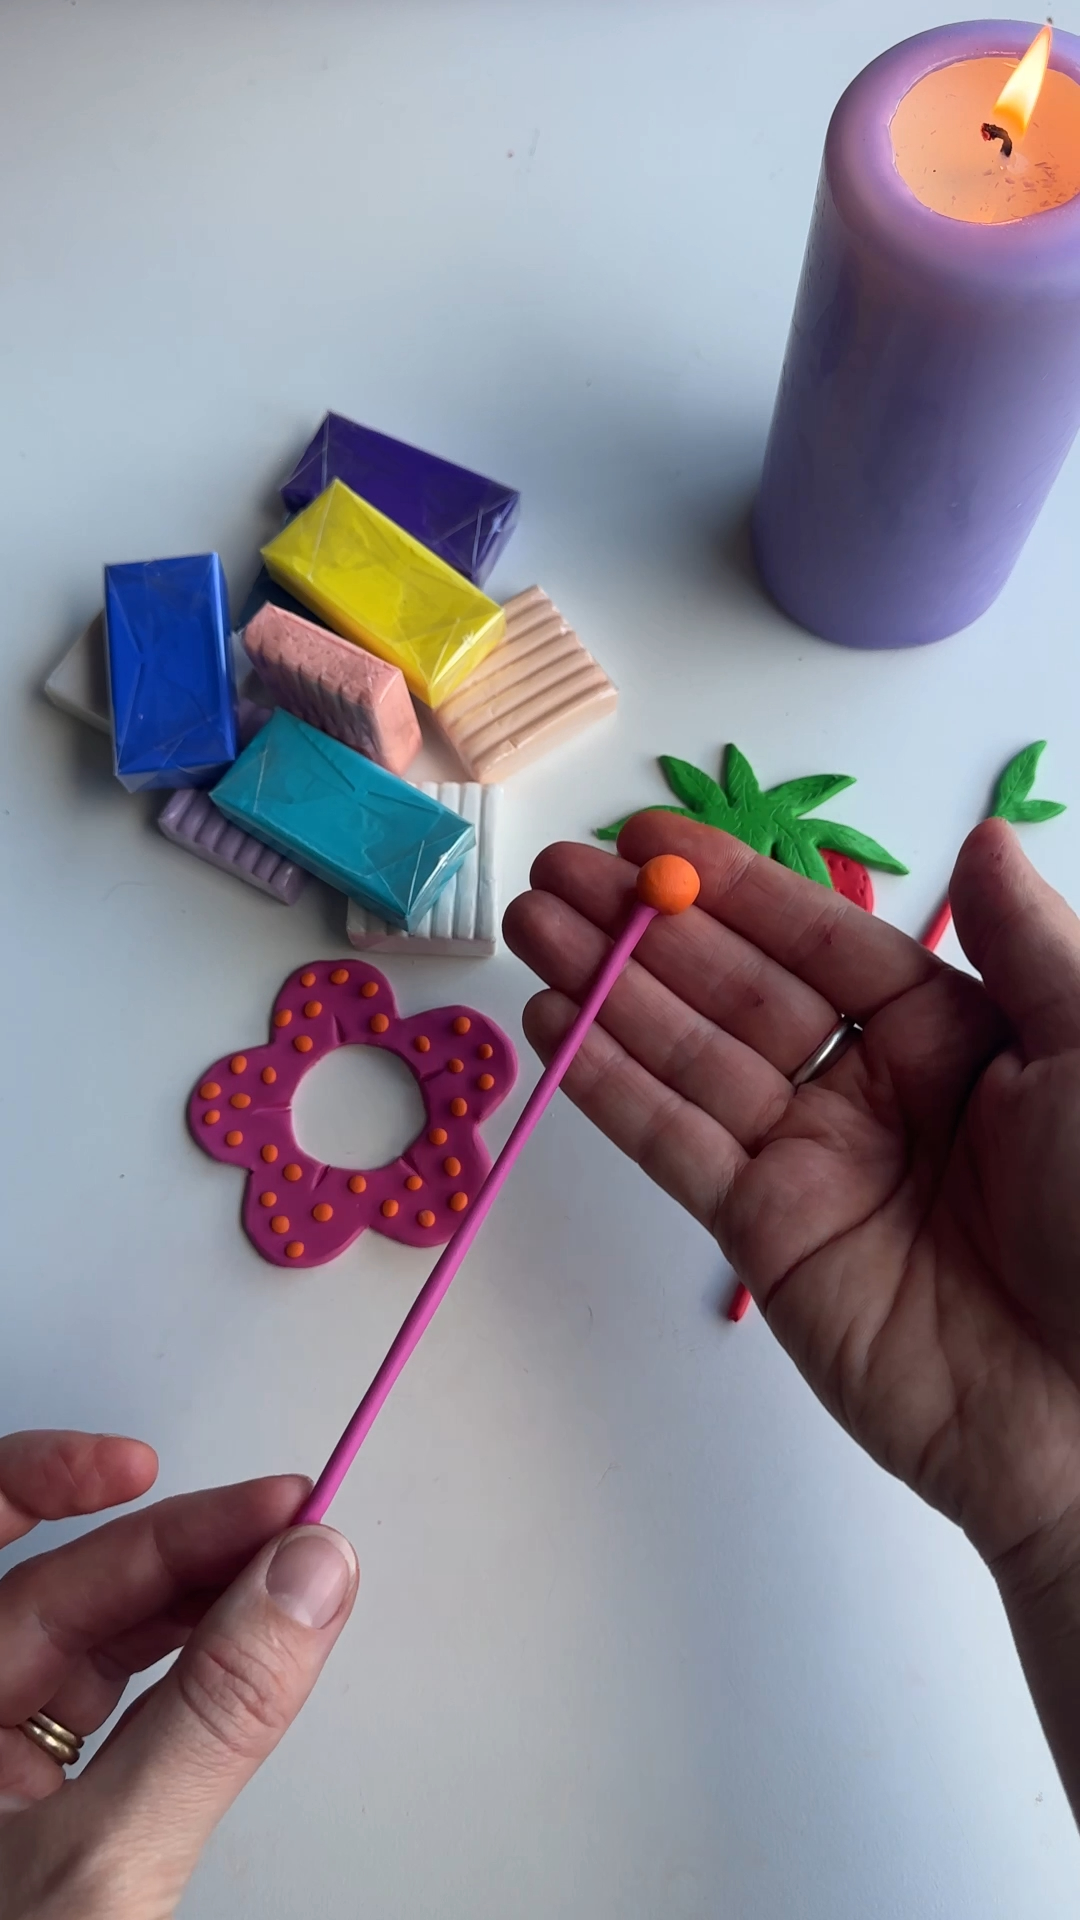
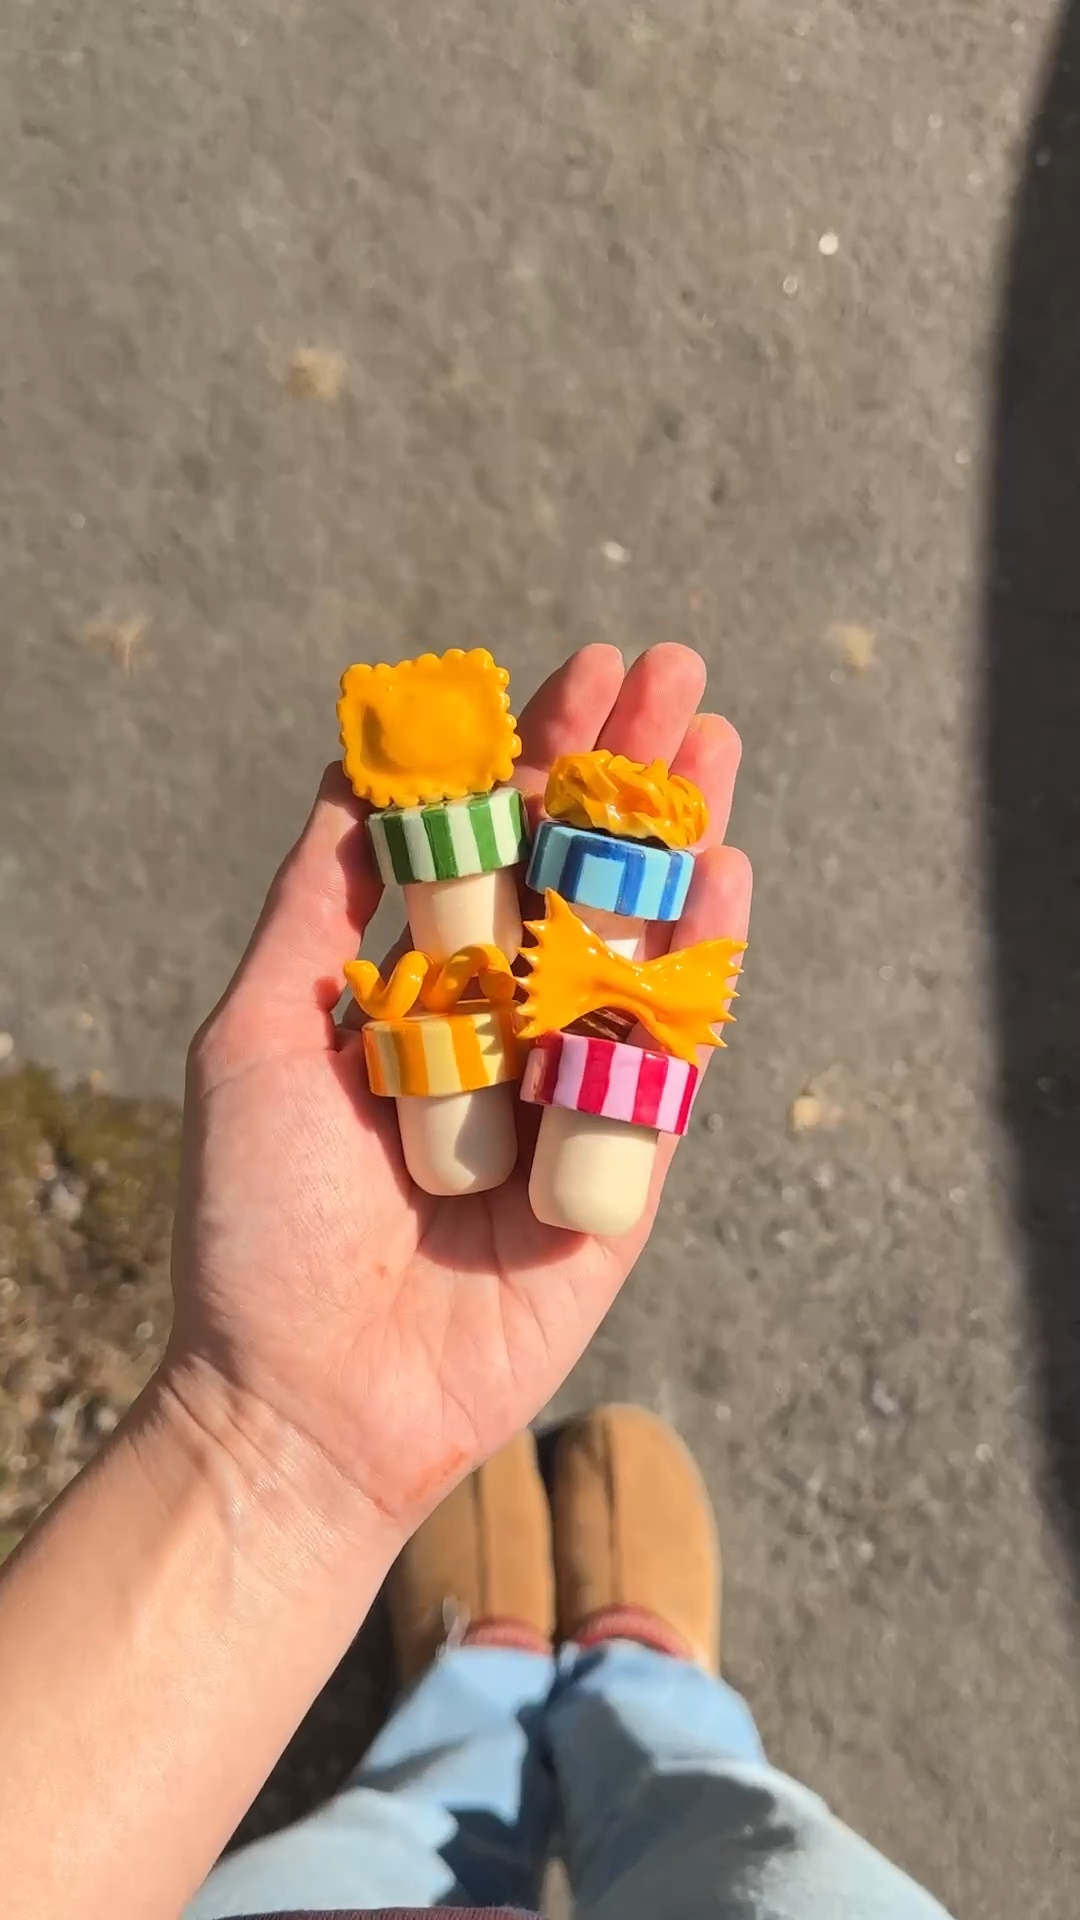
step 3: roll and shape the matching pin
roll a long, thin piece of polymer clay for the pin itself. it needs to be long enough to pass through the hairstyle on one side, through the centre opening on the main shape, and out comfortably on the other side — so go a bit longer than you think.
for the strawberry, I added a little green leaf shape to the end. for the flower, I added a round orange tip to match the dots. it ties the pin and the front piece together so they read as one design.
smooth the joins gently with your fingers or a clay tool so the ends feel secure and seamless.
tip: aim for the thickness of a thin pencil or a coffee stirrer — too skinny and the pin can snap once baked, too thick and it won’t pass through the hair smoothly.
step 4: bake and cool the clay pieces
place the clay pieces on a baking surface (a tile or a foil-lined tray both work brilliantly) and bake them at 275°f / 135°c for 15–30 minutes per inch / 6mm of thickness.
because these pieces are only around 2–3mm thick, keep an eye on them and don’t over-bake — and always cross-check against the guidance on your specific clay packet, because brands vary.
once baked, let everything cool completely before moving on to resin. the pieces should feel firm, not bendy or soft. if they still flex when you press them, give them a couple more minutes.
step 5: coat and cure both sides with resin
brush or drip a thin layer of clear uv resin over one side of the baked clay pieces. cover the surface evenly.
cure thin layers of resin, around 2–3mm, for 30–90 seconds under a uv lamp, or follow your specific resin’s instructions. then flip and repeat on the other side so the pieces feel glossy, sealed and strengthened all over.
don’t forget the pin itself — a thin coat of resin on the long pin piece adds a lovely shine and gives it a bit of extra durability where it’ll be sliding through your hair.
tip: wear gloves, work in a ventilated space, avoid touching uncured resin, and keep curing until the surface is no longer tacky. if it’s still sticky after the recommended time, give it another full cycle — under-cured resin won’t harden later on its own.

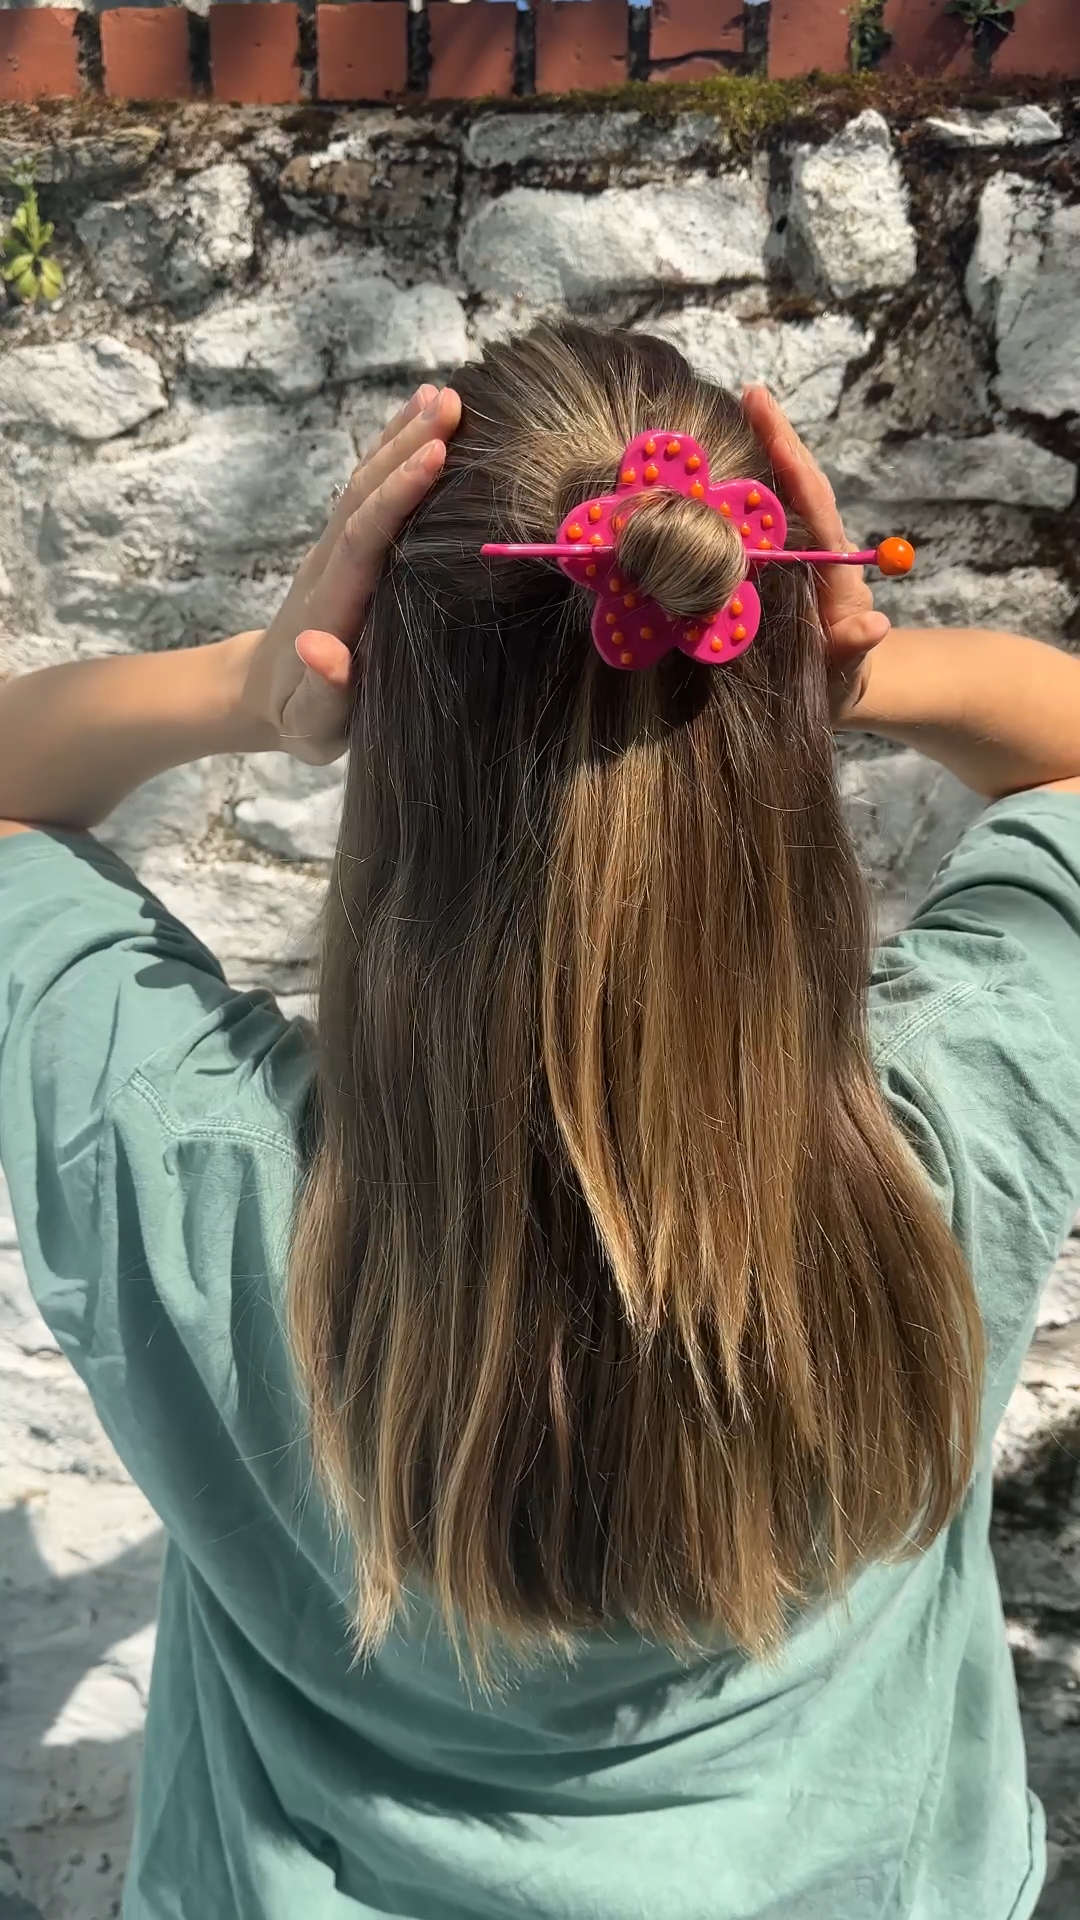
step 6: slide the pin through your hairstyle
gather your hair into a small bun or half-up twist. place the clay shape over the bun, then slide the matching pin through the hair on one side, behind the bun (catching a chunk of hair as you go), through the centre opening, and out the other side.
adjust it gently until it feels secure. the shape should sit flat against the hair, with the pin holding everything in place underneath. give your head a little wiggle — if it shifts, slide the pin out and try catching a bit more hair on the next pass.
try the flower for a bold pop of colour or the strawberry for cute summer look. (or honestly, just make both. wear one, gift one.) 🍓🌸


the verdict 👩⚖️
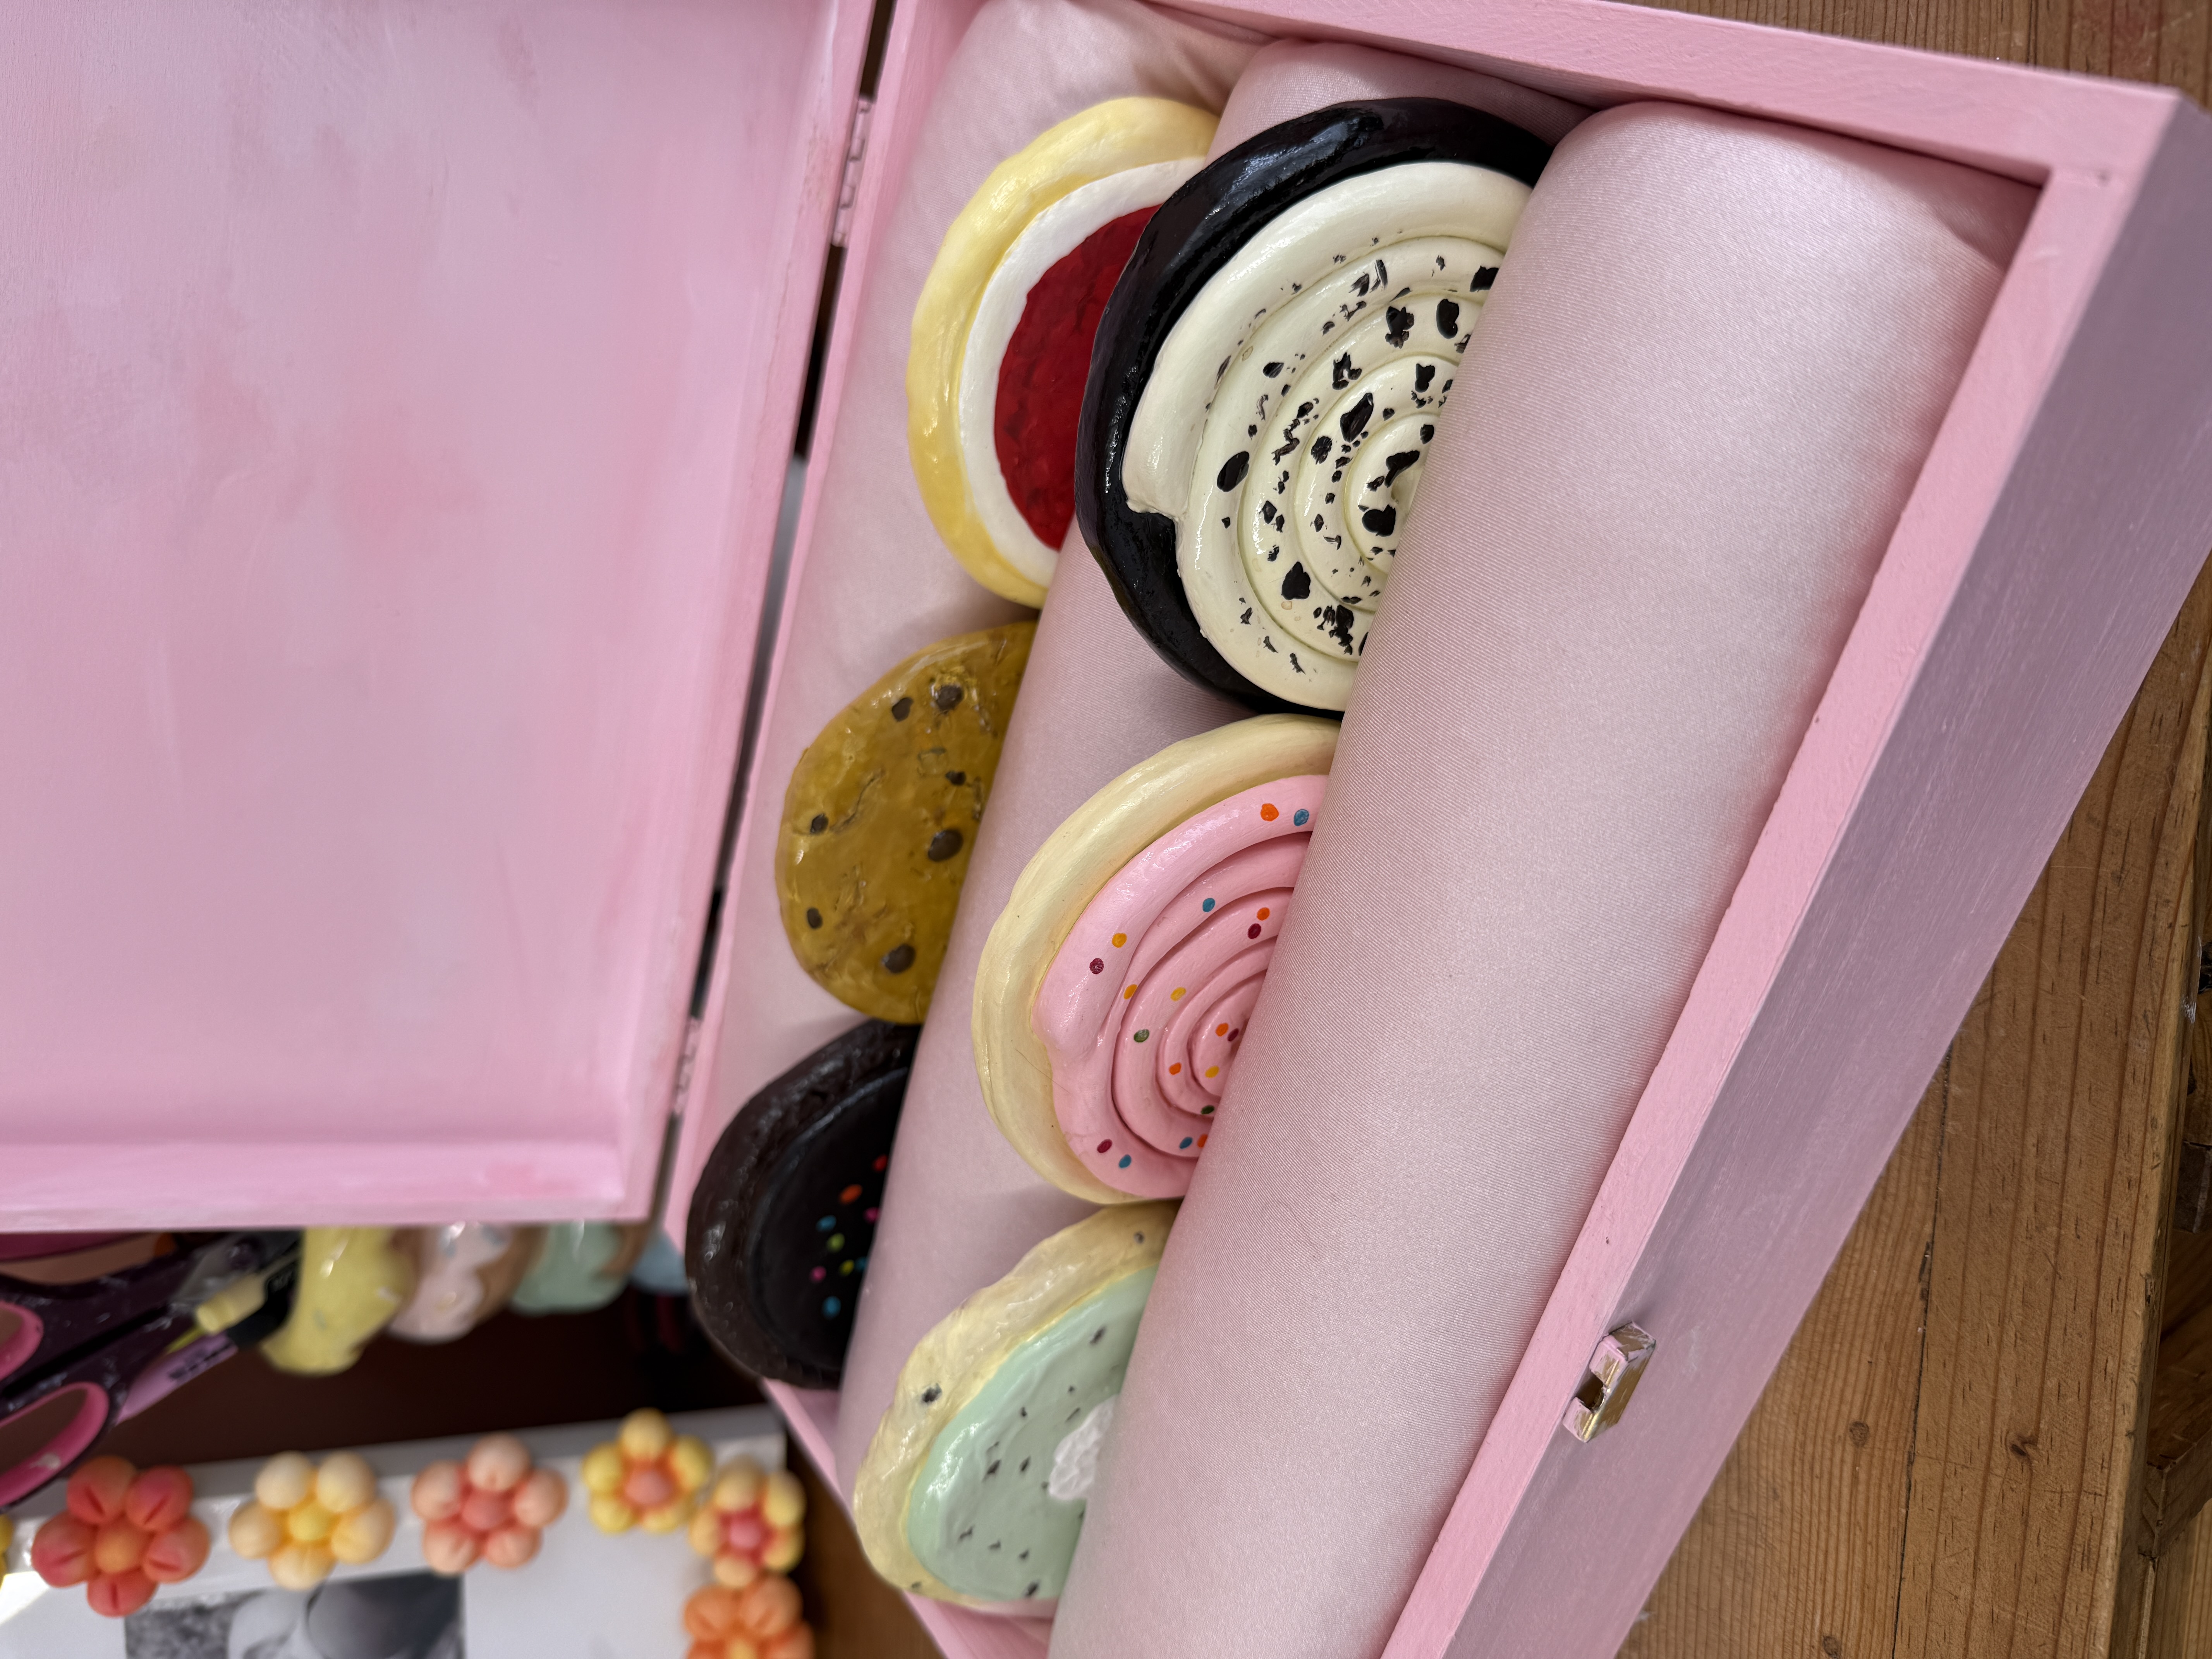
the gloss from the uv resin made such a difference. before coating, the pieces already looked cute — but after curing both sides they had that proper shiny accessory feel, almost like something you’d find on a little wooden tray in a boutique somewhere coastal.
the flower pin especially looks brilliant in hair because the orange dots really pop against the pink. the 2–3mm thickness felt like a sweet spot too — light enough to wear all day without feeling it, sturdy enough to twist through a bun without that nervy “please don’t snap” energy.
would I make these again?? immediately. I’m already planning a whole little jar of seasonal ones for the dressing table — a few summer fruits for now, then mini pumpkins for autumn, then holly for christmas. one technique, twelve months of pins. obsessed 🥹✨
seasonal swaps
- 🎃 pumpkin pins for autumn — orange clay, a green stalk, little vertical groove marks
- 🍂 mini leaf pins — red, orange and yellow leaves with veins pressed in with a needle tool
- ❄️ snowflake pins for winter — white clay, a tiny round cutter for the centre, lines scored with a blade
- 🌿 holly pins for christmas — two green leaves and three little red clay berries
- 🌷 tulips and daffodils for spring — a sweet sister-project to our diy clay flowers post
the clay’s most likely too cold or under-conditioned. give it a proper warm-up in your hands first — knead it for a few minutes until it feels soft and pliable, then roll. cracking around the edges almost always means it hasn’t been worked enough before cutting.
two possible culprits. either the hole was too small to start with (always cut it noticeably bigger than the pin you’re planning to use), or the clay got nudged in the oven and partially deformed. cut a generous hole, place the piece on a flat baking surface, and don’t move it once it’s in.
classic too-thin pin issue. polymer clay can take a fair amount of pressure once baked, but a very skinny stick of it is fragile. aim for the thickness of a thin pencil and add a thin coat of resin along the pin itself for extra strength.
usually means you laid the resin on too thick in one go, or the clay wasn’t fully cool. uv resin cures best in thin layers — if you want a thicker coat, do two thin layers and cure each one separately rather than one chunky one.
It’s under-cured. pop it back under the uv lamp for another full cycle. some resins also have an oxygen-sensitive top film that stays slightly tacky — wiping it gently with isopropyl alcohol on a paper towel after curing usually sorts it.
- making the centre hole too small for the pin to pass through (always check before baking)
- rolling the pin too thin, which makes it fragile and prone to snapping
- over-baking the clay — these are thin pieces, so they need less time than chunkier polymer clay projects
- adding resin while the clay is still warm, which makes the finish streak
- skipping the gloves and rushing the curing stage with uv resin
- using a hairstyle with no grip — these need a bun or twist to actually hold

.jpg)
.jpg)
.jpg)
.jpg)
.jpg)
.jpg)
.jpg)
.jpg)
.jpg)
.jpg)
.jpg)
.jpg)
.jpg)
.jpg)
.jpg)
more like this
looking for more DIY inspiration? Take a look at some other projects I've done similar to this one.
join my monthly craft club
a monthly drop of new bits, behind-the-scenes chaos, and ideas to brighten your brain. pop your email in and i’ll send you something nice