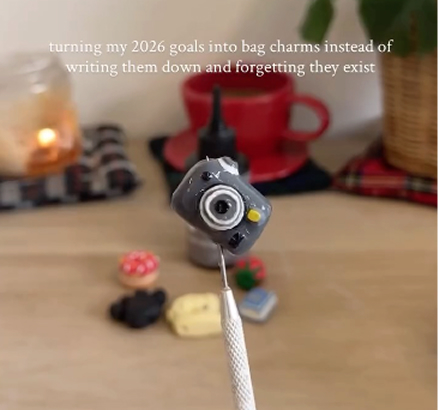
diy air dry clay christmas decorations 🎄
make simple, handmade christmas ornaments using air dry clay and biscuit cutters.
🎄 perfect festive craft to make with friends
🎨 completely customisable colours and designs
✨ shiny professional finish with resin
🎁 lovely handmade gift idea
these diy air dry clay christmas decorations are a simple festive craft you can make in an afternoon. using biscuit cutters, paint, and a glossy resin finish, you can create beautiful handmade ornaments perfect for decorating your tree or giving as thoughtful handmade gifts.
• air dry clay
• rolling pin
• christmas biscuit cutters
• paintbrush
• acrylic paint
• UV resin
• UV lamp or UV light
• string or ribbon

Welcome to my online studio of arts, crafts, and everything in between! I post regular DIY crafts here as well as on my social channels to help give everyone of every skill-level the opportunity to create beautiful, handmade gifts and decorations. If you want regular projects delivered to your inbox, use the form below, or follow me on socials!
the idea 💭
christmas decorations are one of those things that instantly make your home feel cosy and festive. but buying lots of ornaments every year can get expensive. so I thought… why not make some instead?
I wanted something really simple. no complicated sculpting. no special tools. just a fun craft you could easily do with friends on a cosy evening.
using biscuit cutters felt like the perfect shortcut. they give you clean, recognisable shapes straight away. trees, candy canes, gingerbread people… instant christmas vibes.
for me, these are just THE perfect cosy night-in project, and they make your home instantly festive!
step 1: roll out your clay slab
start by rolling out your air dry clay into a flat slab using a rolling pin. you're looking for a thin slab, betwen 5mm - 8mm thick.
try to keep the thickness even across the whole surface so your ornaments dry consistently.
once the clay is smooth and flat, you’re ready to cut your shapes.

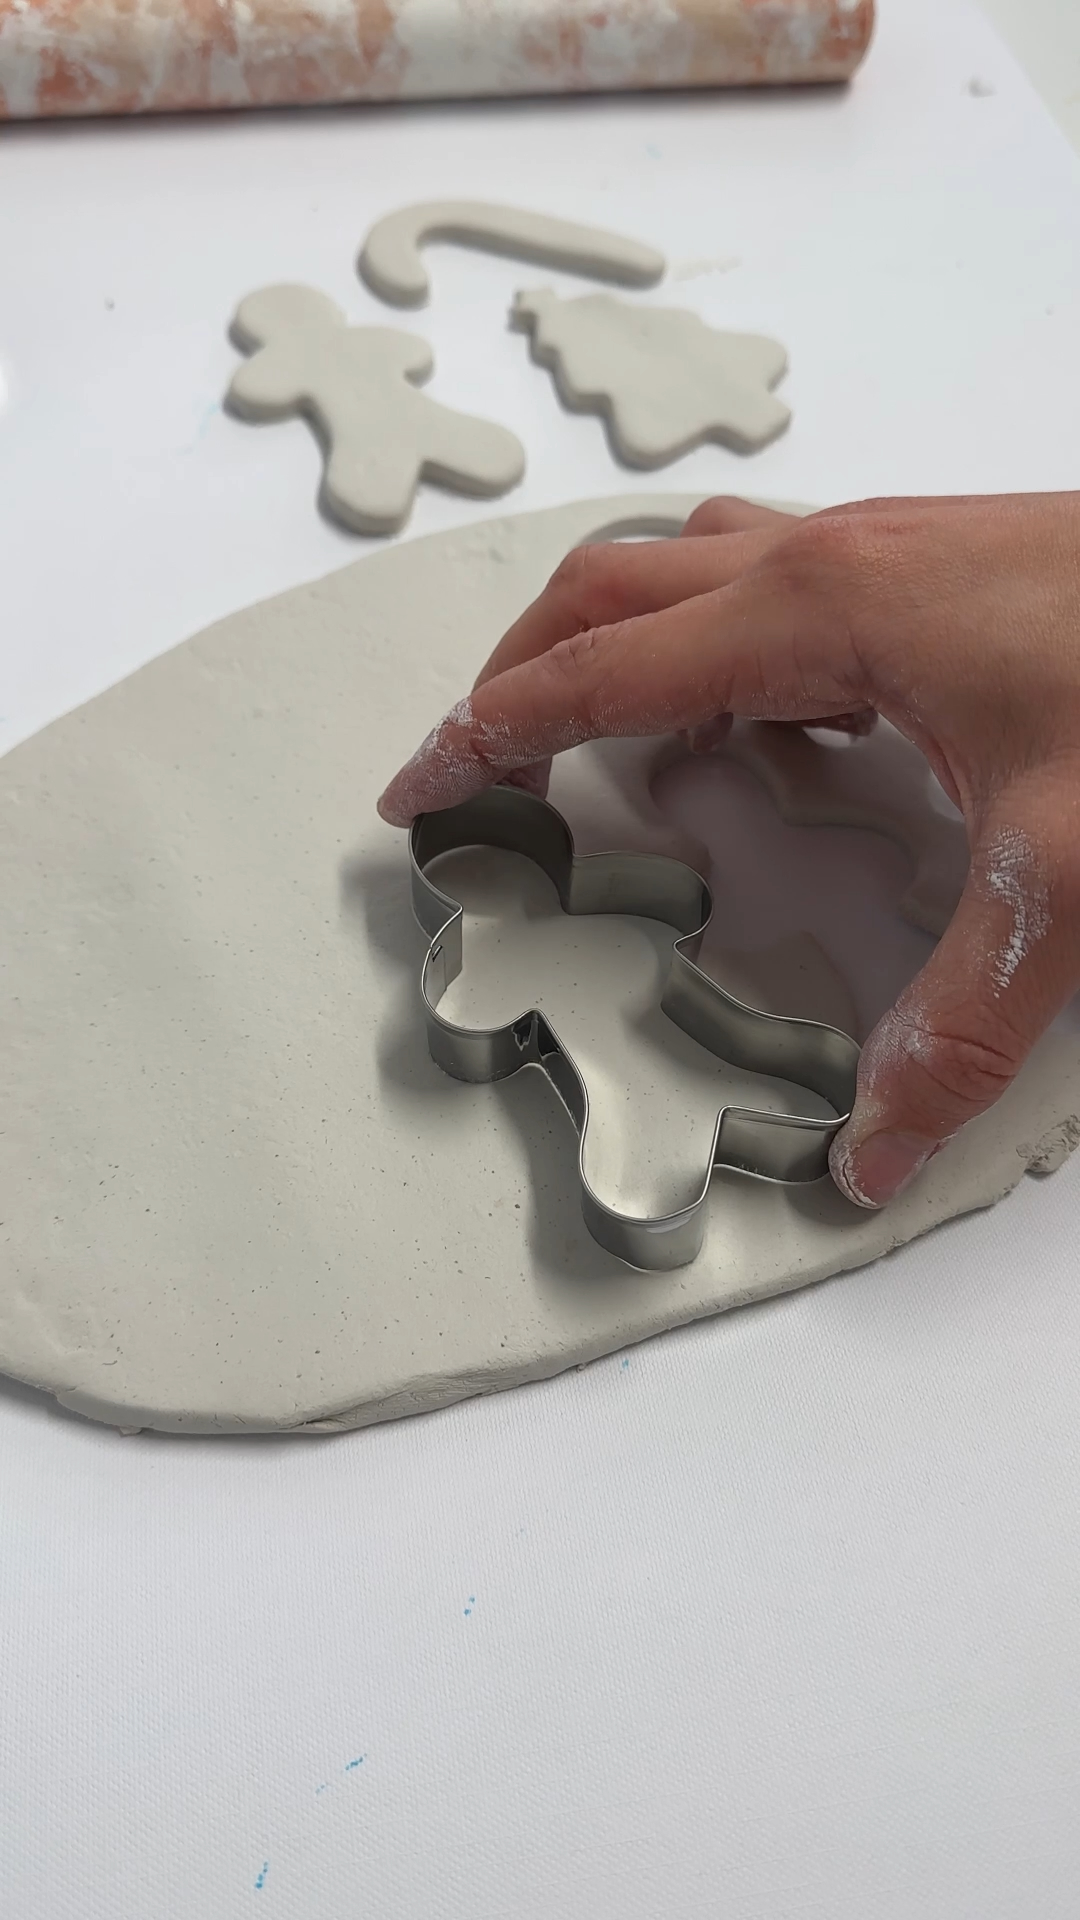
step 2: cut your festive shapes
press your christmas biscuit cutters firmly into the clay slab.
lift the cutter carefully and remove the excess clay around the edges.
you should now have clean festive shapes like trees, gingerbread people, candy canes or stockings.
tip: if the clay sticks inside the cutter, gently tap the cutter or push the clay out slowly.
step 3: smooth the edges and add hanging holes
use a small amount of water on your fingertip to smooth the edges of each ornament.
this helps remove rough edges and makes the shapes look much more finished.
next, use the end of a paintbrush to gently push a hole near the top of each piece.
tip: make sure the hole isn’t too close to the edge or it could crack when hanging.

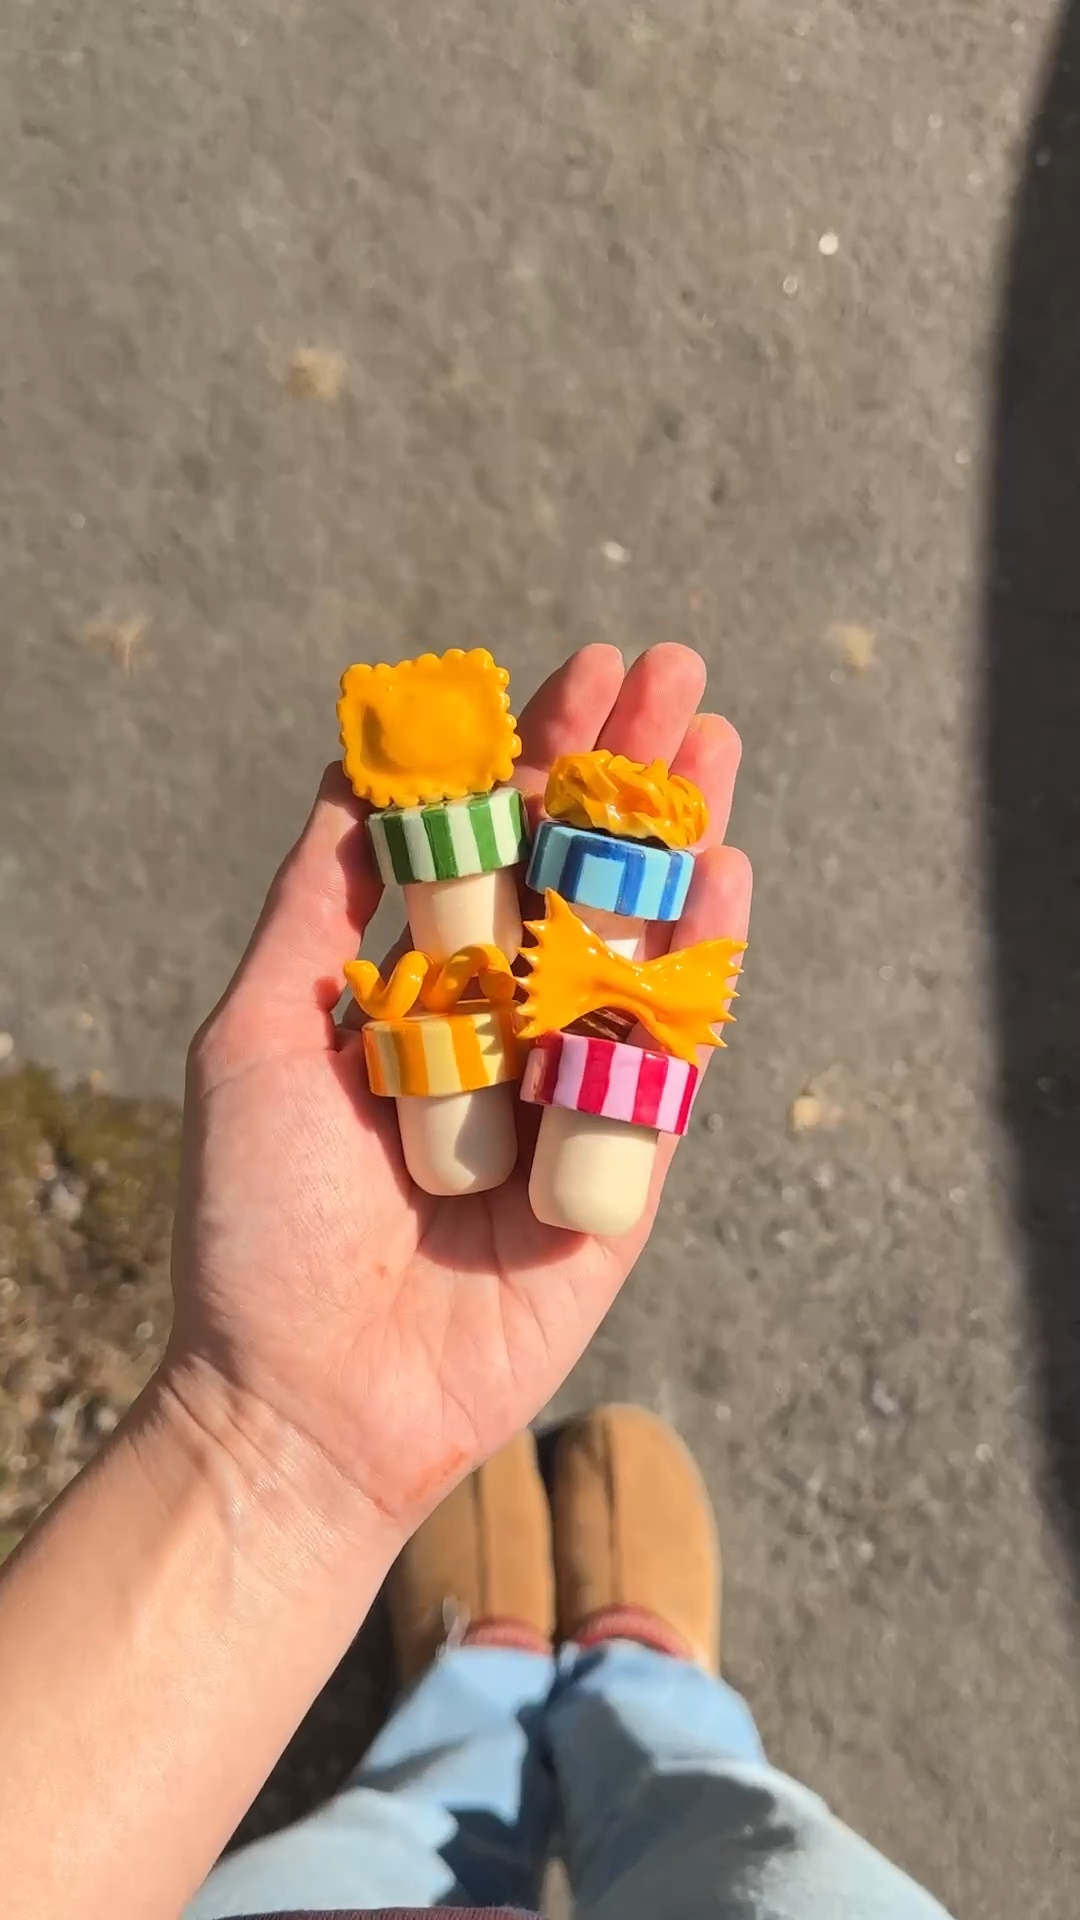
step 4: paint and decorate your ornaments
use acrylic paint to decorate your shapes however you like.
you could add classic christmas colours, candy cane stripes, or little details like faces and patterns.
this part is really fun and totally personal. every ornament can look different.

step 5: seal with UV resin for a glossy finish
once the paint is fully dry, add a thin layer of UV resin over the ornament.
place the pieces under a UV lamp until the resin hardens.
this creates a smooth glossy finish that protects the paint and makes the colours really pop.


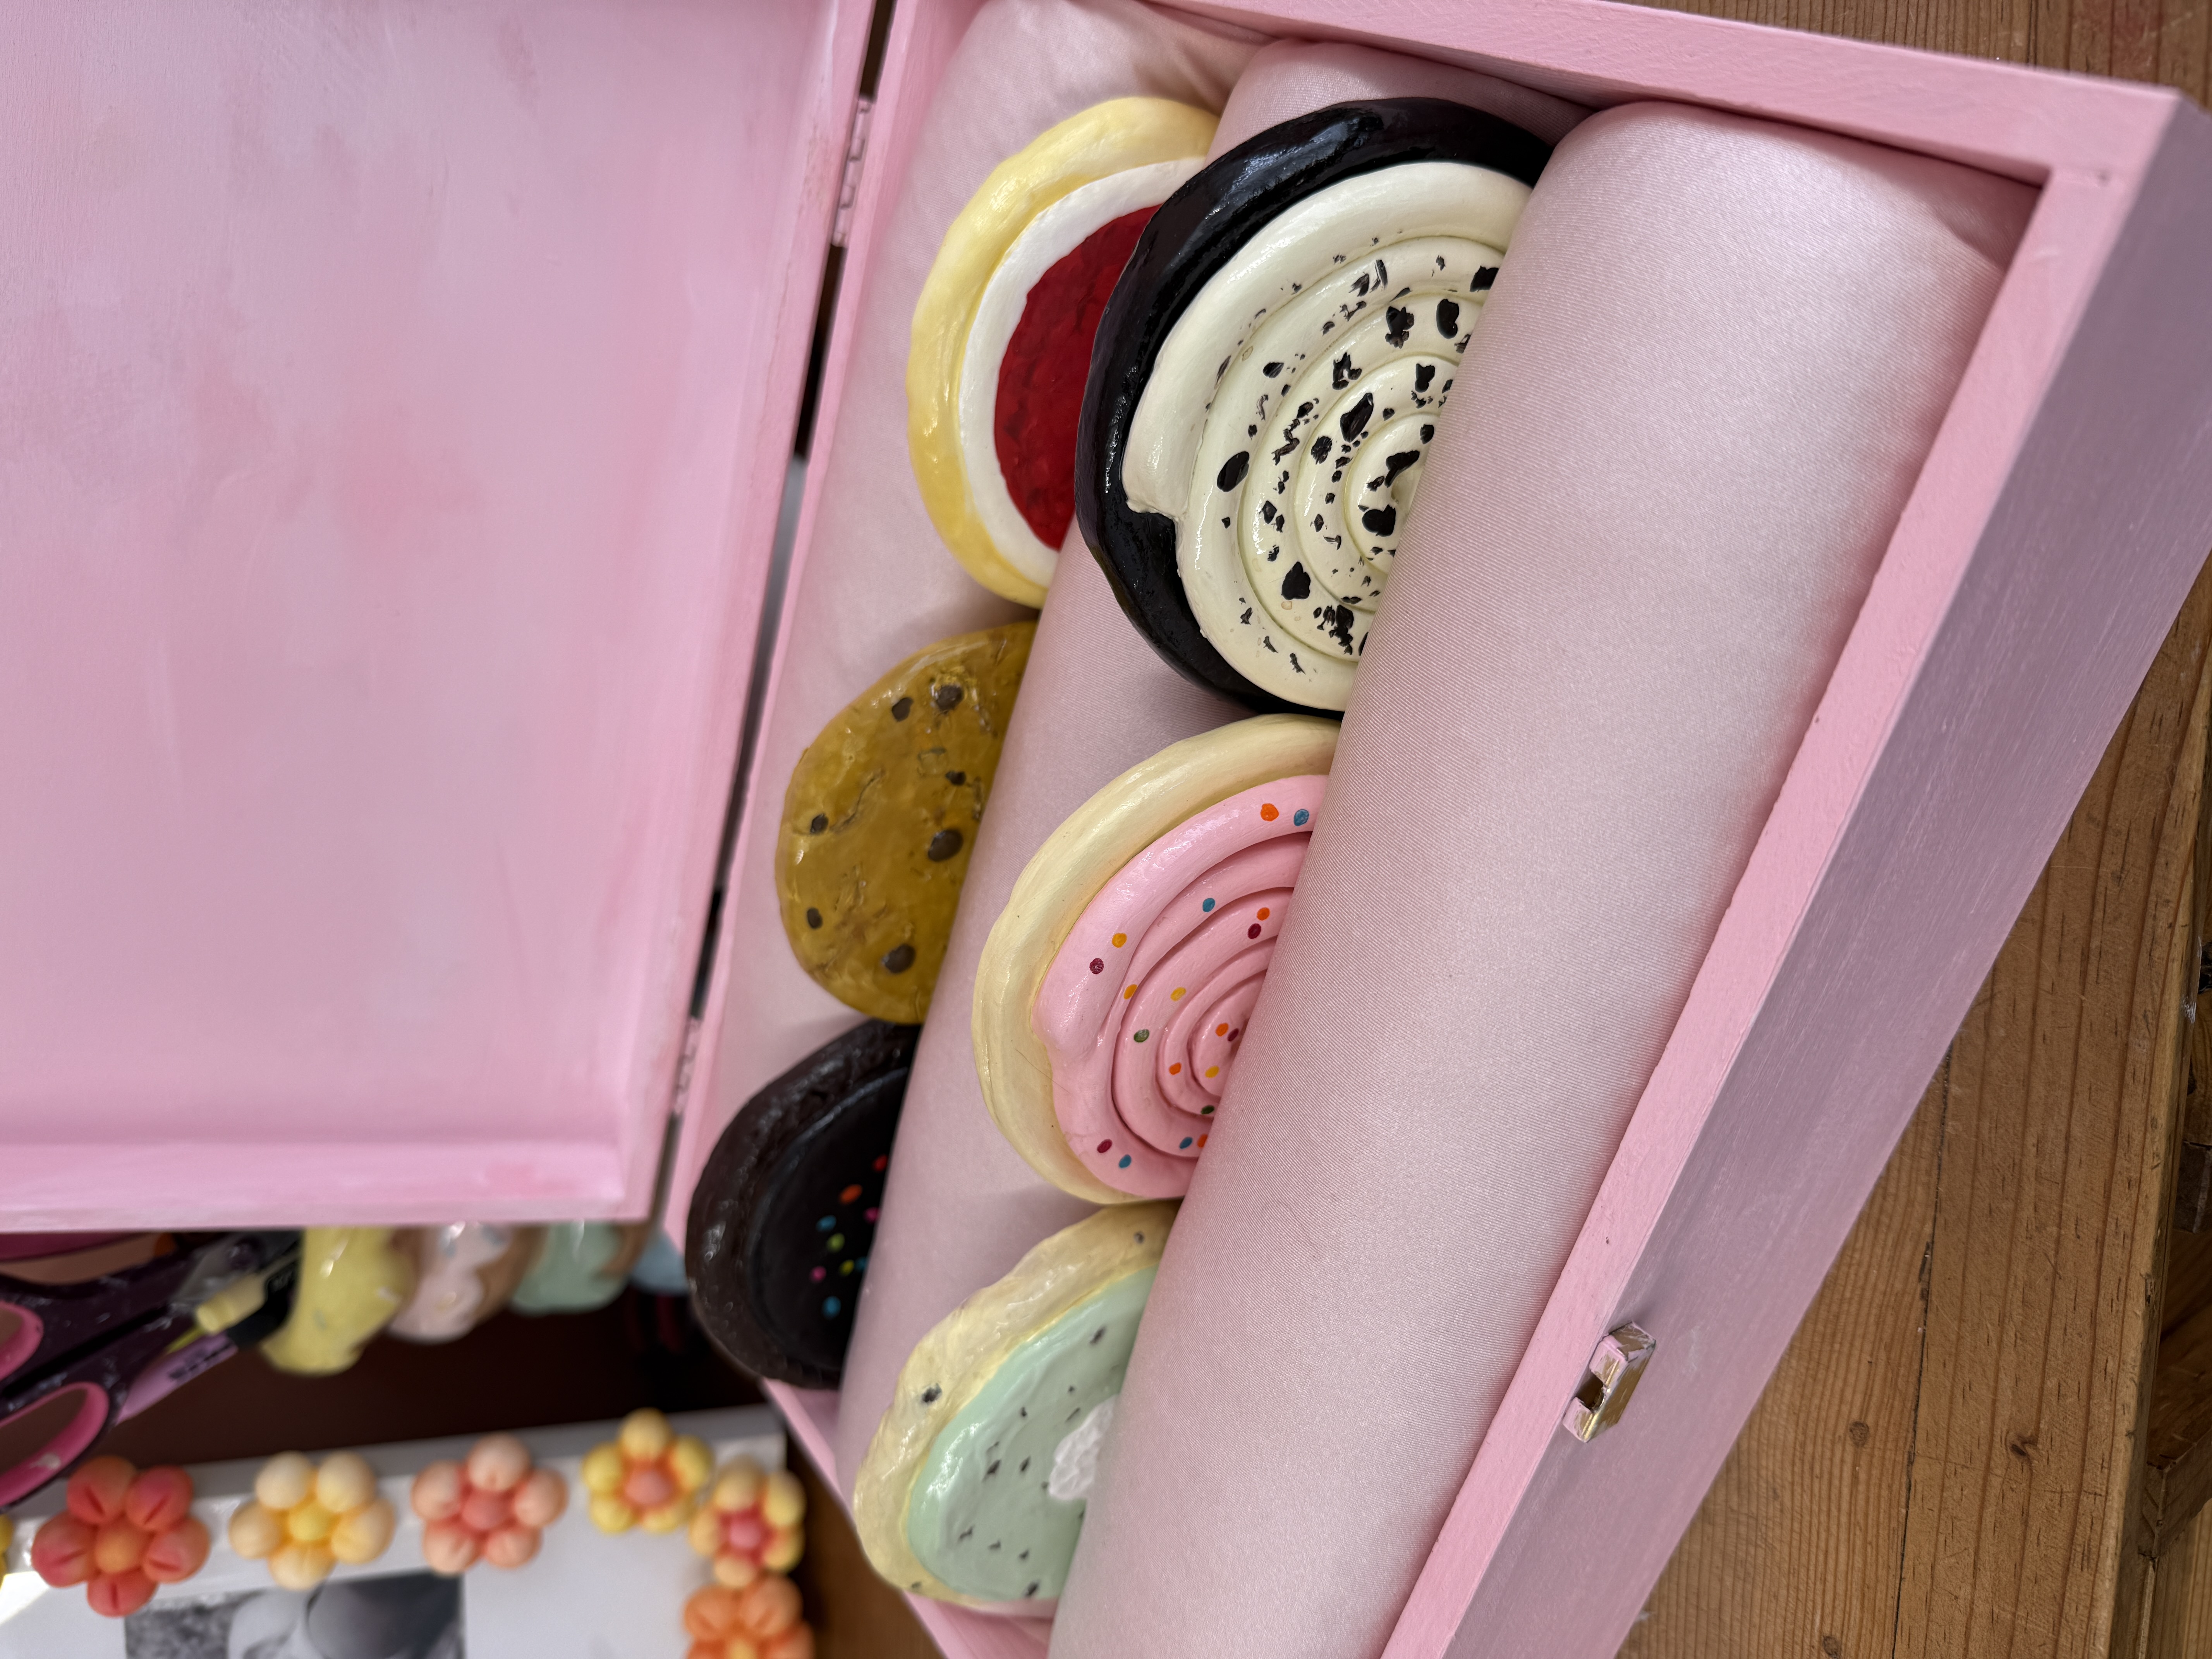
the verdict 👩⚖️
i genuinely didn’t expect these to look this good. the biscuit cutters make the process incredibly easy, but the resin finish takes them from simple craft to something that actually looks shop-bought.
the candy cane design ended up being my favourite.the glossy finish really makes the red stripes pop, and they look amazing on a christmas tree with fairy lights reflecting off them.
next time I might experiment with glitter or tiny beads before sealing them, just to see how festive they can get!!!
sealing isn’t required, but it does protect the paint and makes the decorations more durable. resin, varnish, or sealant can all work depending on the finish you want.
yes. if you don’t have UV resin, a clear craft varnish or sealant works well too. it won’t be quite as glossy but still protects the paint.
absolutely. this is a great beginner craft for kids or groups. just supervise if using resin or sharp cutters.
• rolling the clay too thin
• placing the hanging hole too close to the edge
• sealing before paint is fully dry


more like this
looking for more DIY inspiration? Take a look at some other projects I've done similar to this one.
join my monthly craft club
a monthly drop of new bits, behind-the-scenes chaos, and ideas to brighten your brain. pop your email in and i’ll send you something nice