DIY Jellycat-Inspired Clay Cake Candle Holder (That Actually Holds A Candle) 🍓
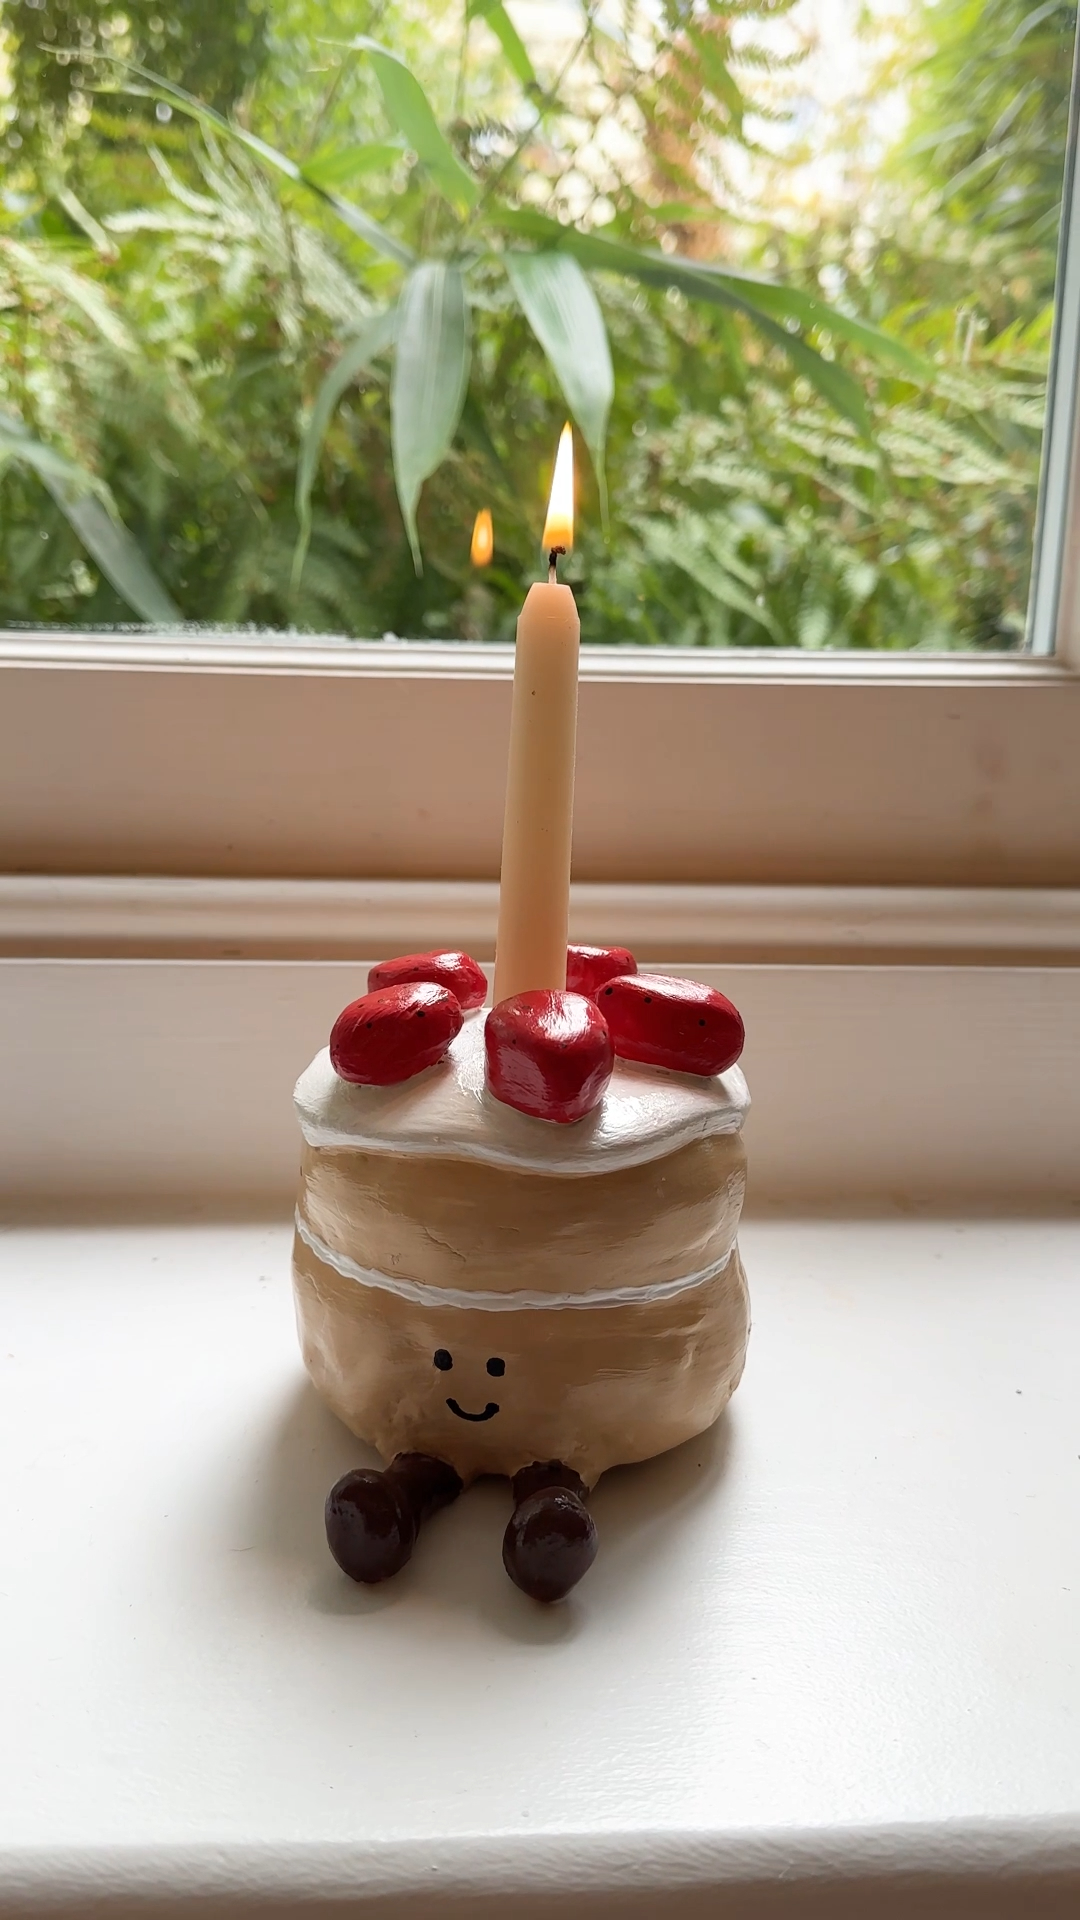
A tiny strawberry cake with legs, a smile, and a real working candle holder. Made from £4 of clay and a sheet of kitchen foil. Beginner-friendly. Ridiculous. Obsessed.
- 🍓 full of personality - it's a cake. with legs. with a face. it's ridiculous and i love it.
- ⚡ the foil trick - you're not building a solid block of clay, which means it dries faster, weighs less, and uses less material
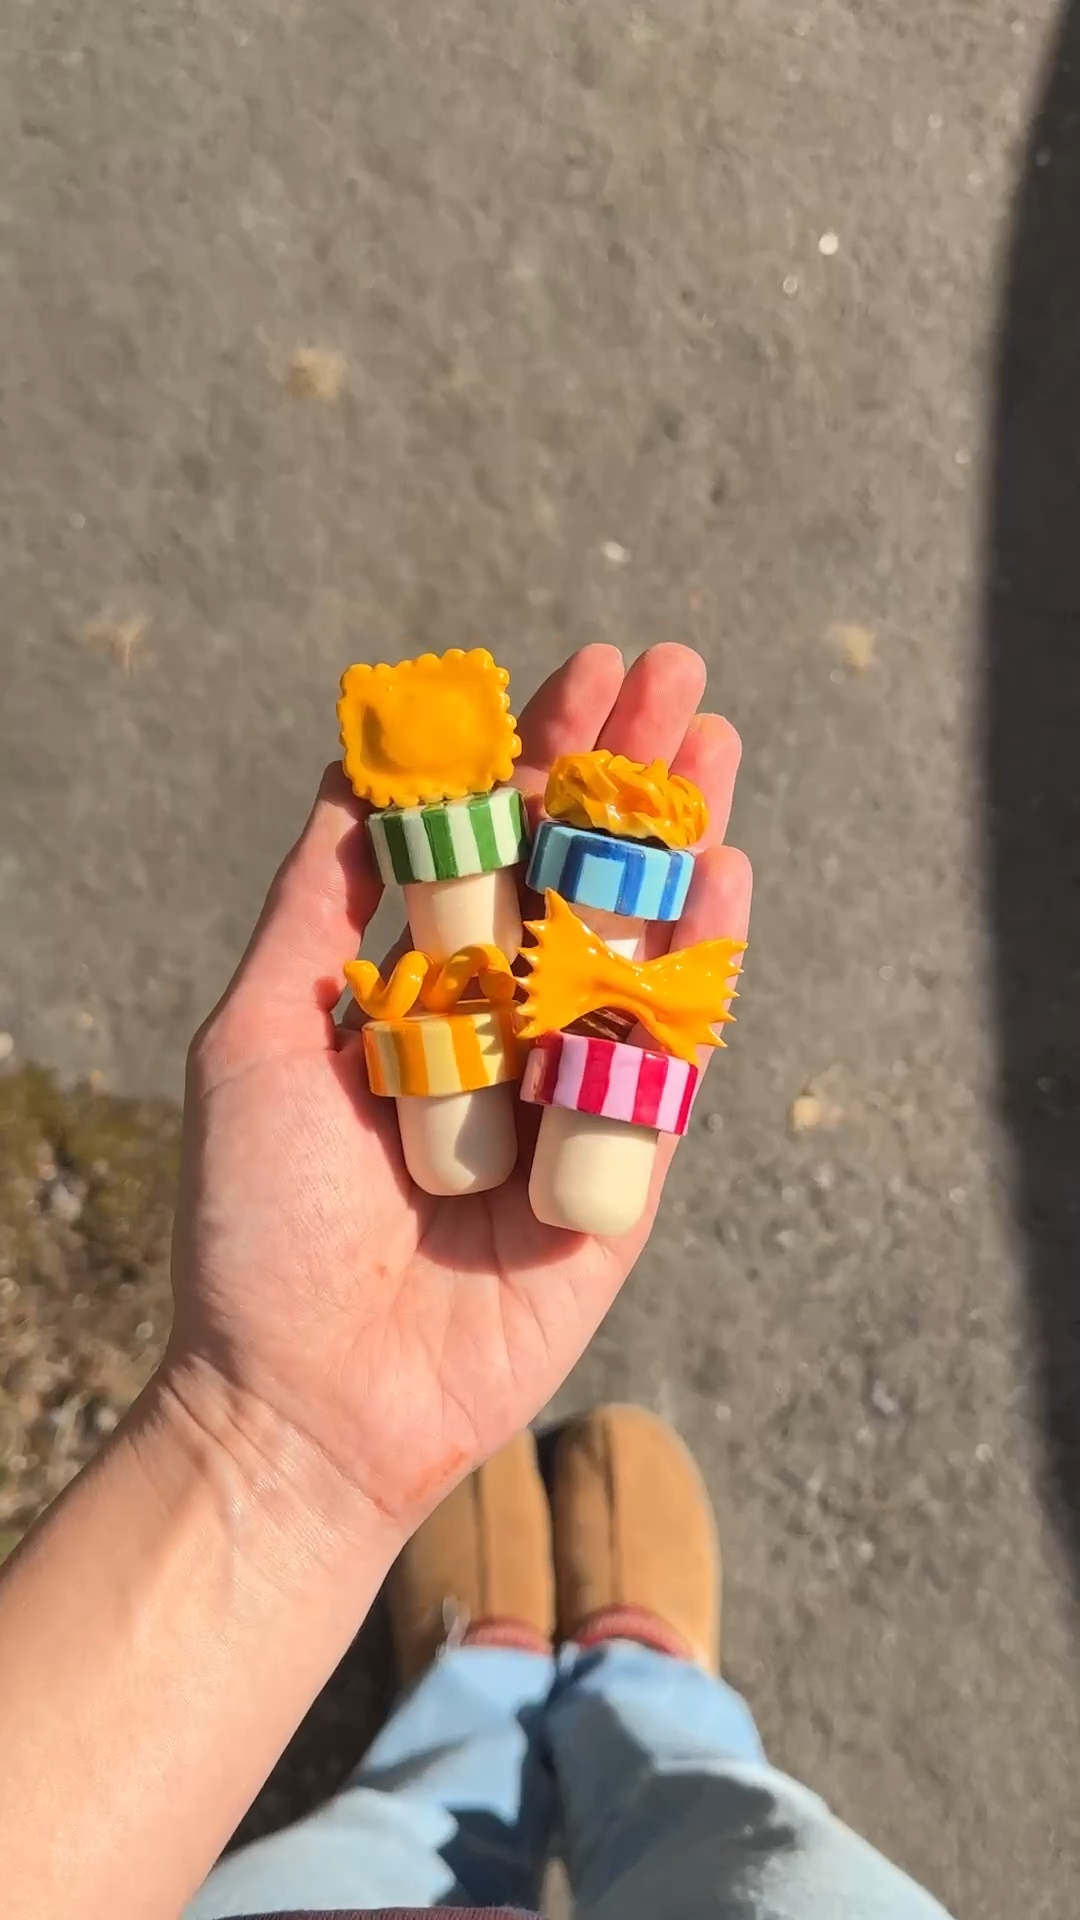
- 🎨 easy to customise - strawberries today, mushrooms next, a tiny lemon meringue if you're feeling smug
- 🕯 actually functional - holds a tealight or small candle (read the safety bit later)
ok so a while back i made a whole series of jellycat-inspired functional pieces and this little cake candle holder was, by some distance, the one you all loved most. been meaning to write the full tutorial for ages. here it is ✨
if you've never touched air dry clay before - perfect. start here. this is the project i'd give to a friend who said "i'm not crafty" to prove they are.
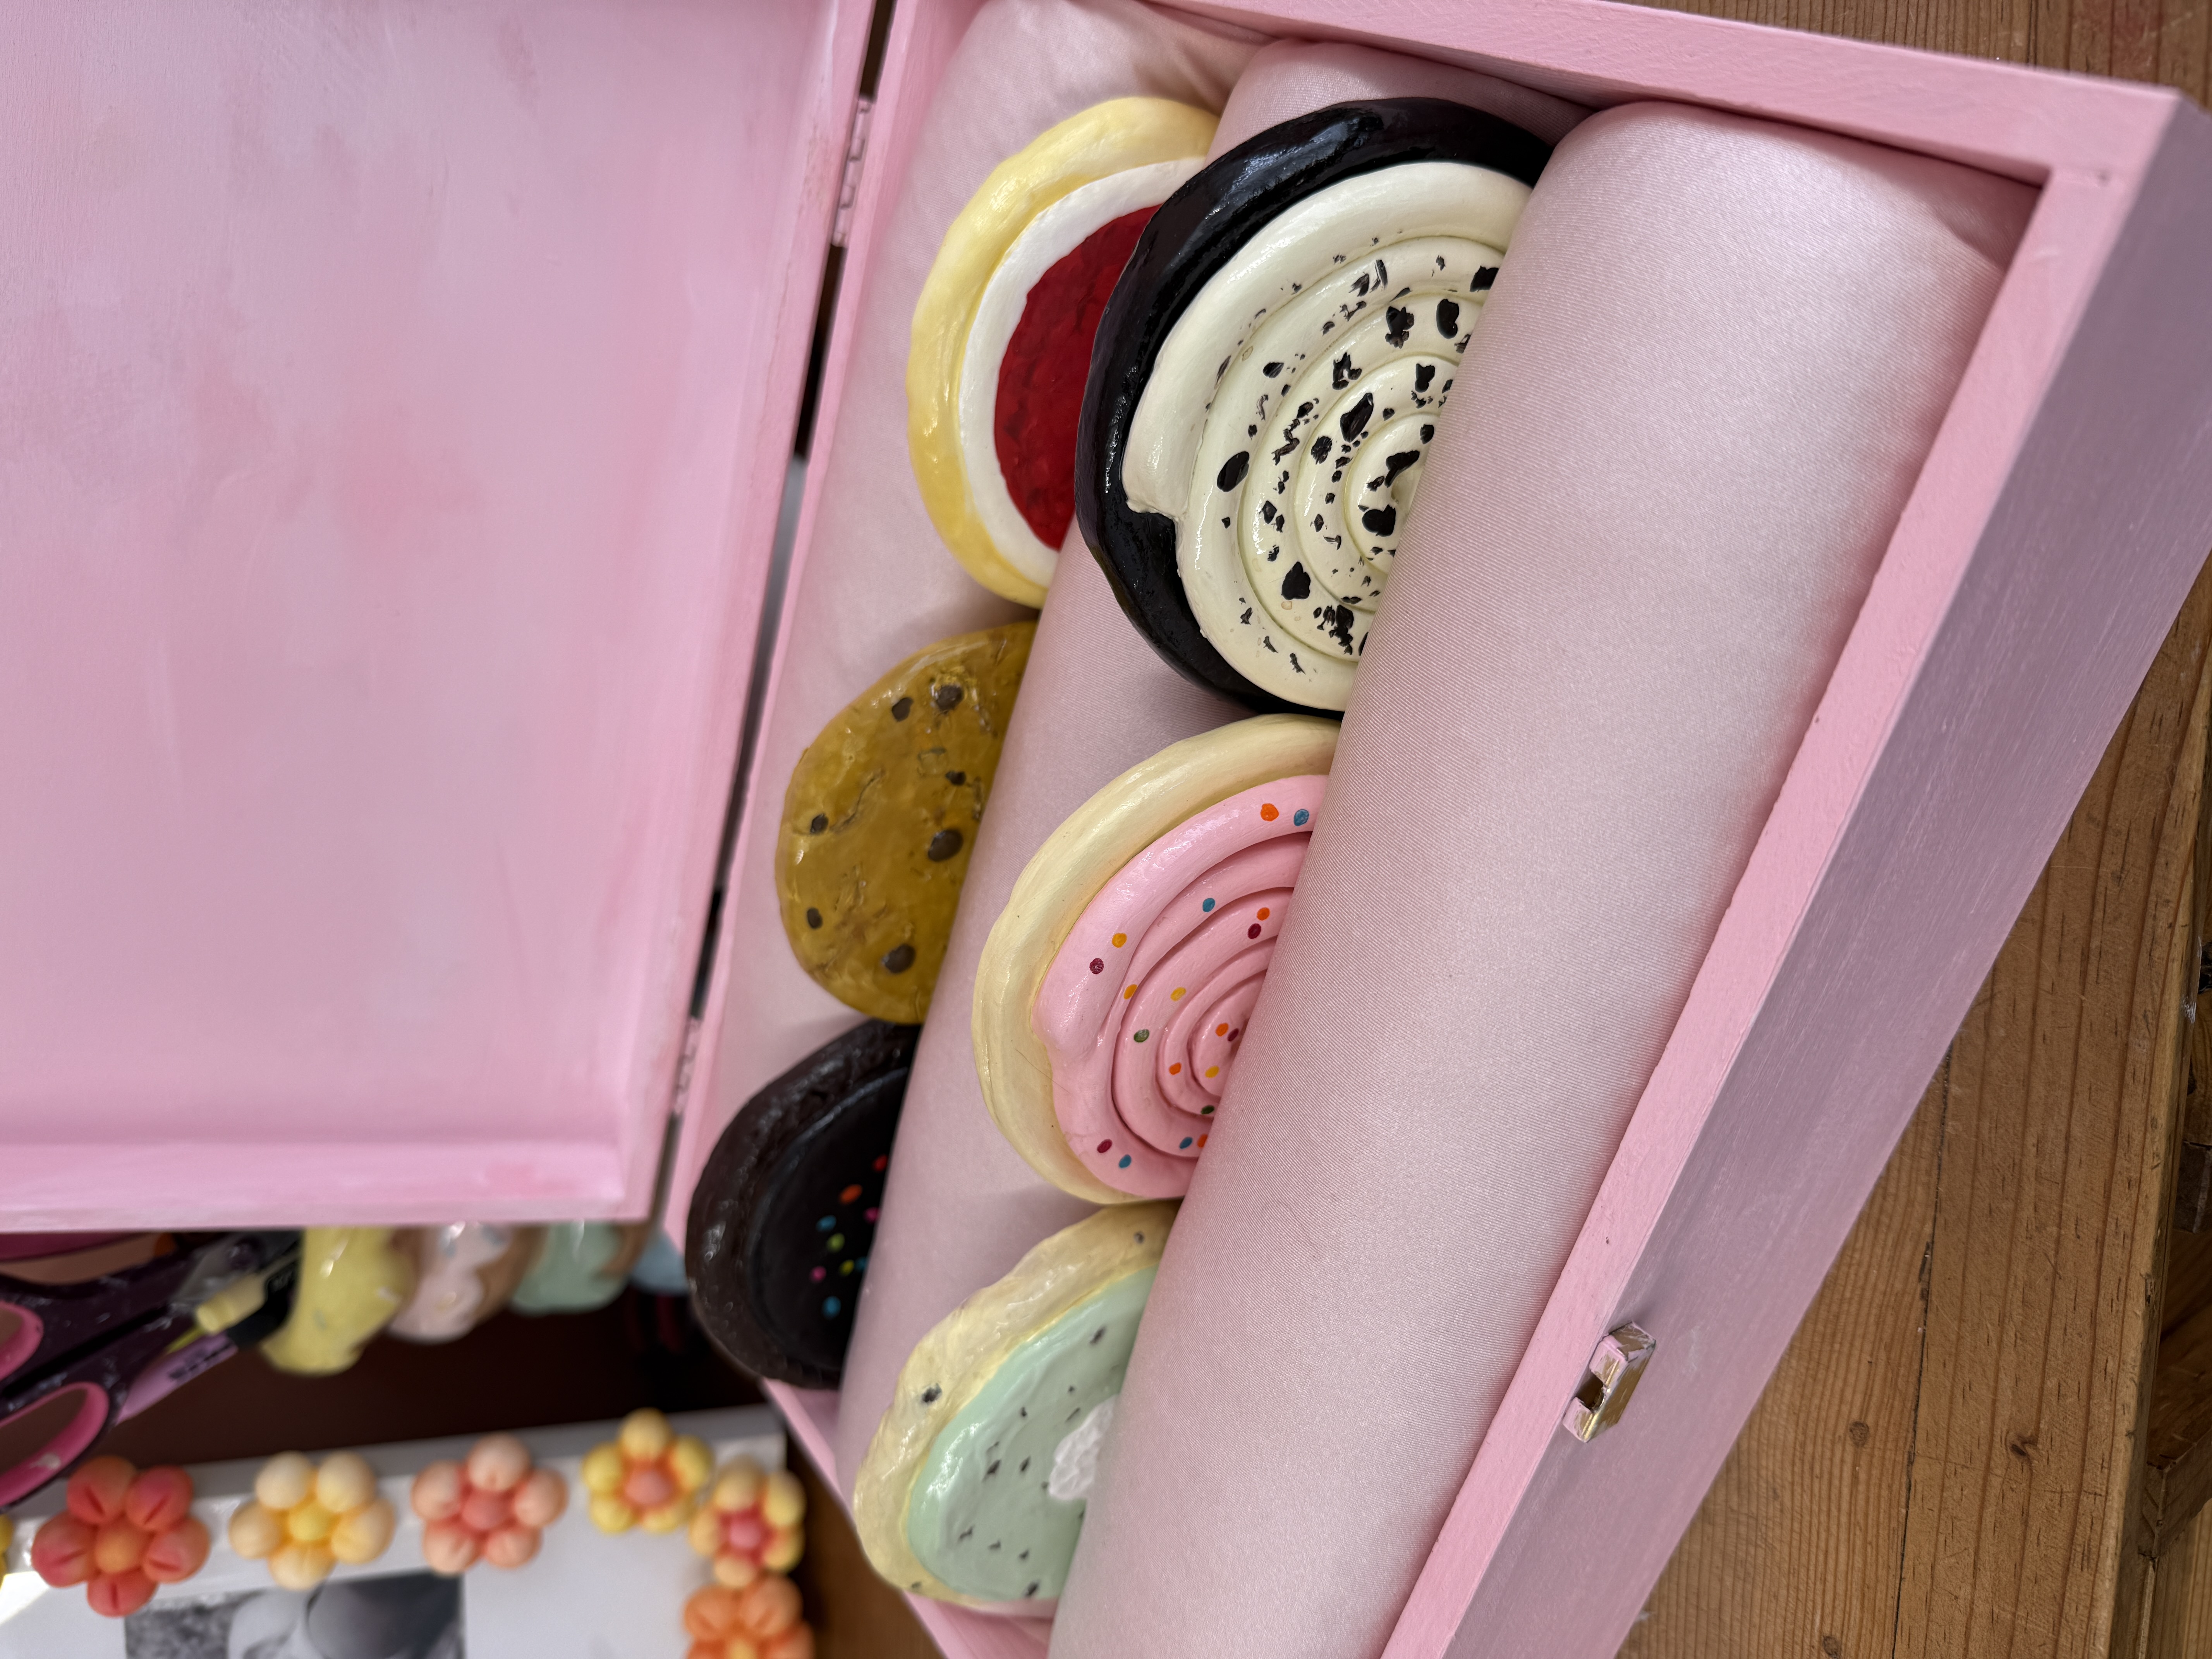
while we're here - i made marshmallow jellycat photo holders around the same time, and those were almost as popular as the cake. full guide is coming very soon. but in the meantime, i made a version recently using foam clay instead - same vibe, slightly different process
- air dry clay — about 200–300g
- aluminium foil
- a rolling pin OR a clean glass / water bottle
- a small paintbrush
- a small bowl of water (for smoothing)
- acrylic paint — your choice of cake colour, plus white for icing, red for strawberries, green for stems
- a black fineliner or marker pen for the face
- a tealight or small candle (to size the hole)
for sealing - pick one:
- mod podge gloss (about £6, beginner-friendly, no special equipment)
- water-based varnish (similar)
- pva mixed 1:1 with water (cheapest option, slightly less glossy but works)
- or, if you've used it before: uv resin (gives the most "actually edible" finish - but you need a uv lamp, gloves, and proper ventilation)
a thickness note: aim for around 1cm of clay over the foil core. doesn't need to be exact.
Welcome to my online studio of arts, crafts, and everything in between! I post regular DIY crafts here as well as on my social channels to help give everyone of every skill-level the opportunity to create beautiful, handmade gifts and decorations. If you want regular projects delivered to your inbox, use the form below, or follow me on socials!
if you’ve landed here from pinterest or a search and you’re wondering what “jellycat-inspired” actually means in clay form — short version: jellycat make those soft, smiling, slightly cheeky character plushies (think the amuseable strawberry, the smiling avocado, the croissant with a face). their whole thing is giving everyday objects a tiny personality.
translating that feeling into clay is basically: take a normal object — a candle holder, a photo holder, a trinket dish — and give it legs, a face, and a vibe. it’s soft, it’s silly, and it’s surprisingly satisfying as a beginner project, because the wonkier it is, the more charming it gets.
ok. let's make a cake.
step 1: build the cake shape
scrunch your foil into a rough cake form - wider at the bottom, slightly domed at the top. squeeze it firmly so it holds.
roll out your clay (a water bottle works fine if you don't have a rolling pin) and drape it over the foil. smooth it down with your fingers, pressing out any air pockets, until the foil is completely hidden. aim for around 1cm thickness.
🍓 keep a small bowl of water nearby. wet fingertips smooth clay way better than dry ones.

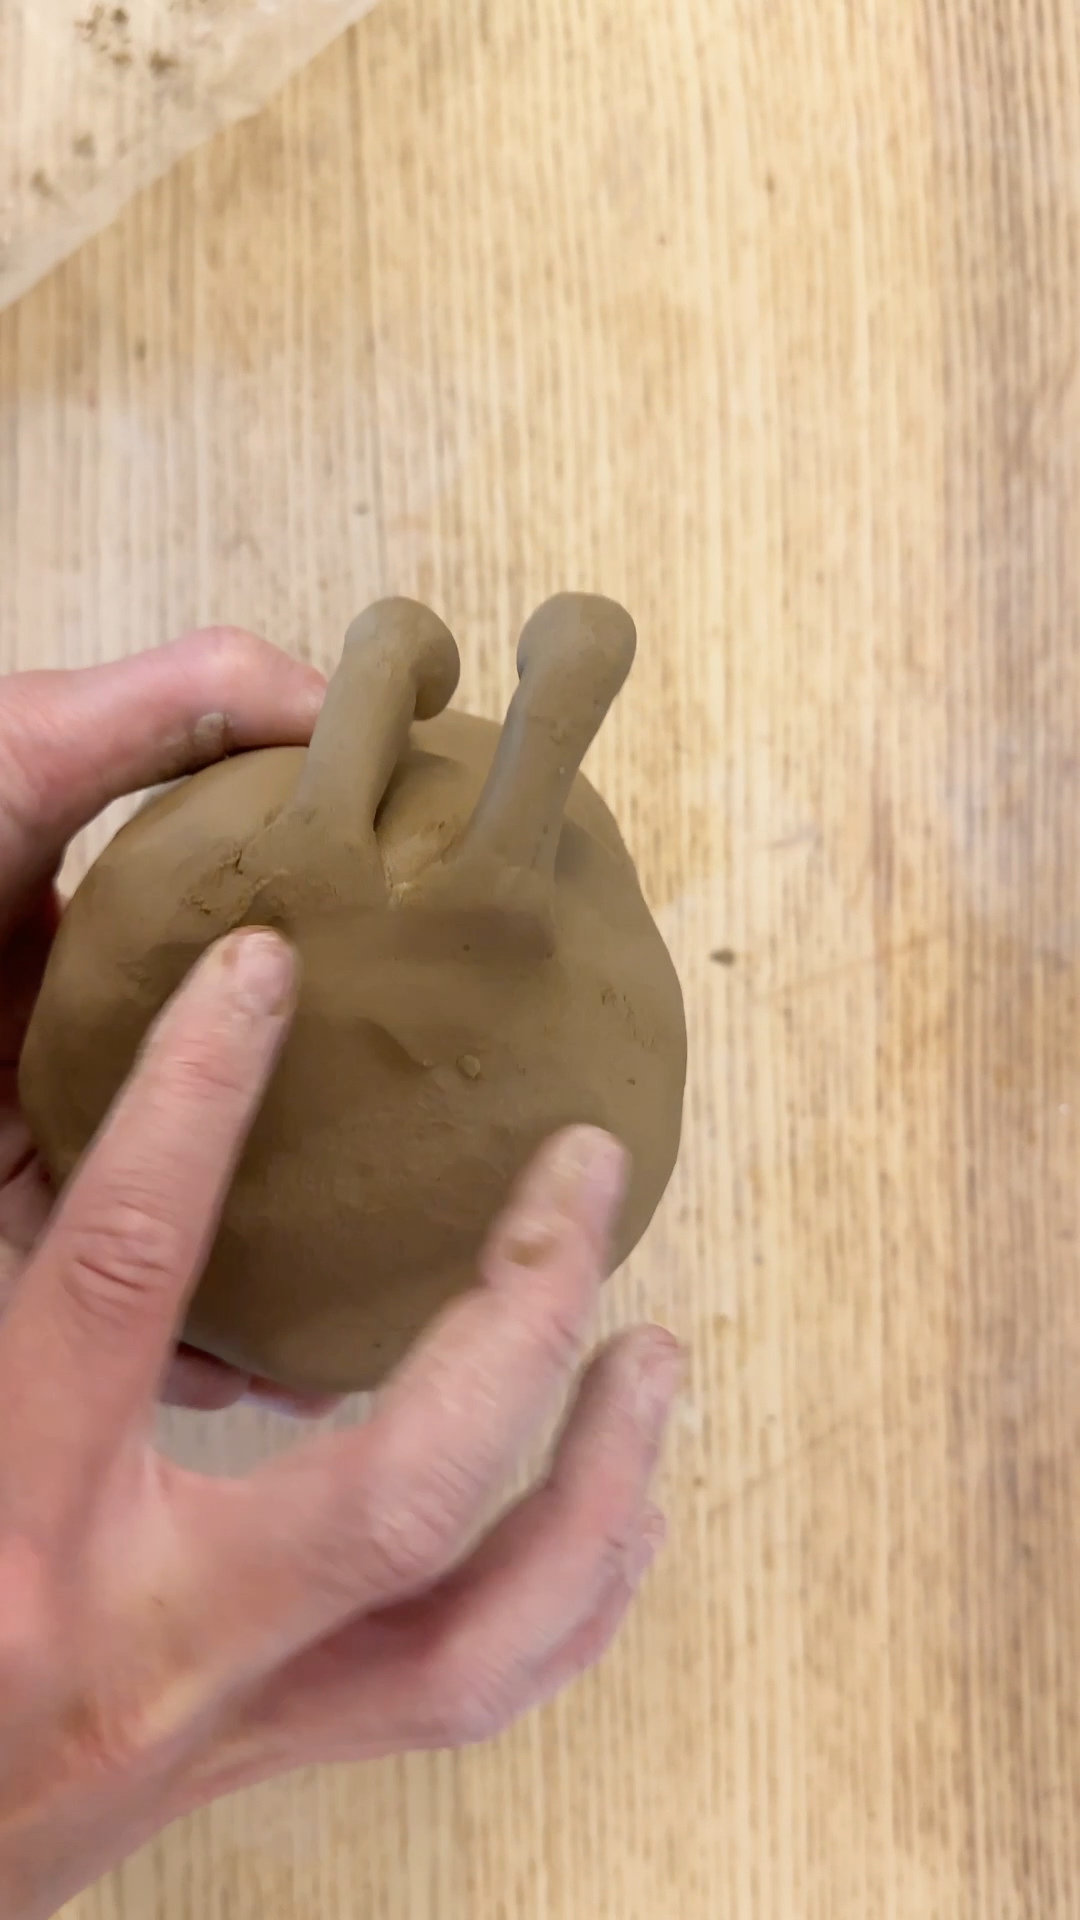
step 2: add the legs
roll two short, fat legs (around 2cm long, 1cm thick). don't go thin — thin legs crack as the clay dries.
attach them to the base using score and slip: scratch a few crosshatched lines on both surfaces, brush a little water on, press them firmly together. smooth the join with a wet brush so they look like they're growing out of the cake.
this is where it stops being a blob and starts being a character. fully worth the five minutes.
step 3: roll the icing + add strawberries
roll out a small slab of clay (about 0.5cm thick, slightly bigger than the top of your cake). drape it over the top, letting it sit slightly uneven — that's the icing dripping down the side effect, and it's much cuter than perfect.
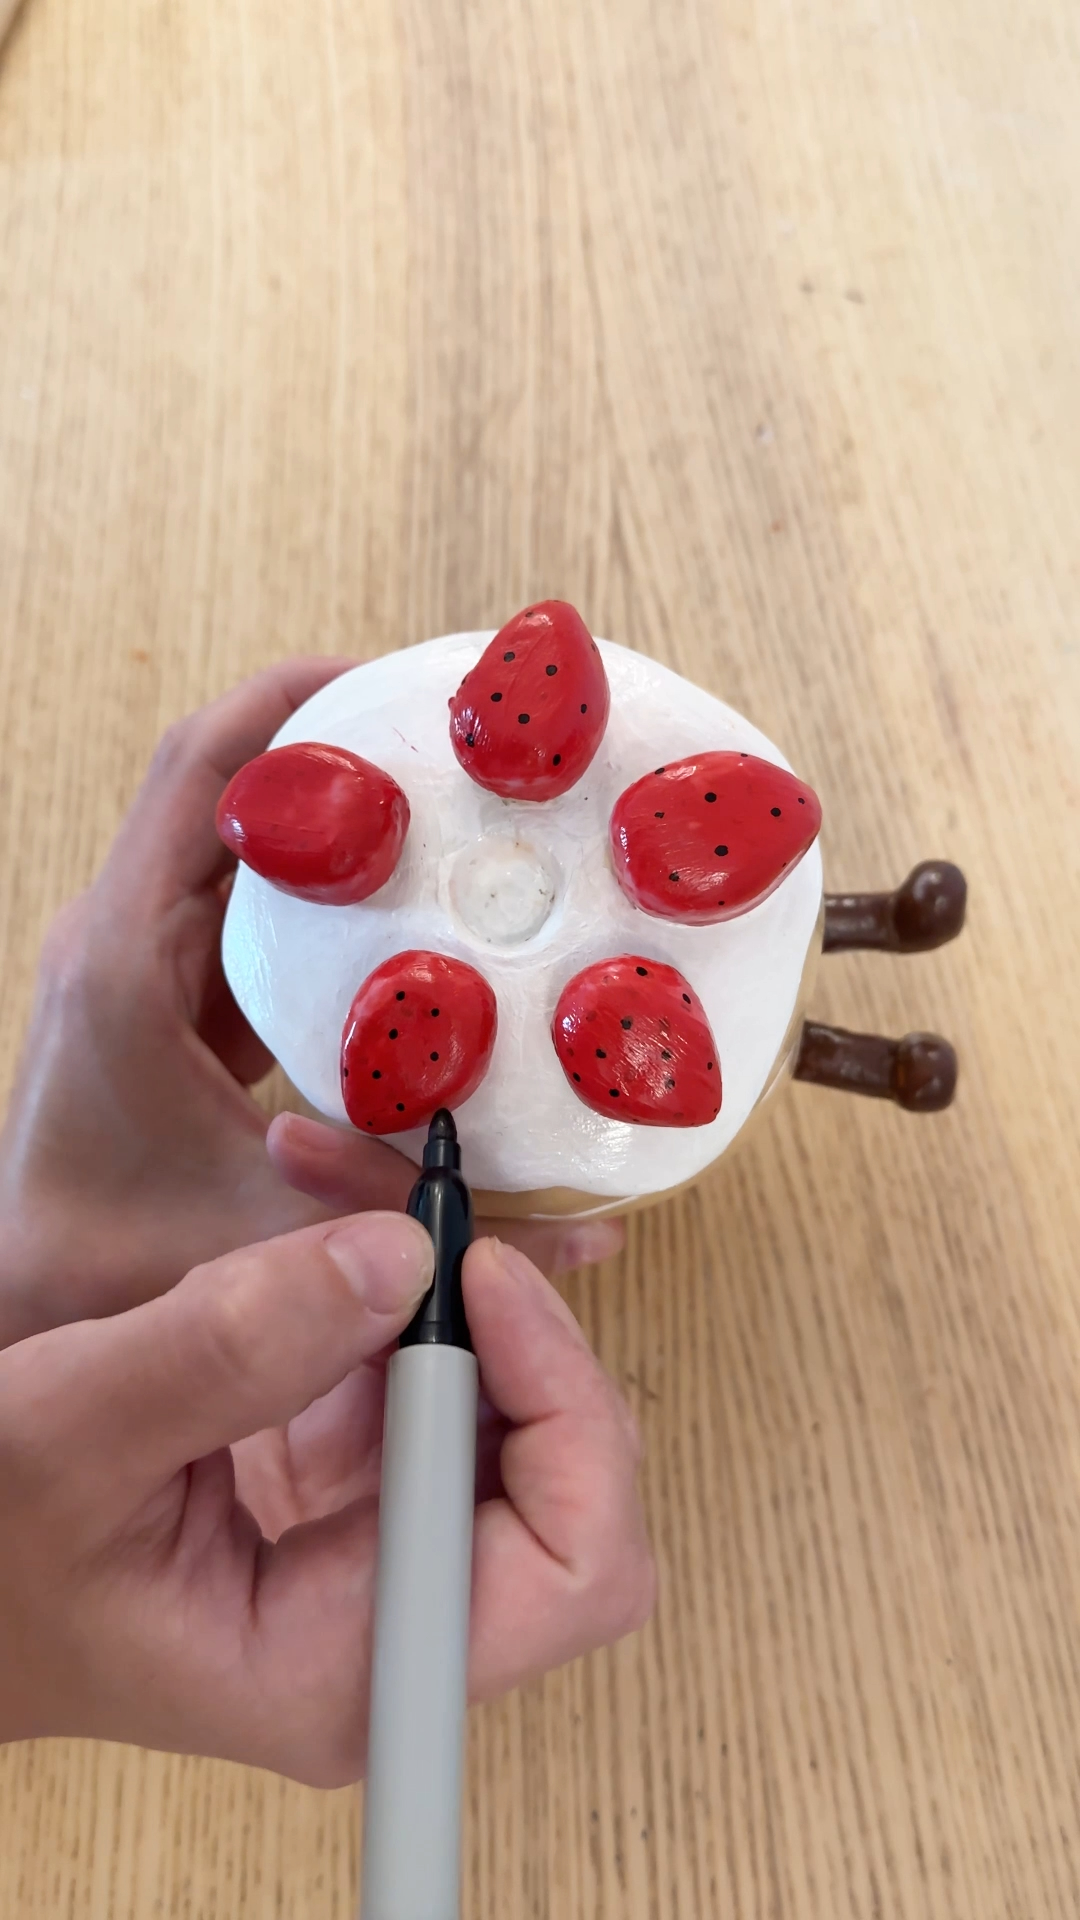
now make five small strawberry shapes (rough teardrops, slightly squished). attach them on top with score and slip. smooth around each one with a damp brush so they look like they're sinking gently into the icing.
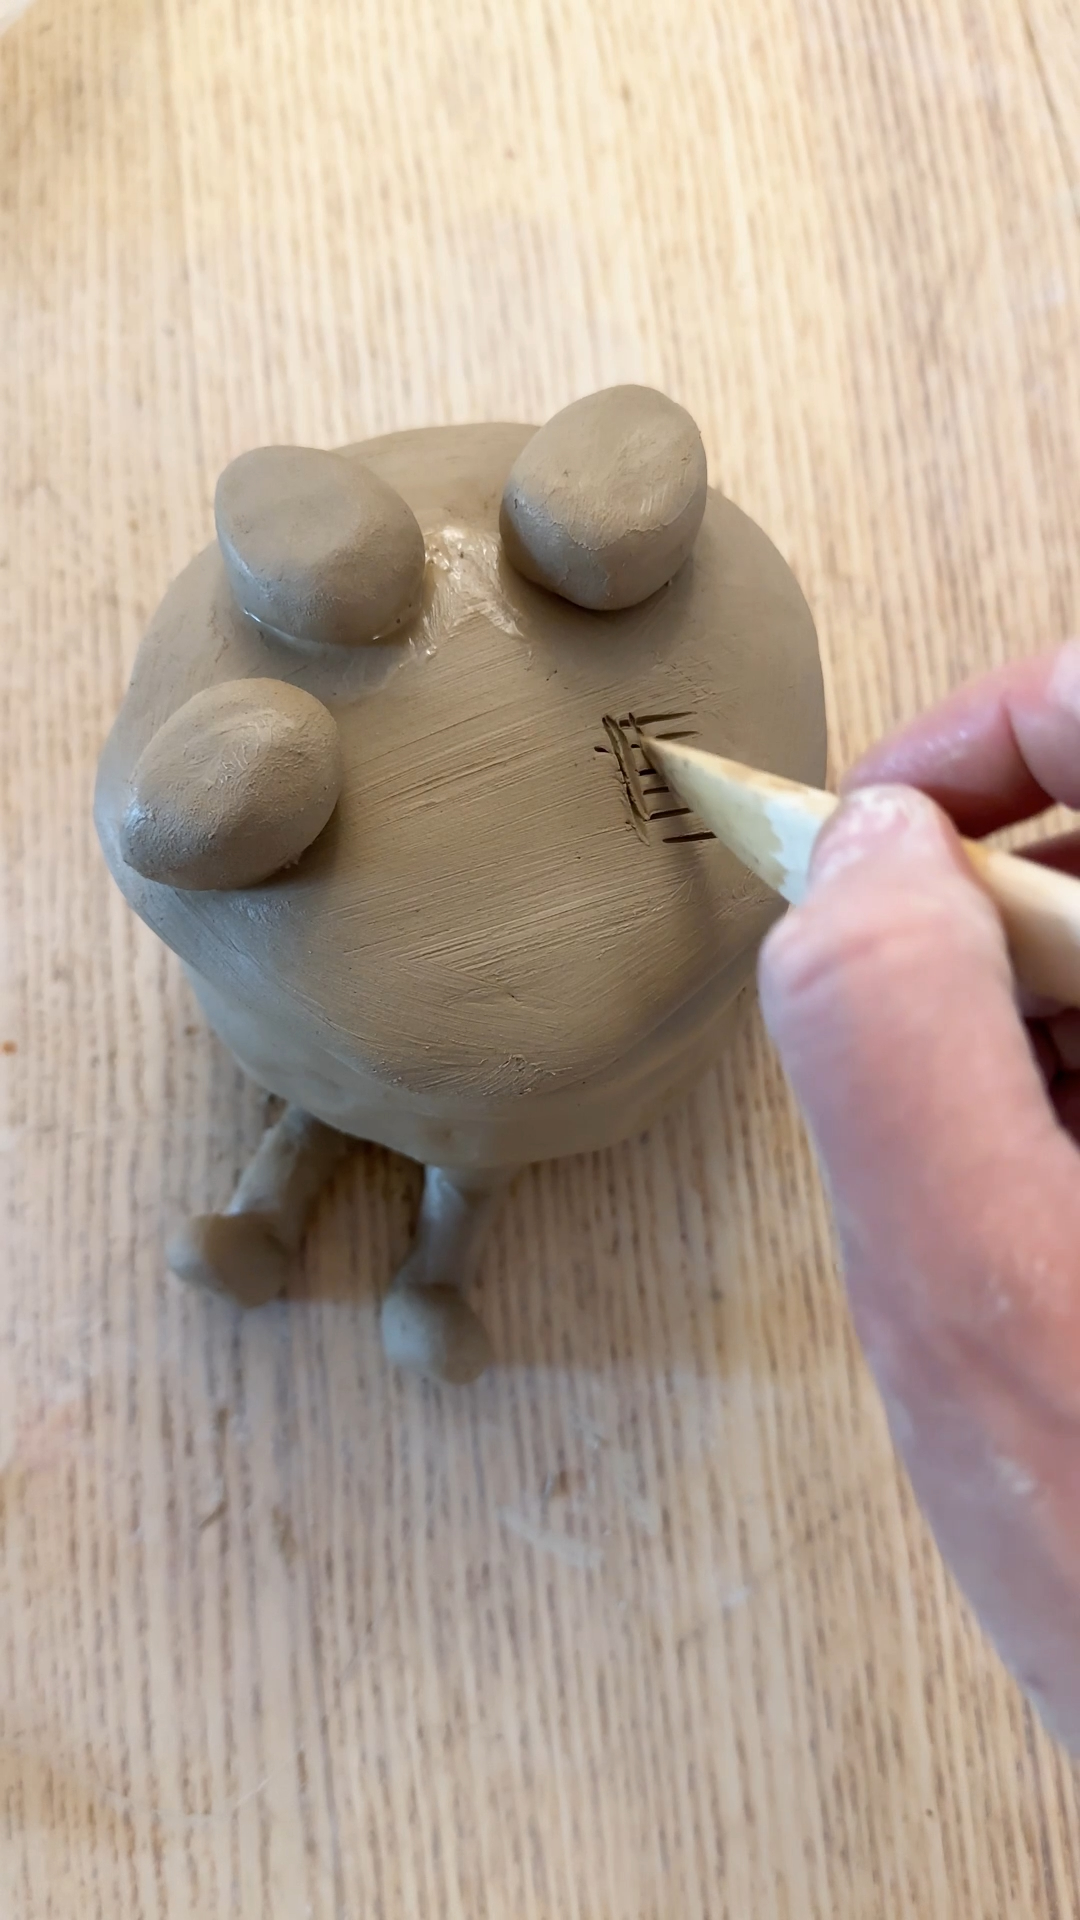
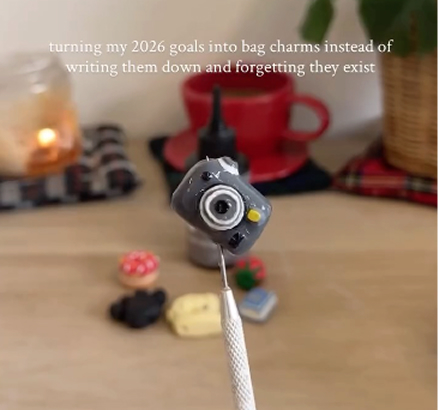
step 4: press the candle hole
push your candle gently into the centre of the icing layer. don't ram it in — just enough to mark a clean circle and a shallow well.
remove the candle, tidy up the edges with a wet brush so it looks intentional. then go over the whole piece one last time, smoothing out any fingerprints.
👀 shallow is better. if the hole goes more than halfway down the icing, the structural support gets weak.

step 5: dry, paint, gloss, face
leave it to dry for 24 hours in a warm, dry spot. don't rush. paint on damp clay = paint that flakes off in a week.
it's properly dry when the clay has paled to a uniform colour and feels cool, not damp.
once dry:
- base coat the cake body in your chosen colour. let dry.
- paint the icing white or pastel. let dry.
- paint the strawberries red, with tiny green stems on top.
- add the face with a black fineliner — two dot eyes, a tiny smile.
- seal everything with two thin coats of mod podge gloss (or your chosen sealer). thin coats. thin coats. one thick coat will go cloudy and streaky.
🍓 if your paint looks streaky on the first coat, don't panic. that's normal. the second coat covers it.

the verdict
a full 24 hours for this project. thicker areas — especially the foil-core middle — may need 36–48 hours in winter or a humid kitchen. it's ready when the clay has paled to a uniform colour and feels cool, not damp.
around 1cm over the foil core. doesn't need to be exact — thick enough to feel sturdy, thin enough to dry within 24 hours.
yes. sealing protects the paint and gives a much nicer finish. mod podge gloss is the easiest option (£6 from hobbycraft). pva mixed 1:1 with water is the budget version.
yes — and you should, for any chunky project. saves clay, makes the piece lighter, and dramatically speeds up drying. just make sure the foil is completely covered.
air dry clay isn't heatproof — it's not fired ceramic. always supervise the flame, keep burn times under an hour, never leave it unattended, and keep the wick well below the rim. honestly: an LED tealight (£3 from amazon) is the safest option. same look, no risk.
the foil core completely changed how this build felt. it dried faster, weighed less, and was way easier to shape than working with a solid block of clay. i'll be using foil cores on every chunky project from now on.
what surprised me most was how much the layering builds the illusion. the icing draping over the edge, the strawberries sinking in, the gloss finish — each layer adds to that “wait, this actually looks edible” moment. it’s the kind of project that gets a reaction every time someone walks past it.
next time, i’d push the icing texture even further

.jpg)
.jpg)
.jpg)
.jpg)
.jpg)
more like this
looking for more DIY inspiration? Take a look at some other projects I've done similar to this one.
join my monthly craft club
a monthly drop of new bits, behind-the-scenes chaos, and ideas to brighten your brain. pop your email in and i’ll send you something nice