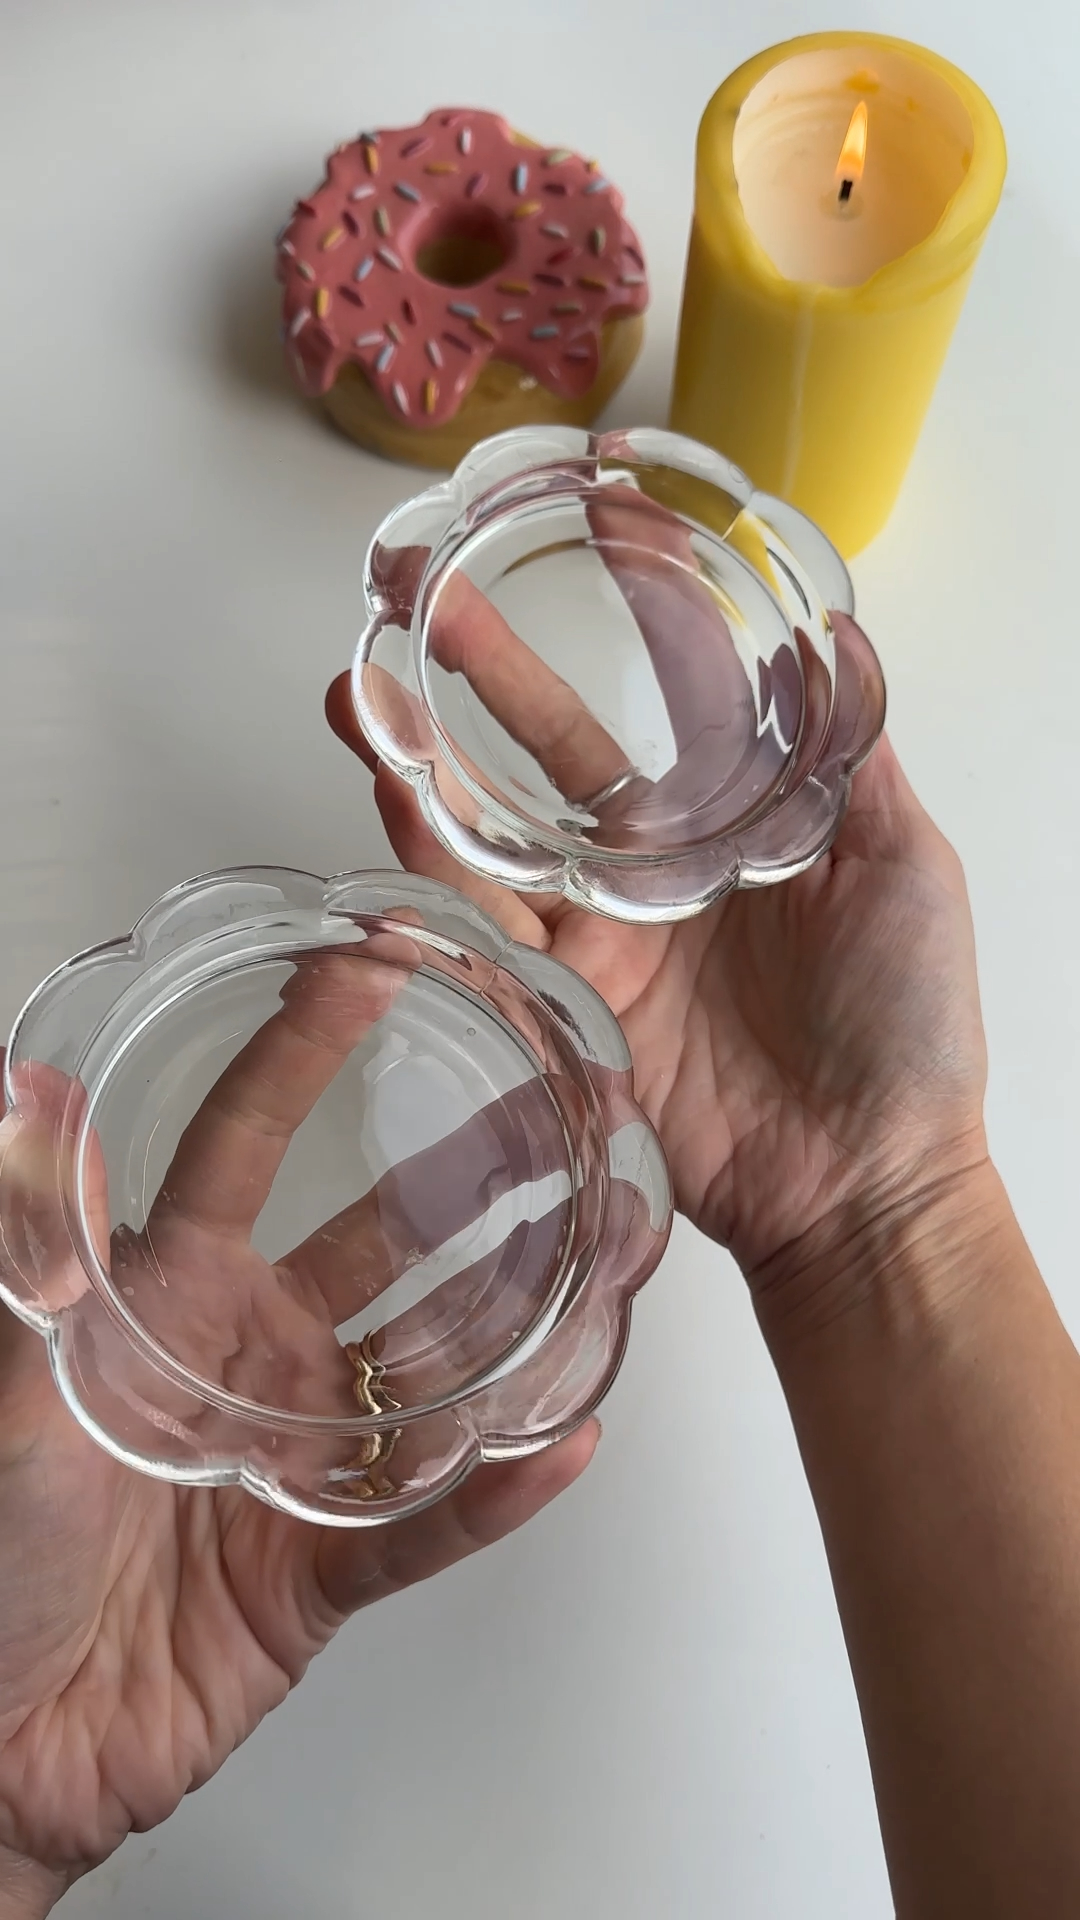
diy stained glass flower coasters 🌸
a quick glass painting project that turns simple candle dishes into beautiful handmade coasters.
🌸 looks like real stained glass without the complicated tools
⚡ genuinely quick to make
🎁 perfect last-minute handmade gift
🎨 totally customisable patterns
learn how to make diy stained glass flower coasters using inexpensive glass dishes and glass paints. this beginner-friendly craft is perfect for a relaxed craft night and makes a thoughtful handmade gift. the finished coasters look like tiny stained glass artworks and are sealed so they can actually be used.
• small glass candle dishes or shallow glass bowls
• stained glass paint set
• black glass paint for outlines
• small paintbrush for detail work
• white paint
• gloss sealer (heat resistant if using as coasters)

Welcome to my online studio of arts, crafts, and everything in between! I post regular DIY crafts here as well as on my social channels to help give everyone of every skill-level the opportunity to create beautiful, handmade gifts and decorations. If you want regular projects delivered to your inbox, use the form below, or follow me on socials!
the idea 💭
I spotted these little flower candle dishes in ikea and immediately thought they looked like tiny frames just waiting for colour.
they were only 75p each, which felt like the perfect excuse to experiment with glass paints and turn them into something a bit more special.
the idea was to create mini stained glass style coasters using simple floral designs. nothing too complicated. just something springy and cheerful that would glow nicely through the glass.
I’ll be honest though… my first attempt at the outline looked awful. I tried drawing straight from the paint bottle and the lines were way too thick. I ended up wiping a few bits away and starting again with a paintbrush instead.
once that worked, everything suddenly came together.
step 1: choose your glass base and sketch the design
start with small glass dishes or candle plates. the flower-shaped ones work beautifully because they already feel decorative.
decide what design you want to paint. floral patterns work really well here, but you could also do hearts or simple geometric patterns - anything goes!!!
freehand your design directly onto the glass with black glass paint.
tip: If the paint lines come out too thick from the tube, use a small paintbrush to guide the paint instead.

step 2: refine the stained glass outline
take a moment to look at your outline before moving on.
If any lines feel too thick or messy, gently wipe them away and redraw them. this stage makes a big difference to the final result.
once you're happy with the design, leave the outlines to dry completely before adding colour.
⚠️ watch out: If the outlines are still wet, the colours will bleed into them.

step 3: fill the design with colour
once the outlines are dry, start filling the shapes with stained glass paint.
add colour one section at a time and let the paint naturally settle inside the outlines. this is the stage where the design really starts to come to life.
mix different colours if you want softer blends or layered tones.

step 4: add a soft translucent background
to help the design stand out, mix a small amount of white paint with gloss.
apply this mixture behind the design to create a soft, slightly cloudy transparent background.
this gives the coaster a lovely stained glass effect while still letting light through the glass.
tip: Keep the layer thin so the colours still shine through.
(8).jpg)
step 5: seal and protect the coaster
once everything is fully dry, coat the surface with a heat-resistant gloss sealer.
this protects the paint and helps the coaster handle warm mugs or cups.
apply an even layer and allow it to cure properly before using the coaster.
(10).jpg)

this project ended up being much more satisfying than I expected. once I switched from squeezing the paint straight from the bottle to using a small brush, the outlines suddenly looked much more delicate and “stained glass-like”.
the translucent white background was also a bit of a surprise. It softens the design beautifully and makes the colours pop without blocking the light.
they genuinely feel like tiny pieces of glass art now. and considering the base dishes only cost 75p, they make a brilliant little handmade gift.
stained glass paints designed for glass surfaces work best. they stay slightly translucent, which creates the stained glass effect when light passes through the design.
yes, sealing helps protect the design from scratches and moisture. a gloss sealer also gives the piece a smooth finish and improves durability.
If you use a heat-resistant gloss sealer, they should handle warm mugs or cups. always check the product instructions for heat limits.
It’s best to wipe them clean with a damp cloth rather than soaking them in water. this helps protect the painted surface.
absolutely. abstract shapes, fruit designs, hearts, or geometric patterns all work beautifully with this technique.
• drawing outlines straight from the bottle without thinning the lines
• adding colour before the outline has dried
• applying sealer too thickly


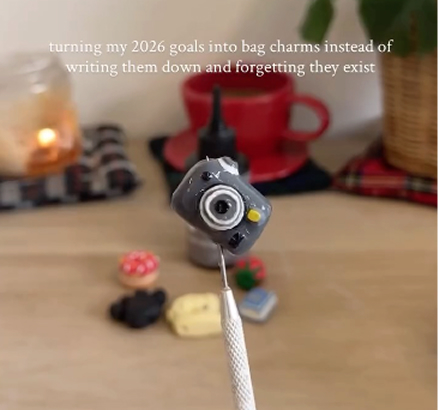
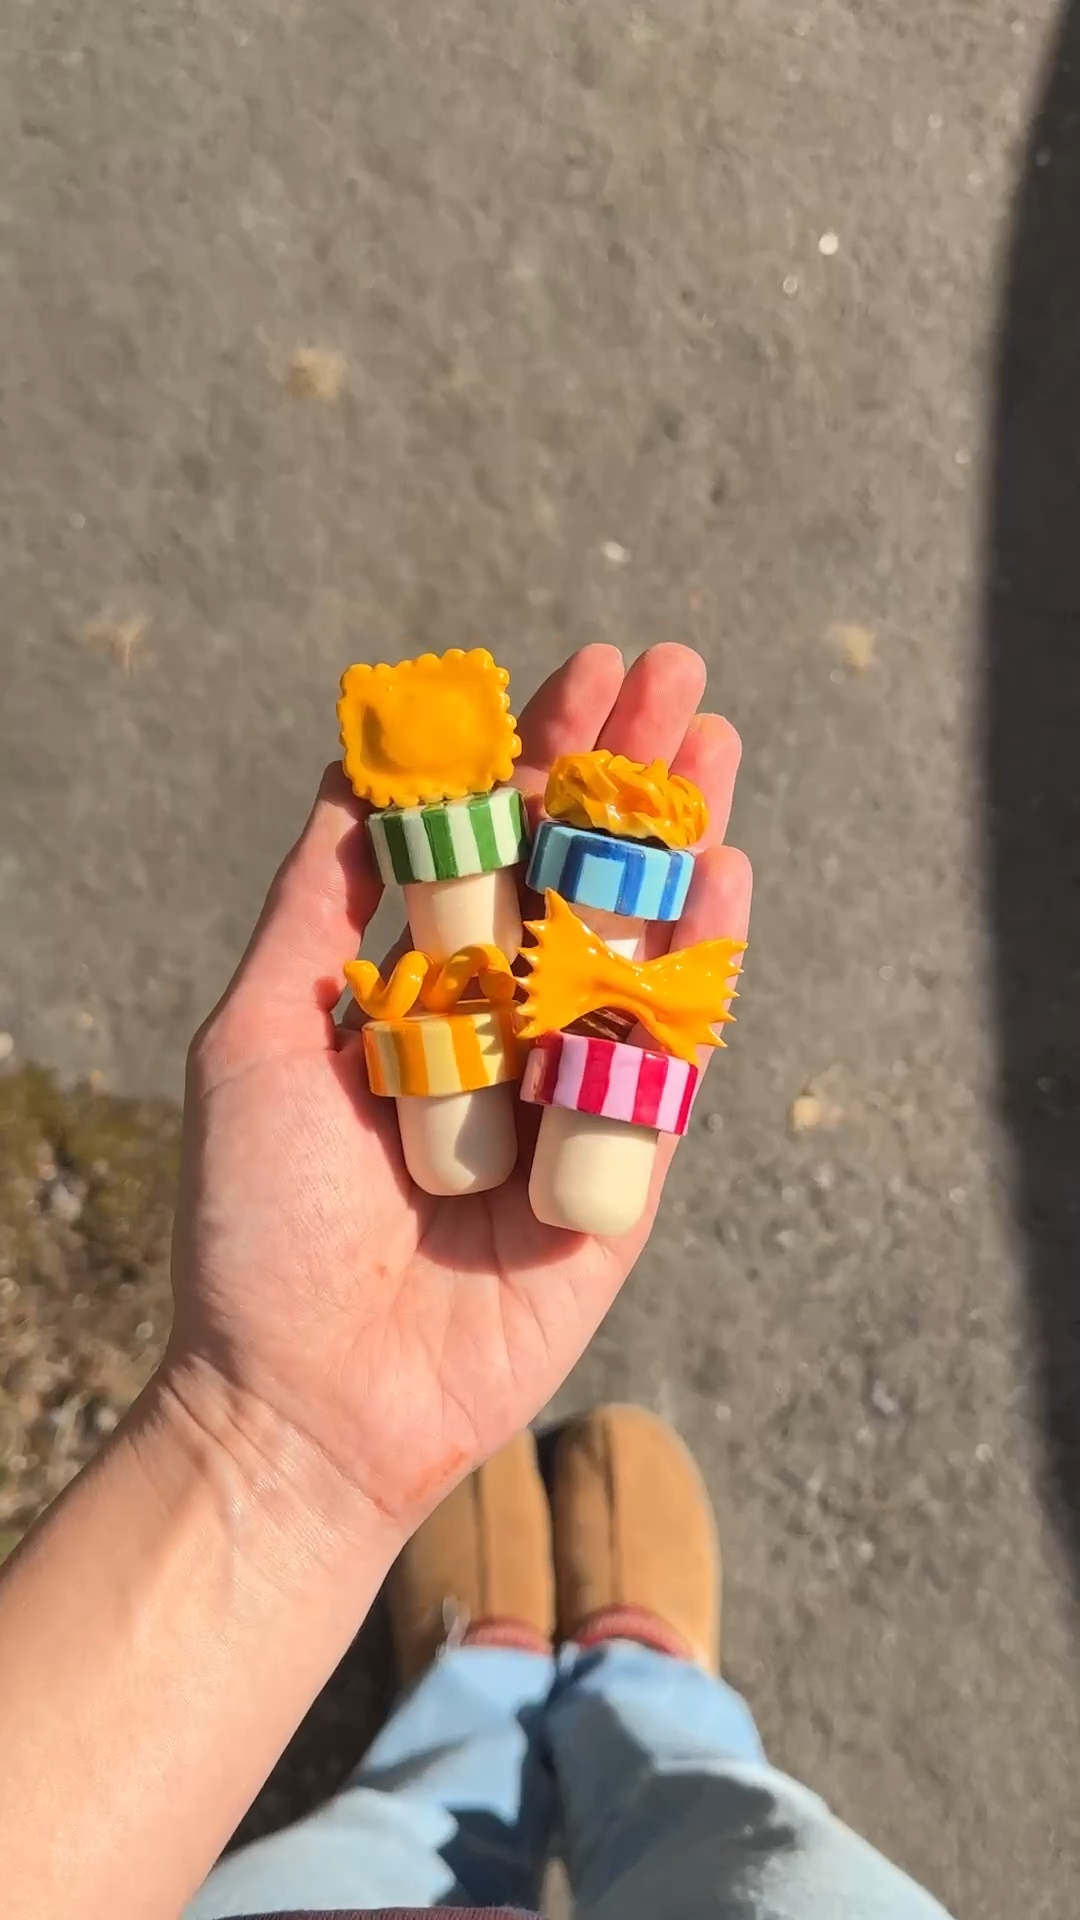
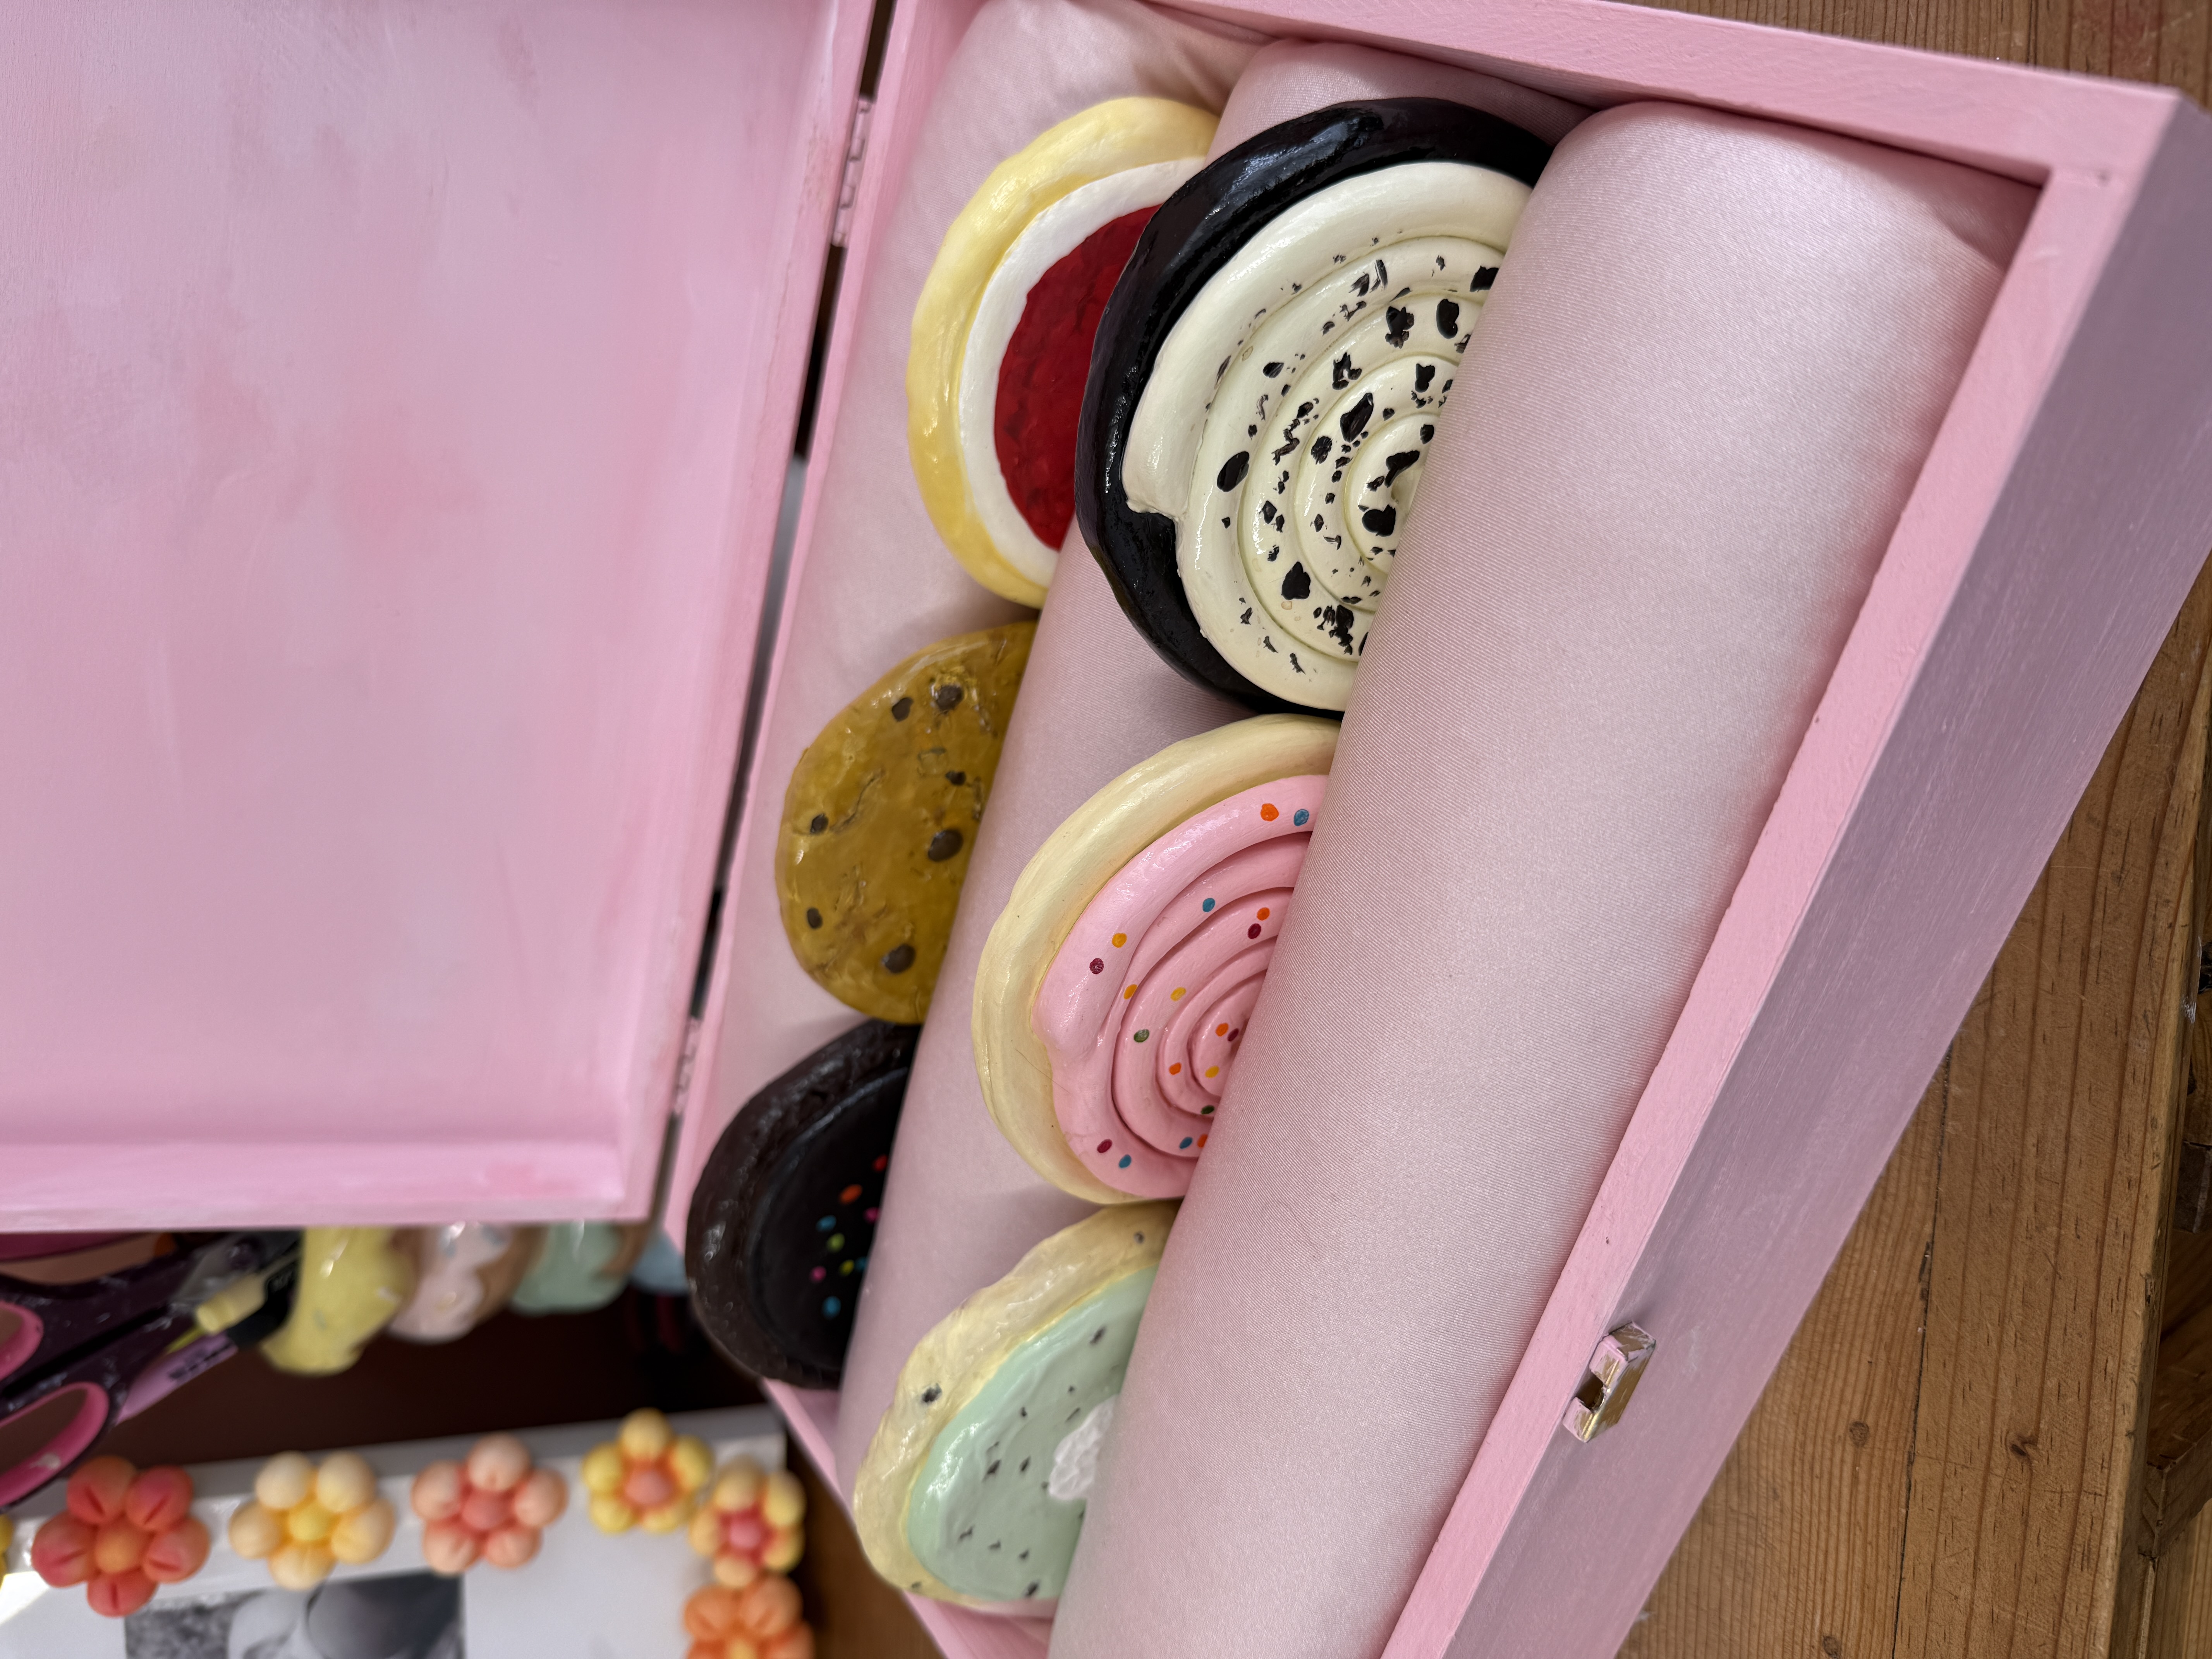
more like this
looking for more DIY inspiration? Take a look at some other projects I've done similar to this one.
join my monthly craft club
a monthly drop of new bits, behind-the-scenes chaos, and ideas to brighten your brain. pop your email in and i’ll send you something nice