diy polymer clay egg tray 🥚
a simple easter craft that turns an egg carton into something genuinely beautiful
🐣 perfect handmade easter gift
🎨 totally customisable with any pattern
🧁 looks way more impressive than it is
learn how to make a diy polymer clay egg tray using an egg carton base and napkin decoupage. this beginner-friendly project is perfect for easter gifting and lets you create a completely personalised tray that actually holds eggs. simple, and surprisingly effective.
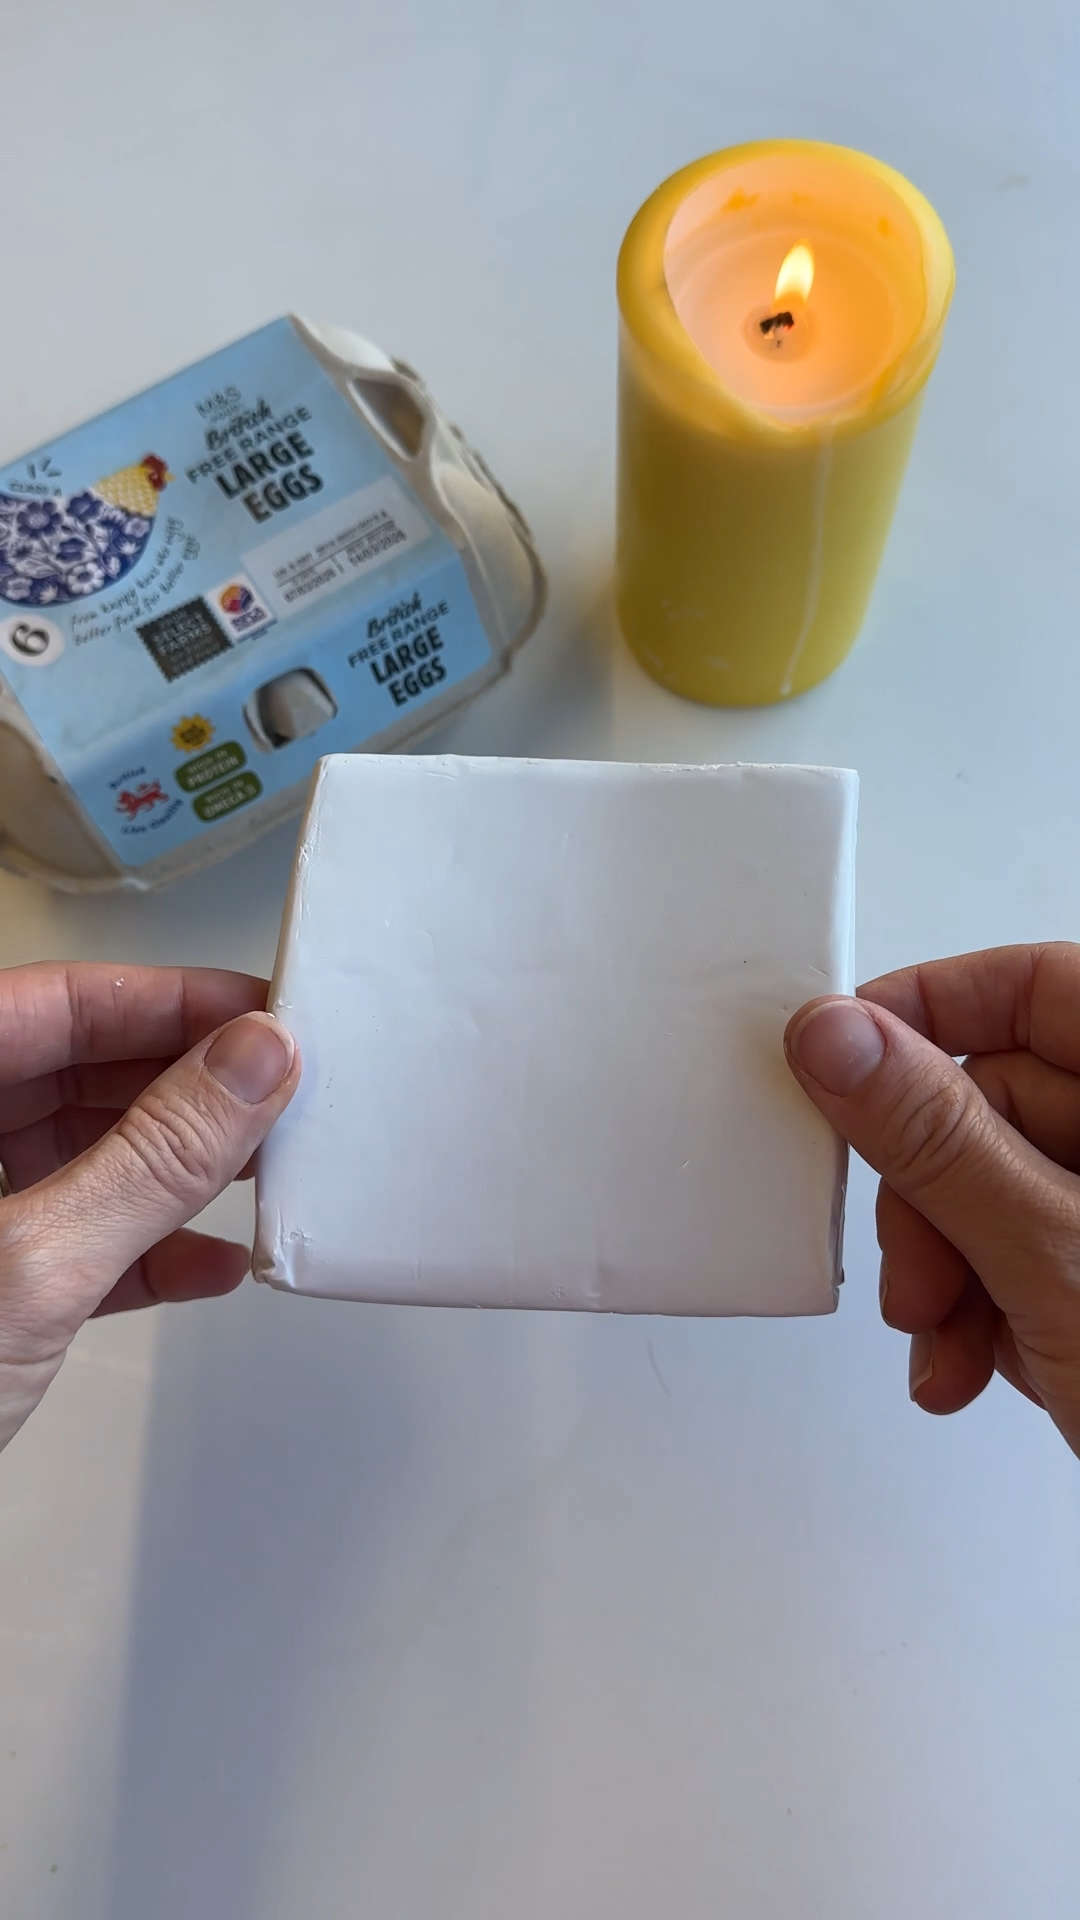
• polymer clay
• egg carton (used as a temporary mould)
• cling film or baking paper
• scissors
• decorative napkin
• mod podge
• gloss sealer (i used JDiction Gloss Sealer/ResinCrete)

Welcome to my online studio of arts, crafts, and everything in between! I post regular DIY crafts here as well as on my social channels to help give everyone of every skill-level the opportunity to create beautiful, handmade gifts and decorations. If you want regular projects delivered to your inbox, use the form below, or follow me on socials!
the idea 💭
i’ve always loved those projects where something really ordinary turns into something unexpectedly cute… and egg cartons felt like the perfect starting point for that.
with easter coming up, i wanted to make something small, giftable, and actually useful. not just something decorative, but something that could sit on a table and be used.
i wasn’t totally sure how well polymer clay would behave draped over a cardboard base though. would it hold the shape properly? would it look too rough?
but once i started pressing the clay into those little egg dips, it just clicked. the shape did all the work for me.
from there, it became all about adding personality with the napkin design and seeing it come to life.
step 1: shape the clay over the egg carton
roll out your polymer clay into a flat sheet.
line your egg carton with cling film or baking paper, then drape the clay over the top. press it down into each egg section so those soft dips come through clearly.
this is where the tray really starts to form.
tip: the cling film makes it much easier to lift the clay out later without sticking.

step 2: trim and define the tray while in the mould
while the clay is still sitting in the egg carton, use scissors to trim around the edges.
this helps you get a clean, even outline while the shape is fully supported underneath.
it’s much easier to control at this stage than after lifting.
tip: keep your cuts slow and steady to avoid pulling the clay out of shape.

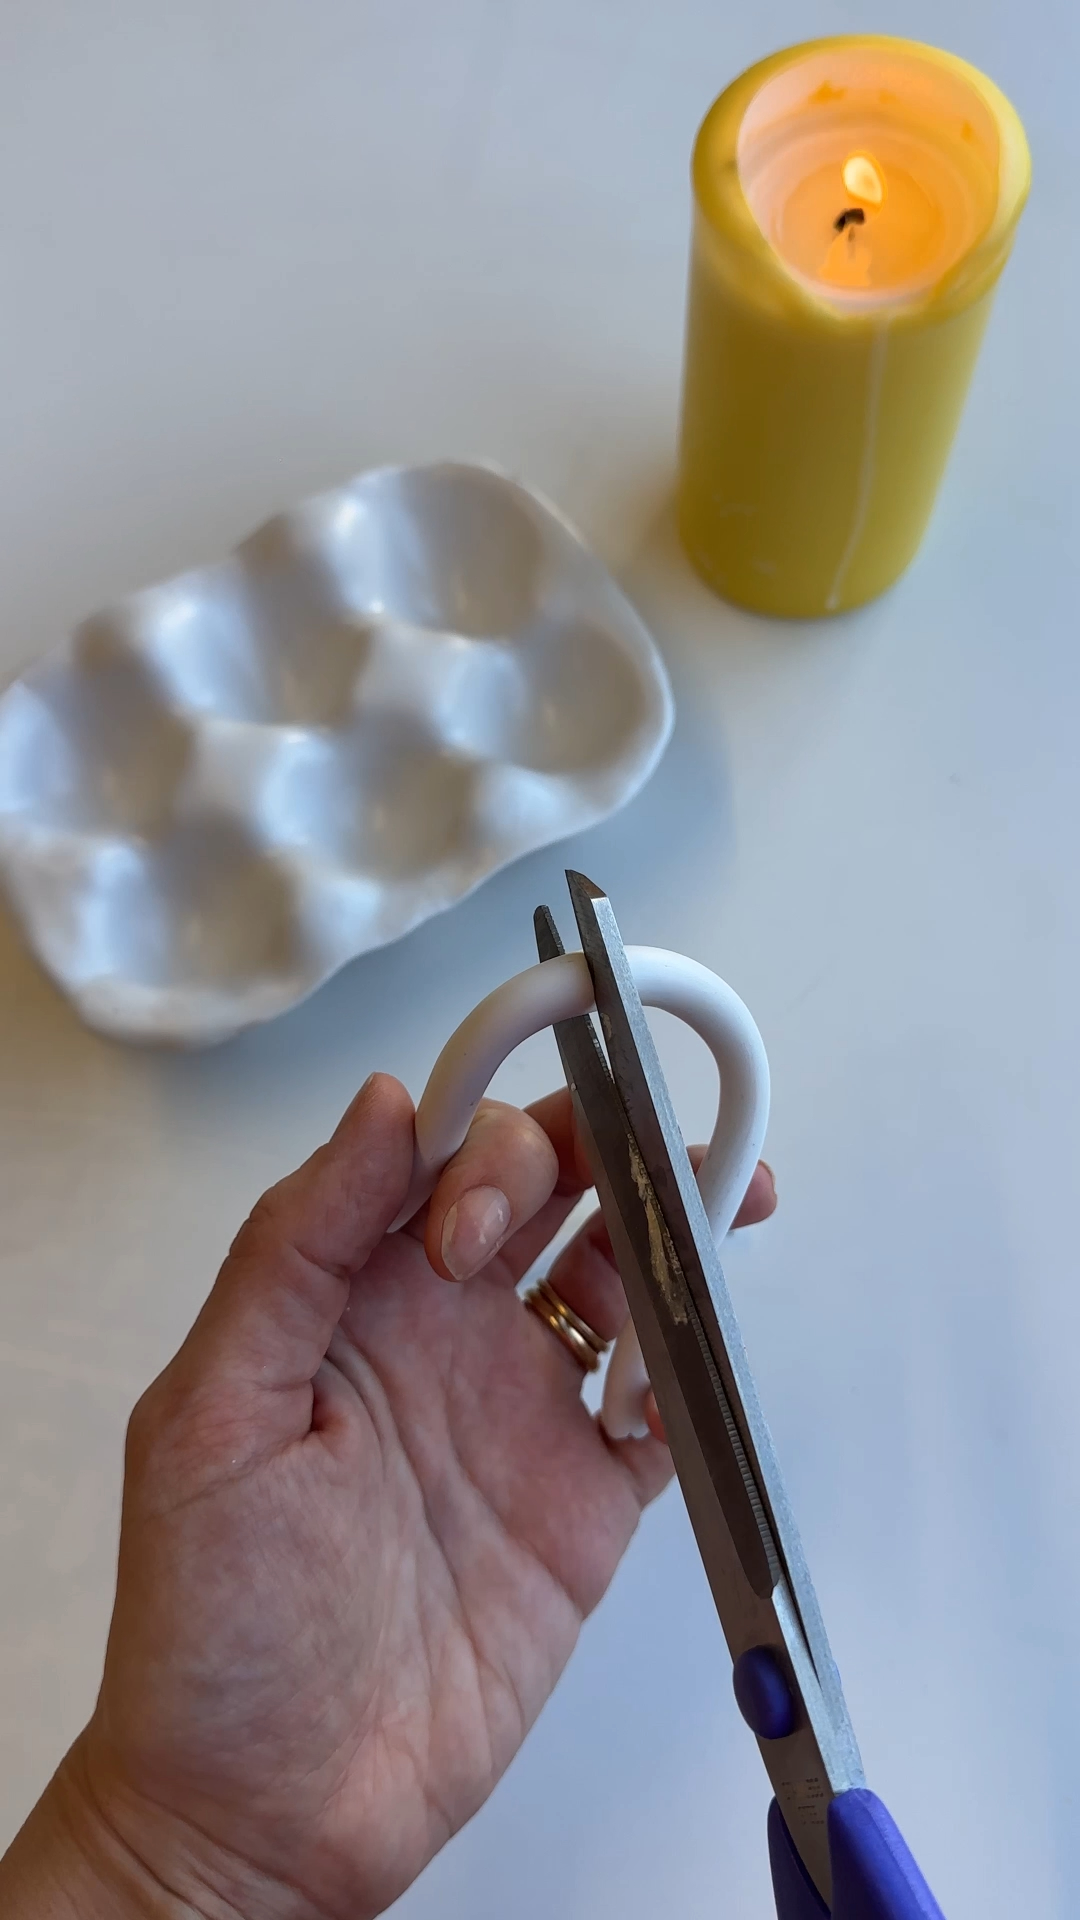
step 3: add handles while supported in shape
roll out two small pieces of clay and attach them to either end of the tray while it’s still in the egg carton.
press them in gently but firmly so they follow the curve of the tray.
because the base is supported, you can shape and adjust them without the tray collapsing.
watch out: make sure the handles are properly blended into the sides so they don’t come loose later.
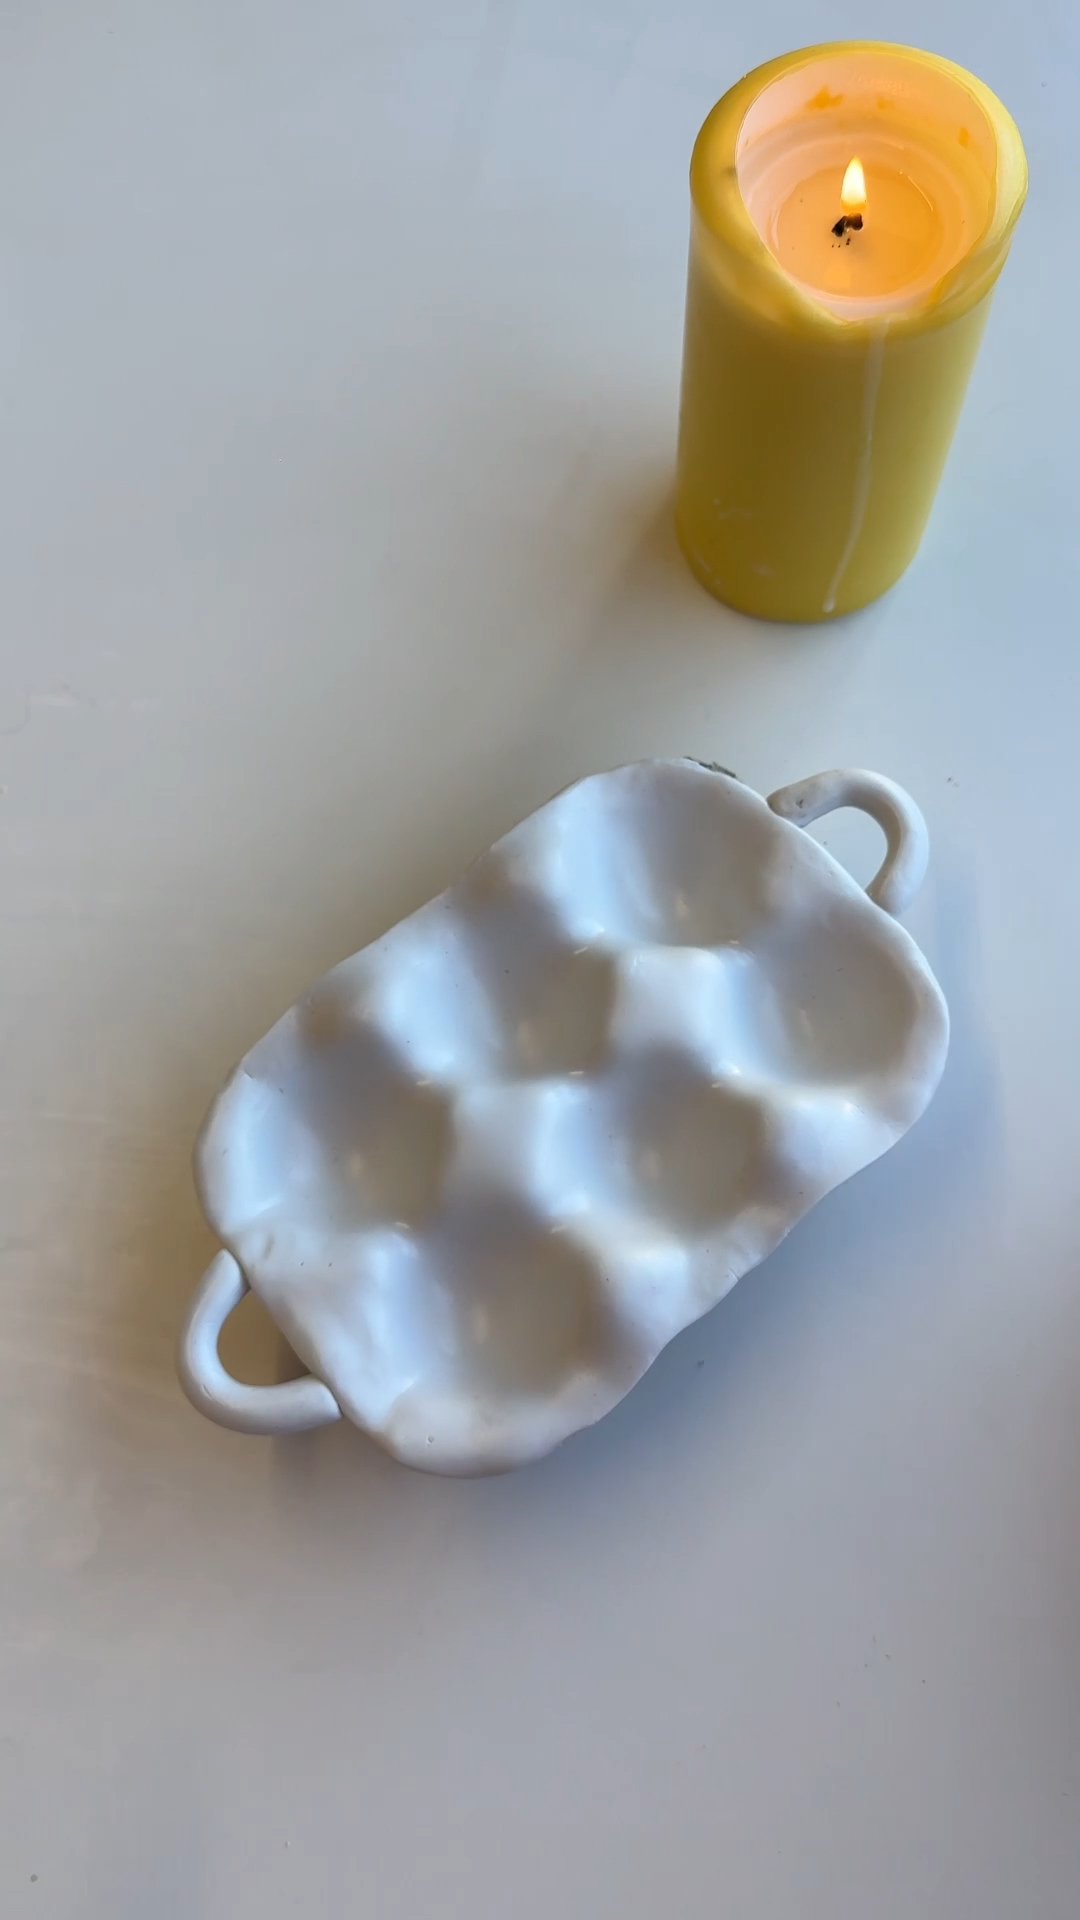
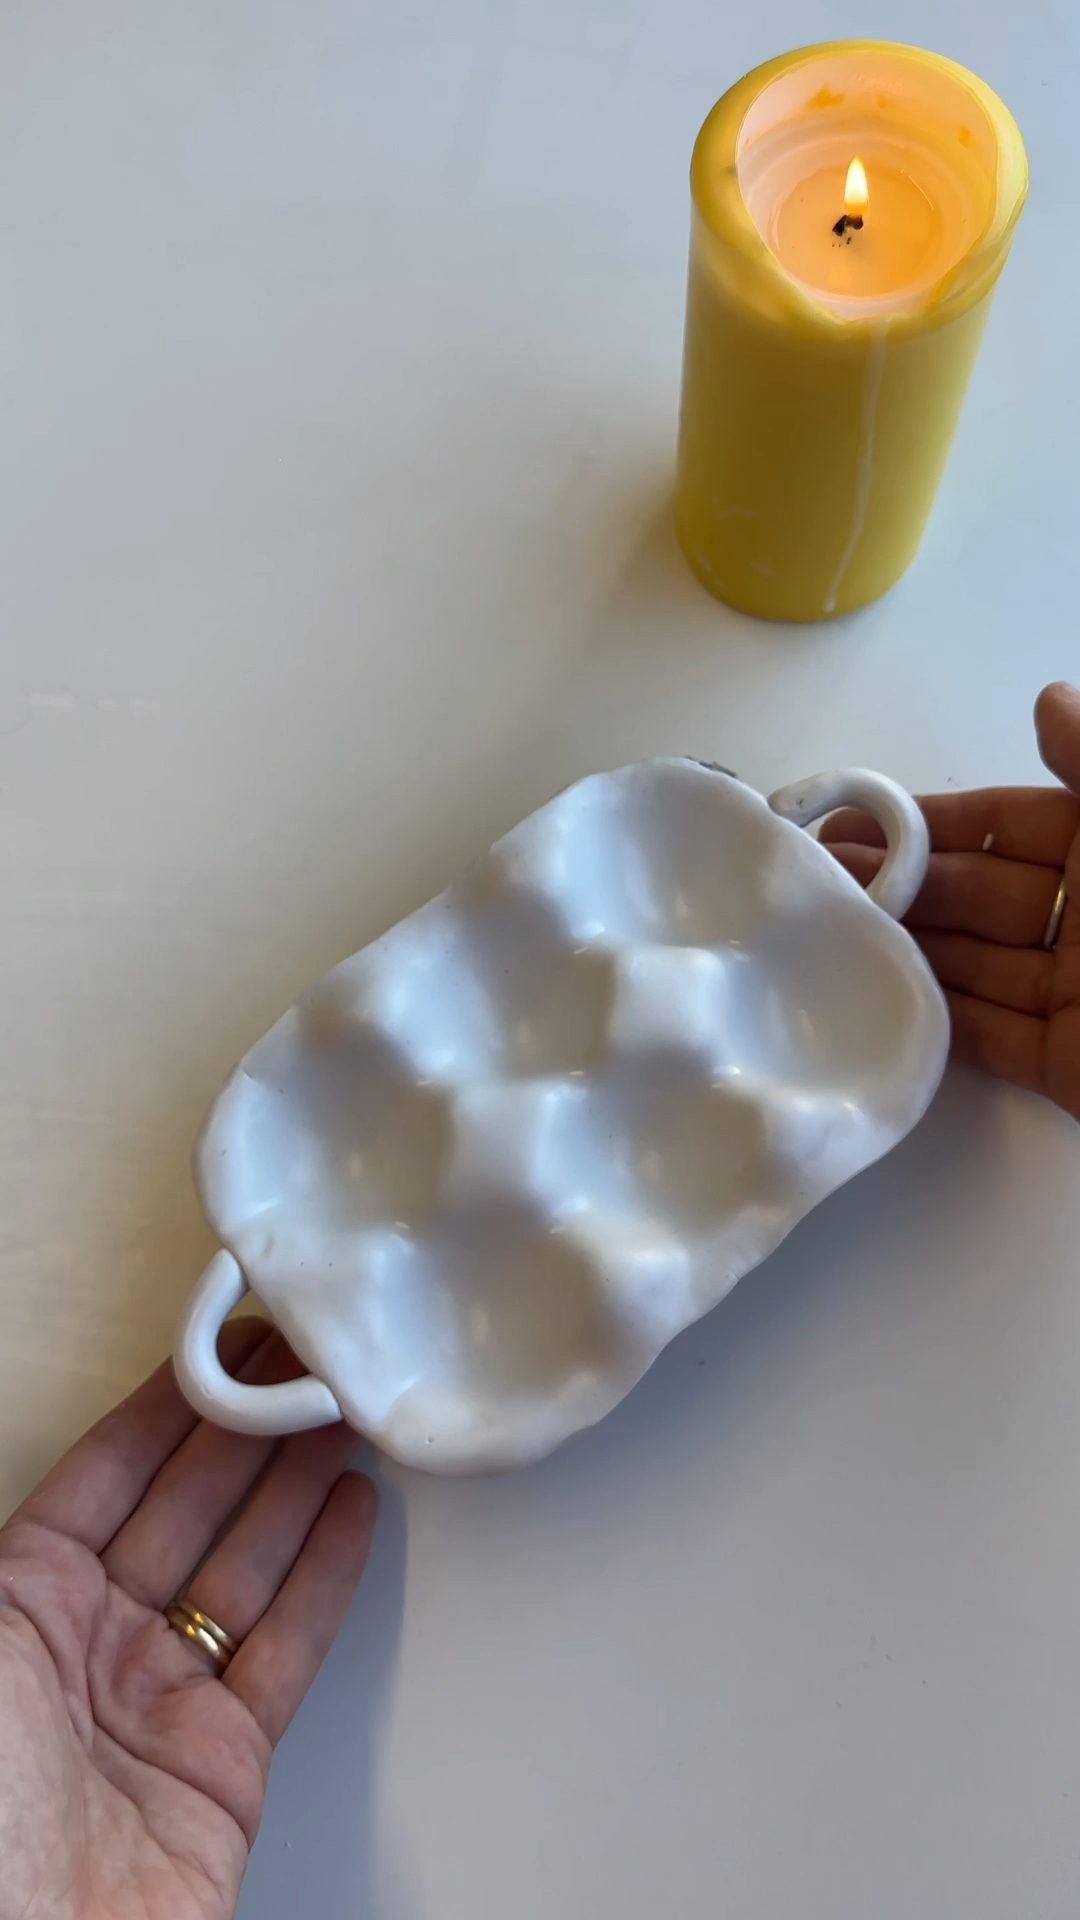
step 4: remove the tray and prepare for baking
once everything is shaped, gently lift the clay out using the cling film to support it.
peel the cling film away and place the tray onto a flat surface or baking tray.
it should now hold its full shape, including the handles.
tip: support the base with both hands when lifting to avoid stretching.
step 5: bake and harden the tray
place your tray onto a baking tray and bake according to your clay’s instructions.
once baked, it will harden and fully hold its shape.
let it cool completely before moving on.
step 6: decorate using napkin decoupage
separate your napkin layers and keep only the printed top layer.
cut out your chosen motifs and use mod podge to stick them onto the tray, covering both the top and bottom.
this is where it really transforms.

step 7: seal with gloss for a finished shine
add a layer of gloss over the entire tray to seal everything in.
this gives it a subtle shine and helps protect the surface.
leave it to dry fully before using.

the verdict 👩⚖️
what surprised me most about this one is how effective the egg carton base is. it does all the shaping for you, which makes the whole process feel really easy and low-pressure.
the decoupage step is probably the fiddliest part, especially working with such thin napkin layers, but it’s also the bit that completely transforms it.
next time, i might spend a bit more time refining the edges before baking, just to get a slightly cleaner finish underneath. but honestly, once it’s decorated, you barely notice.
it’s simple, and actually really useful.
no, it’s best not to. egg cartons are made from cardboard, which isn’t safe to put in the oven and can become a fire risk.
instead, use the carton as a mould only. line it with cling film or baking paper, shape your clay over it, then gently lift the clay off before baking. the clay should hold its shape if you support it underneath as you lift.
this way you still get the perfect egg tray shape, just without the risk.
follow the instructions on your specific clay packaging. baking time and temperature can vary depending on the brand and thickness.
not necessarily. mod podge can act as a seal on its own, but adding gloss gives a smoother, shinier finish.
you’ve got a few good options here depending on what you have at home.
a silicone egg tray or mould is the easiest swap, as it’s heat-safe and you can bake the clay directly on it. ceramic or metal egg trays also work well for the same reason.
if you don’t have any of those, you can still use an egg carton as a shaping guide just remember to line it and remove the clay before baking.
the goal is simply to get those soft egg-shaped dips, so anything with a similar form will do the job.
• pressing the clay too thin over the carton
• skipping proper baking time
• rushing the napkin application

more like this
looking for more DIY inspiration? Take a look at some other projects I've done similar to this one.

join my monthly craft club
a monthly drop of new bits, behind-the-scenes chaos, and ideas to brighten your brain. pop your email in and i’ll send you something nice