diy heart jellycat photo holders ♥️🩷
a playful project that turns your favourite photos into squishy keepsakes
🎨 beginner-friendly - really quick and easy to make
🎁 perfect for gifting - lovely for valentine’s or best friend gifts
🌈 customisable - all sorts of colours and sizes possible
learn how to make DIY foam clay heart photo holders inspired by the adorable Jellycat style. this beginner-friendly craft is perfect for cosy evenings or handmade gifts. the finished hearts hold polaroids or small photos and add a soft, playful touch to desks, shelves, or bedside tables.
- foam clay - light pink and dark pink, or any colours you love
- craft knife or clay tool
- cocktail stick or skewer
- photo - polaroids work really well
tip: keep a real jellycat nearby for inspiration - it really helps with proportions and that soft, rounded feel.
Welcome to my online studio of arts, crafts, and everything in between! I post regular DIY crafts here as well as on my social channels to help give everyone of every skill-level the opportunity to create beautiful, handmade gifts and decorations. If you want regular projects delivered to your inbox, use the form below, or follow me on socials!
the idea 💭
I've always had a soft spot for jellycats. there’s something about those tiny faces…
so when valentine’s day started creeping up, i thought it would be fun to try recreating that same cosy, playful feeling using foam clay. the idea was simple: a little heart character that could hold a photo. something cute enough to sit on a desk but personal enough to feel like a keepsake.
I'll admit, I wasn't completely sure if foam clay would hold the photo securely or if the little legs would make it wobble. tiny sculptures can be surprisingly unpredictable.
but once the first heart started taking shape, it quickly became one of those projects that feels joyful from start to finish. and the best part? they’re incredibly easy to make.
so let’s build one.
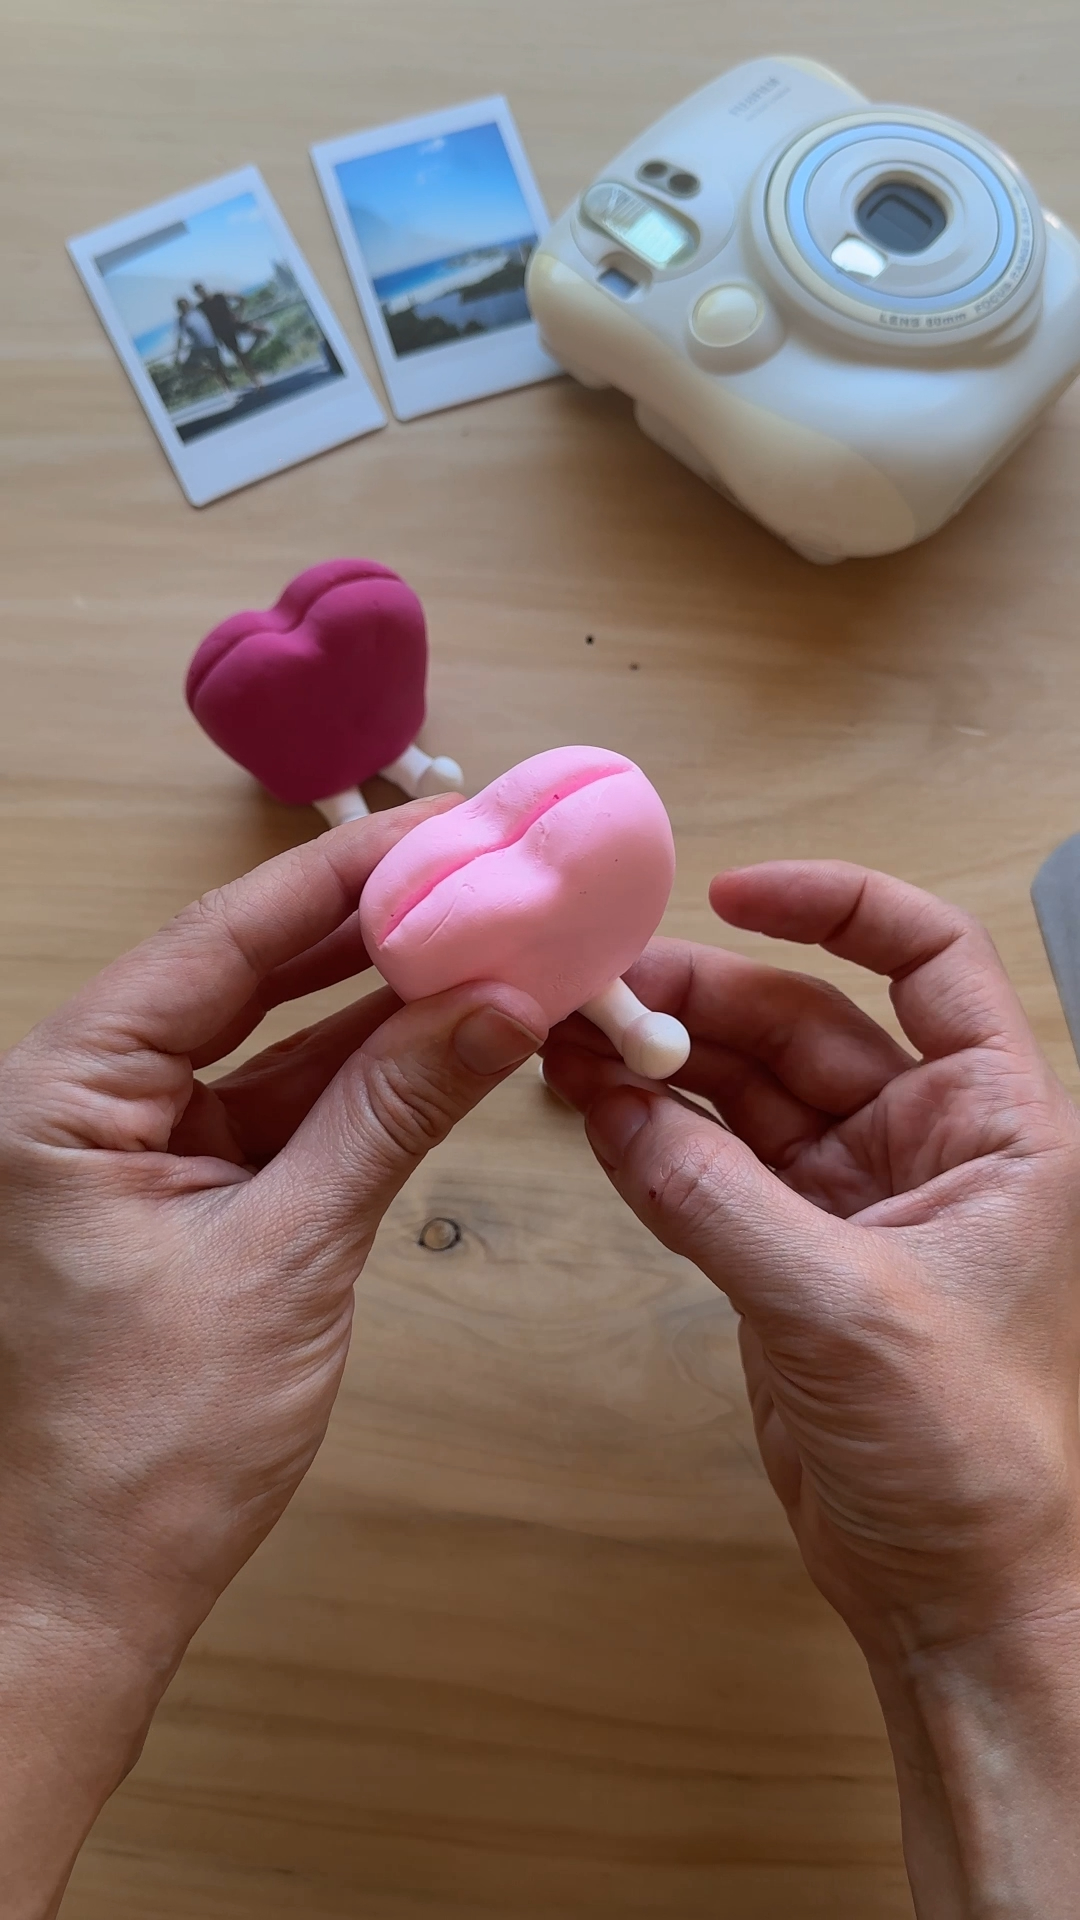
step 1: shape the heart and create the photo slot
start by shaping your foam clay into a soft heart shape using your hands. keep the edges rounded so the finished piece feels squishy and playful.
flatten the bottom slightly so the heart can stand upright on a surface. this small detail makes a big difference later.
next, gently press a slit into the centre of the heart. this will hold the photo once everything is finished.
tip: keep the slit slightly wider than your photo so it slides in easily.

step 2: repeat the heart shape
repeat the same process using another colour of foam clay if you’d like a second photo holder.
shape the heart, smooth the edges, and flatten the base so it can stand comfortably.
then press the slot into the centre just like before.
tip: slightly different sizes or colours can make a cute matching pair.

step 3: add the little legs
roll out small pieces of foam clay to create the character’s legs.
form tiny balls for the feet, then attach them to short rolled pieces of clay to make simple legs.
press the legs gently onto the bottom of the heart.
⚠️ watch out: make sure both feet sit flat so the heart stands evenly.

step 4: flatten and stabilise the base
once the legs are attached, gently press them down onto your work surface.
this helps flatten the base slightly and stabilise the whole piece.
take a moment to adjust the position of the feet so the heart stands comfortably.
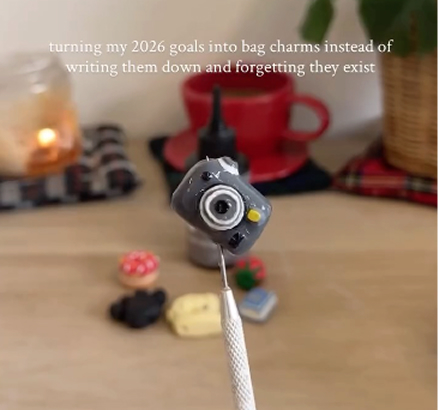
step 5: add the face
use small detail brush to add the tiny eyes and mouth.
take your time here. the face really brings the character to life.


the verdict 👩⚖️
these little hearts are one of those crafts that instantly feel joyful to make. the foam clay makes the whole process surprisingly forgiving, which means you can focus on shaping and playing rather than worrying about perfection.
the part that surprised me most was how much personality the tiny faces add. even with the simplest dots and lines, each heart ends up looking slightly different. next time I might experiment with different colours or expressions, but honestly… they’re so cute sitting on a desk holding some of your favourite photos.
foam clay is a lightweight modelling material that already contains tiny foam beads. it’s soft, easy to shape, and often comes pre-coloured, which means you don’t need to paint it afterwards.
that makes it perfect for quick character-style crafts like this.
drying time depends on the brand and the thickness of the clay.
generally it air dries naturally over time once exposed to air. if your piece feels soft, simply leave it longer until it firms up.
yes, as long as the slot you press into the heart is deep enough to support the photo.
if you plan to use thicker polaroids, just widen the slit slightly while shaping the clay.
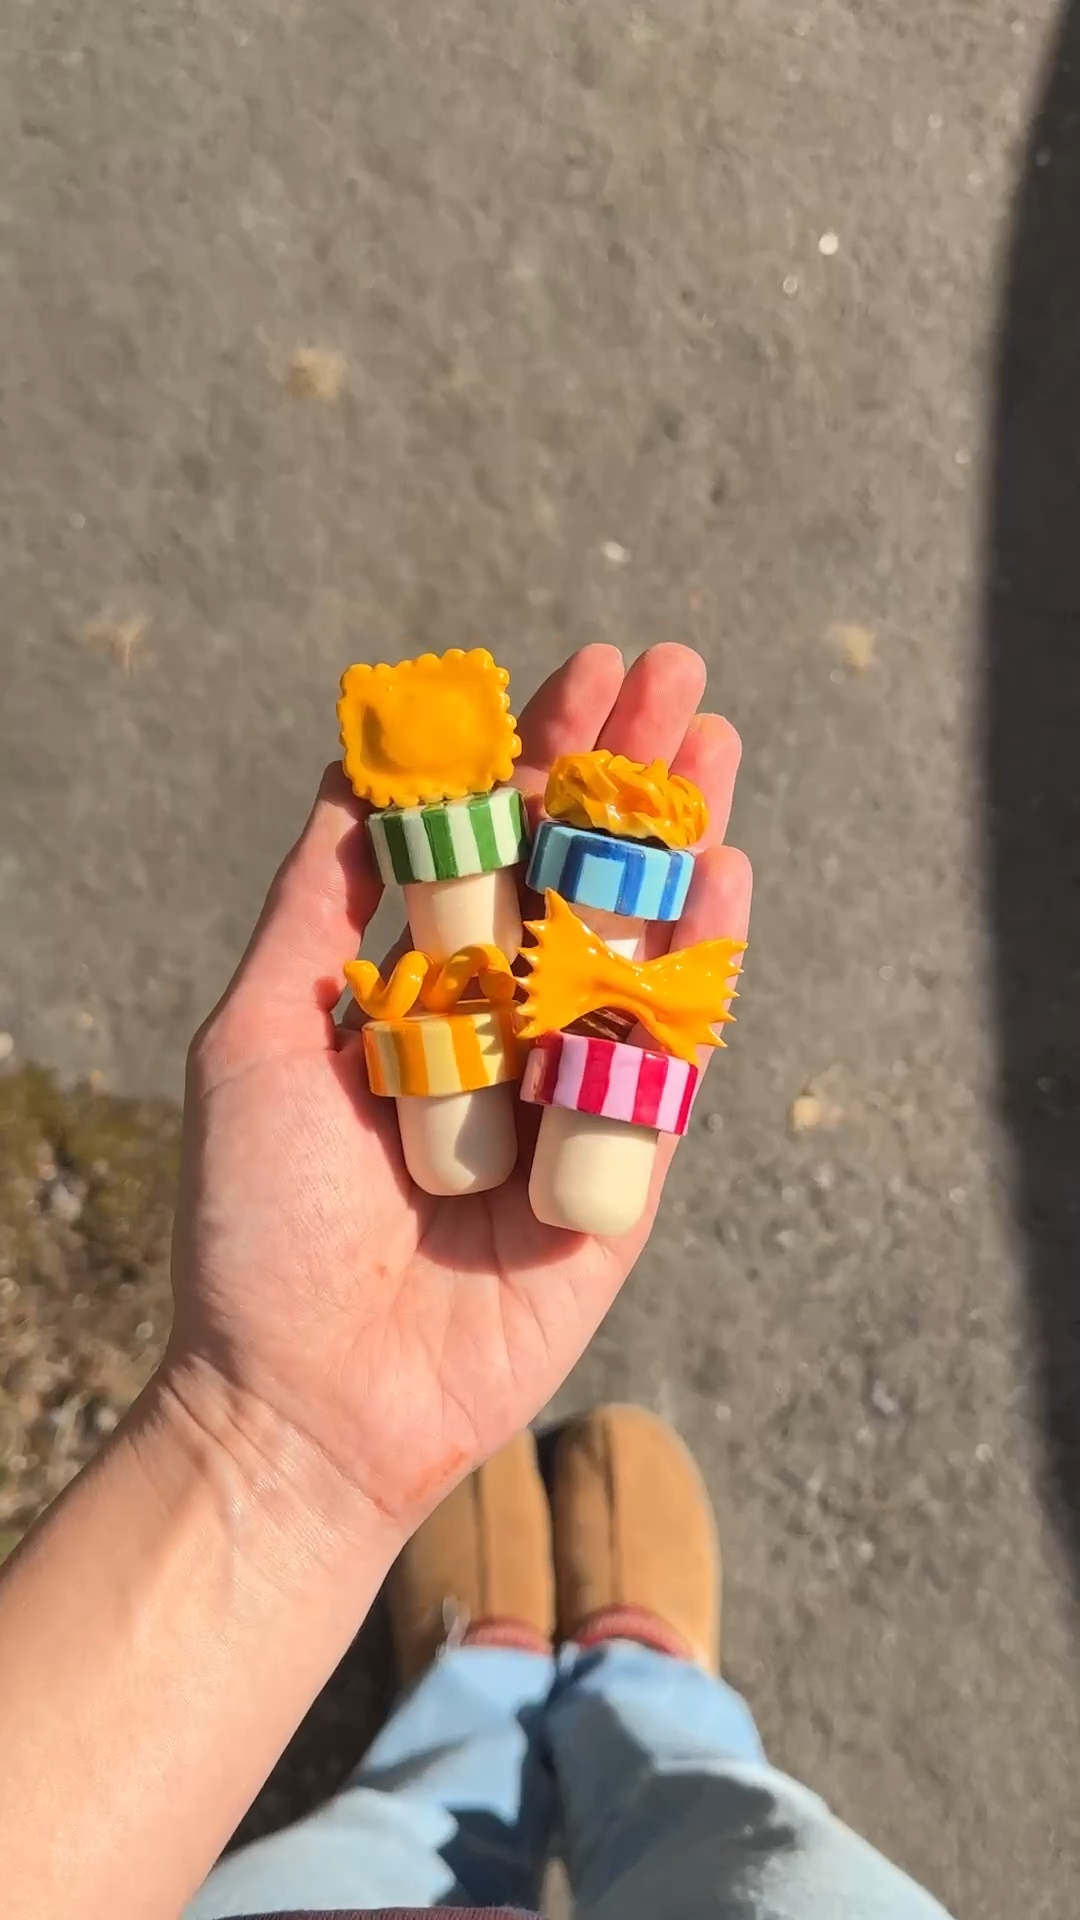
absolutely. this project works beautifully with different colours or patterns.
• making the photo slot too narrow
• forgetting to flatten the base so it stands properly
• placing the legs unevenly


more like this
looking for more DIY inspiration? Take a look at some other projects I've done similar to this one.
join my monthly craft club
a monthly drop of new bits, behind-the-scenes chaos, and ideas to brighten your brain. pop your email in and i’ll send you something nice