diy fruit fridge magnets using foam clay
tiny fruity friends for your fridge
🍓 ridiculously cute and cheerful
🎨 great for experimenting with colours and tiny details
🧘 relaxing, low-pressure crafting
these cheerful little fruit magnets are made from colourful foam clay and finished with tiny faces and legs. they’re quick, beginner-friendly, and incredibly satisfying to make. perfect for a cosy craft evening, you can create strawberries, oranges, apples, and more to brighten up your fridge or magnetic board.
- foam clay in multiple colours
- small magnets
- glue
- needle tool
- scissors

Welcome to my online studio of arts, crafts, and everything in between! I post regular DIY crafts here as well as on my social channels to help give everyone of every skill-level the opportunity to create beautiful, handmade gifts and decorations. If you want regular projects delivered to your inbox, use the form below, or follow me on socials!
sometimes the best craft ideas come from those slow, cosy evenings where you just feel like making something small and joyful.
I’ve recently become a bit obsessed with foam clay. It’s so soft and colourful! and so satisfying to shape with your hands. I wanted to make something playful with it, something that would live out in the open rather than disappear into a drawer.
tiny fruit characters felt like the perfect fit.
the plan was simple: shape little fruits, add some personality, and turn them into magnets so they could live on the fridge. I did wonder if the legs might make them look a bit odd… but once the little faces went on everything came together, as it so often does!
from there it became impossible to stop. strawberry, raspberry, pineapple, apples… one after another.
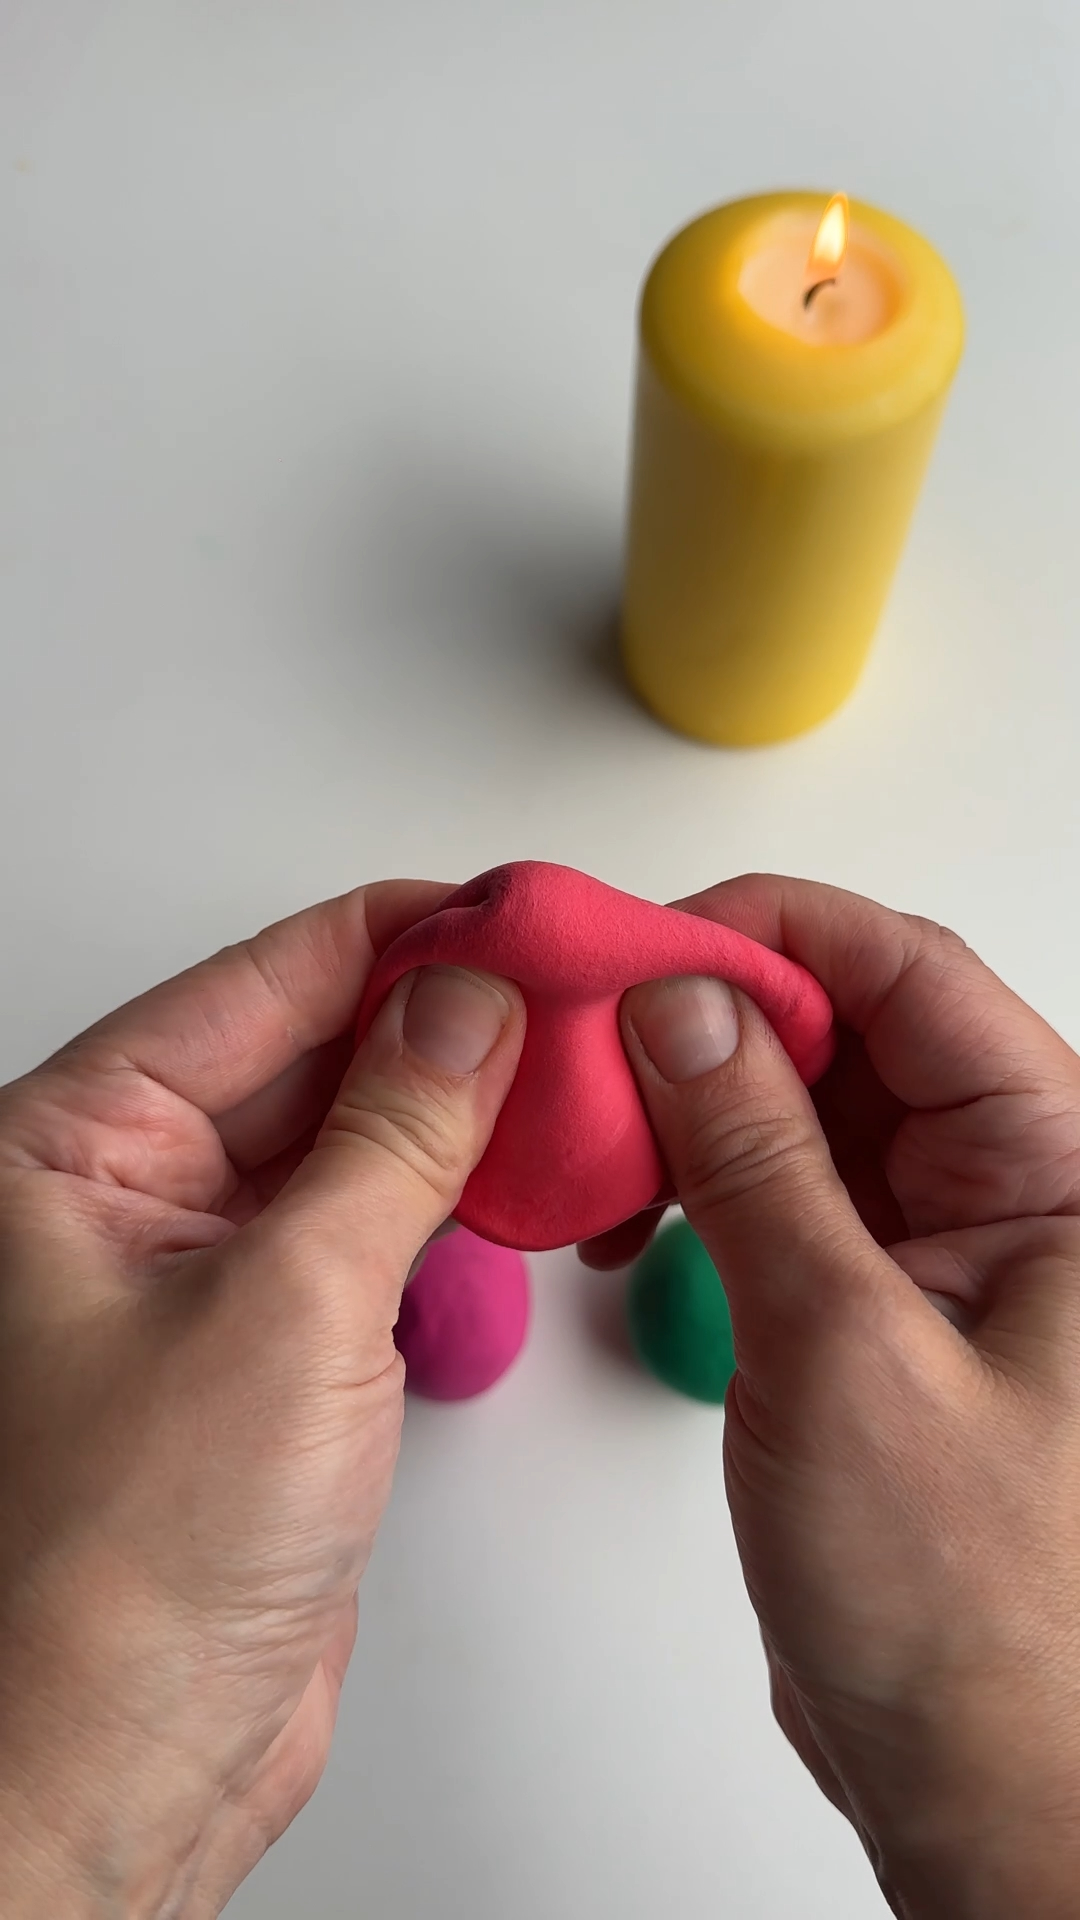
step 1: shape your fruit bases
start by rolling small pieces of foam clay into smooth balls.
from there, gently shape them into different fruit forms. round shapes work well for apples and oranges, while strawberries and pineapples benefit from a slightly tapered shape.
don’t worry about perfection here. slightly wonky shapes make the finished characters more charming.
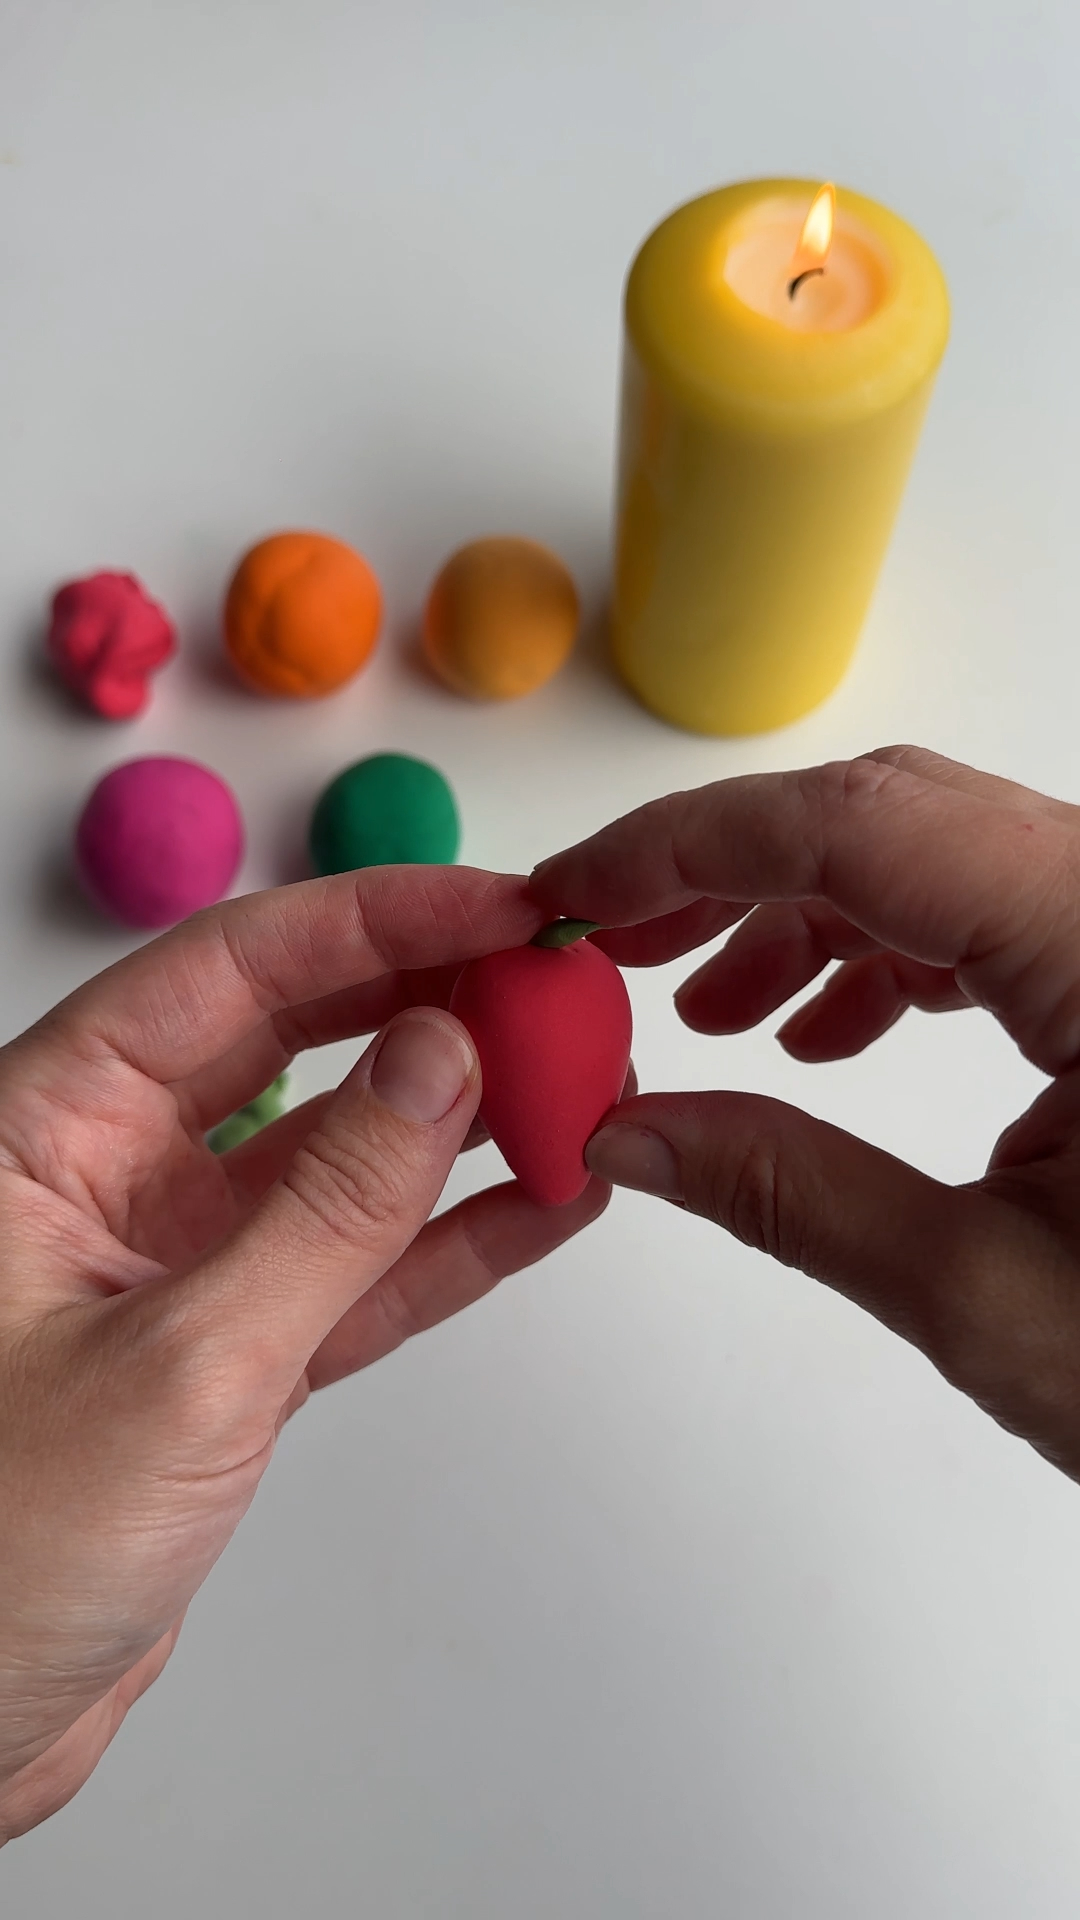
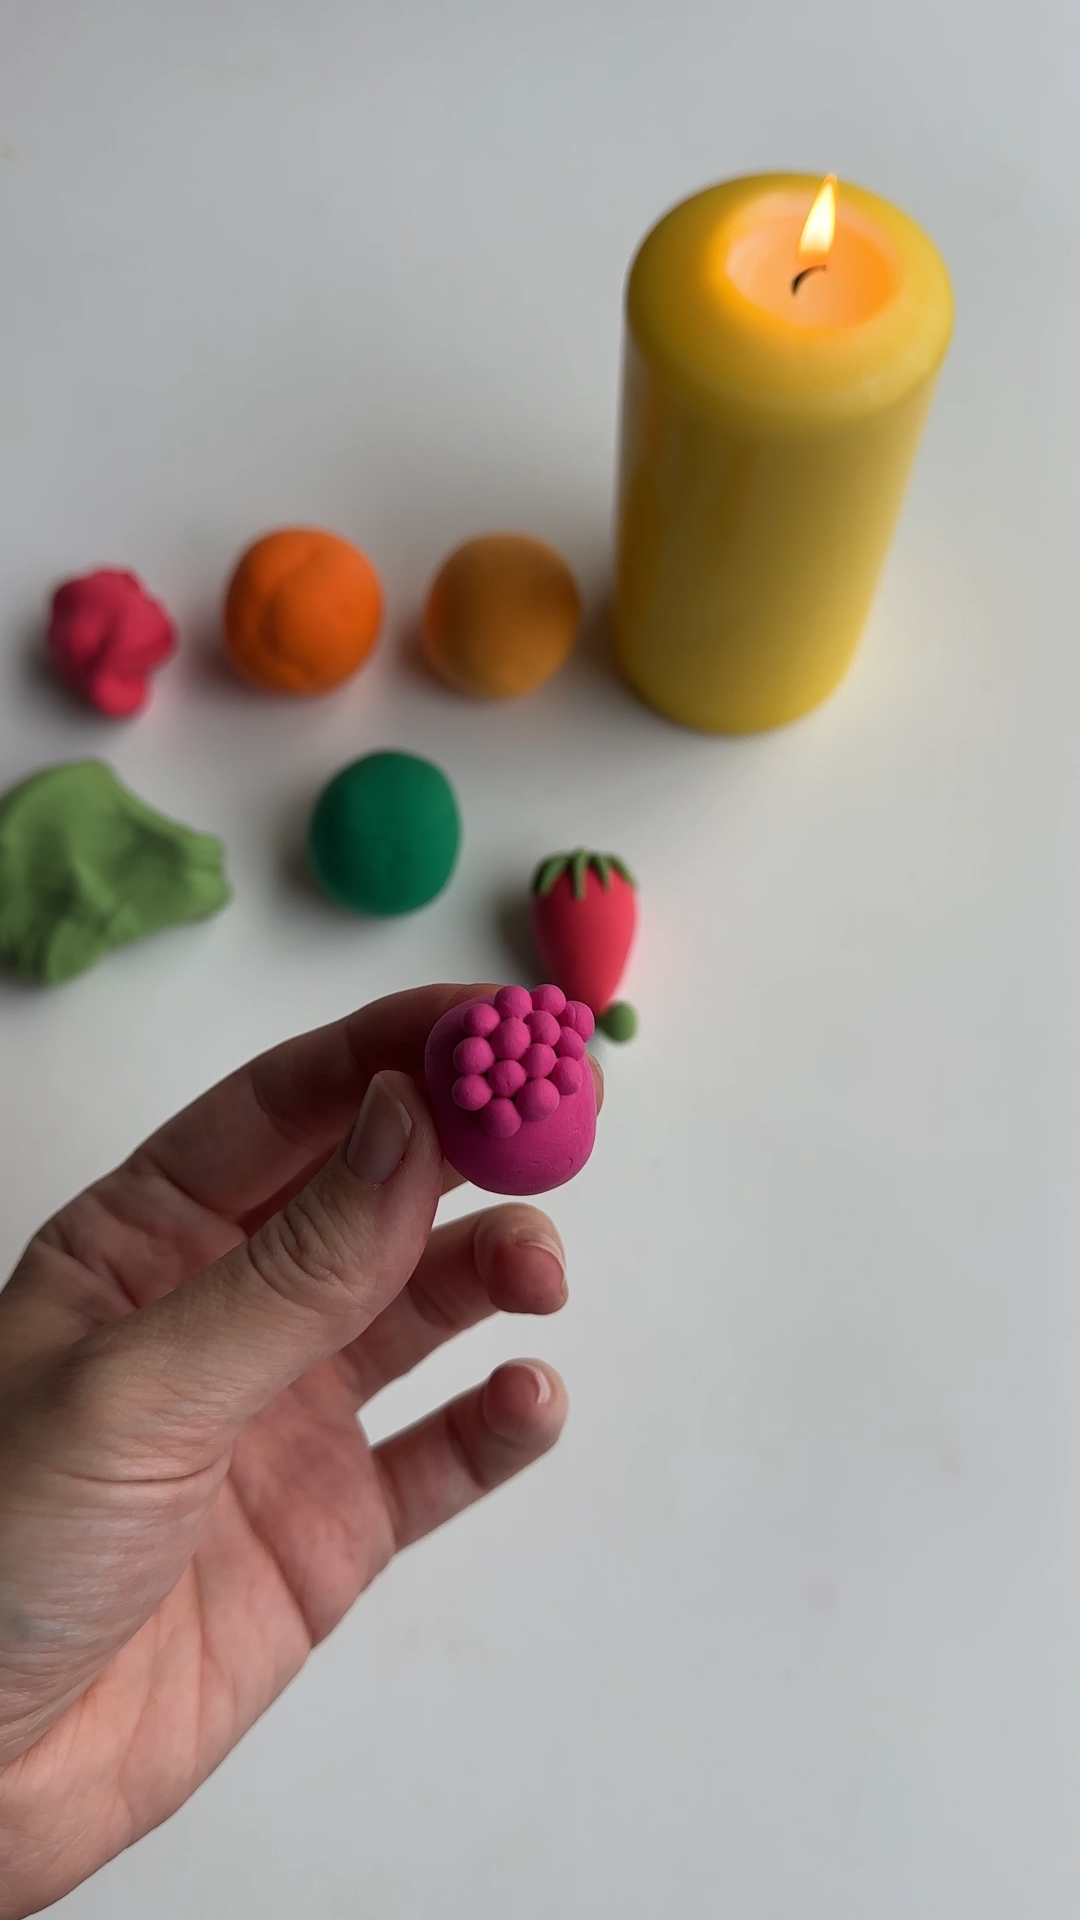
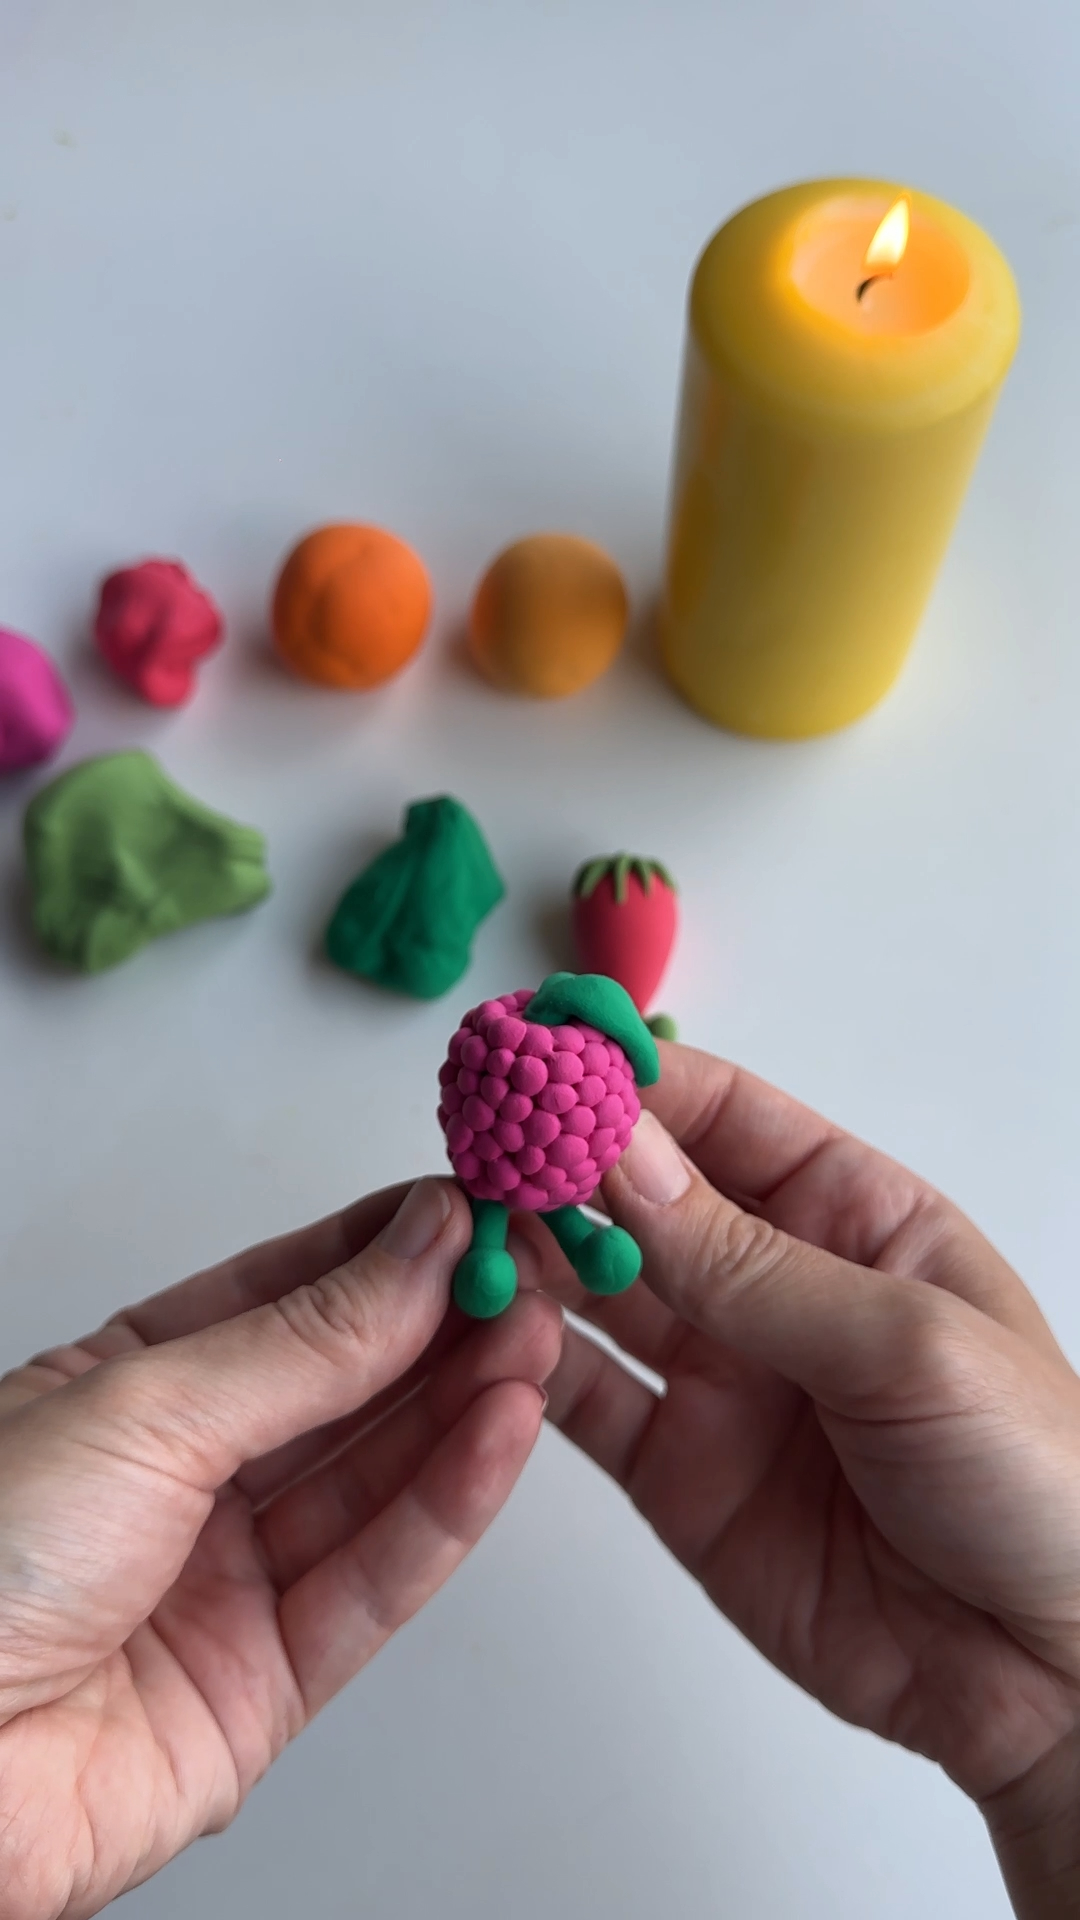
step 2: add leaves and tiny legs
roll small pieces of green clay to create leaves or tops for your fruit.
press these gently onto the top of the fruit shape. then roll two tiny clay pieces for legs and attach them to the bottom so your fruit looks like it’s sitting down.
these little legs are what really bring the characters to life.

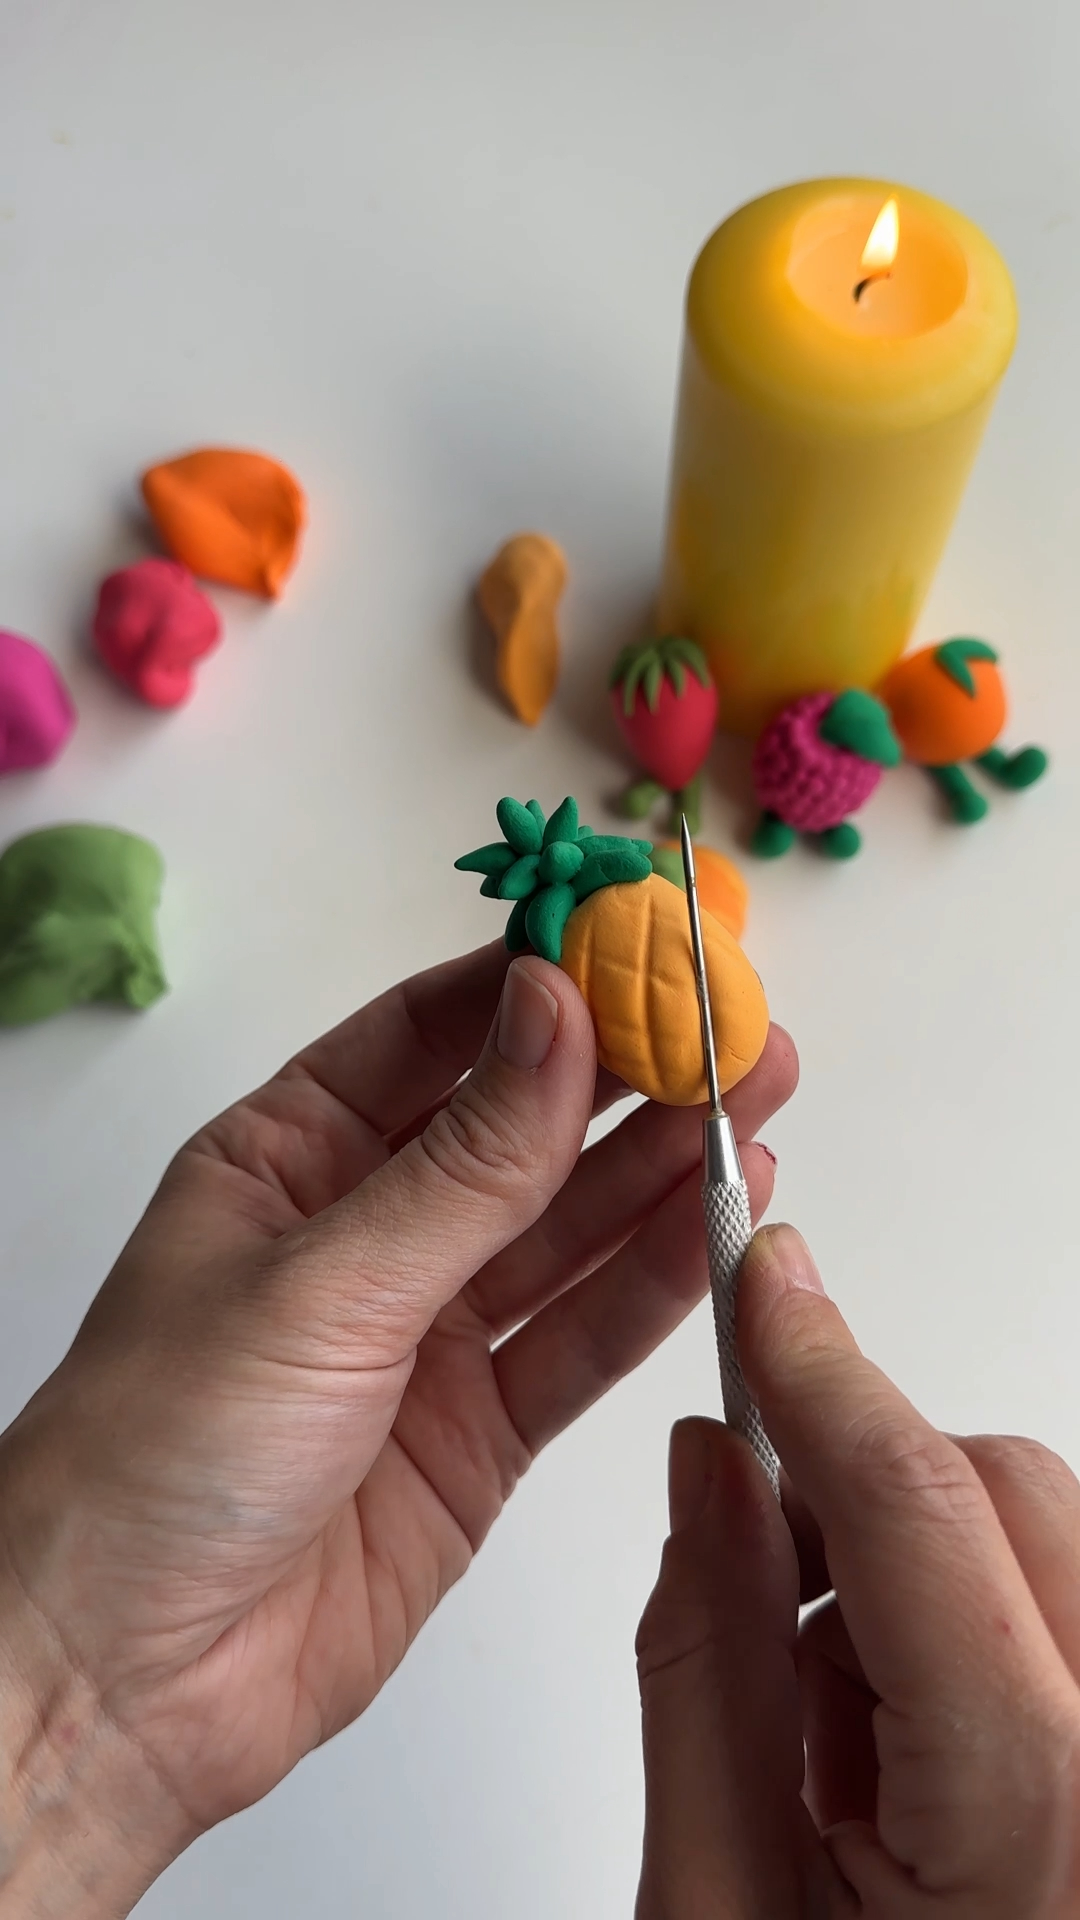
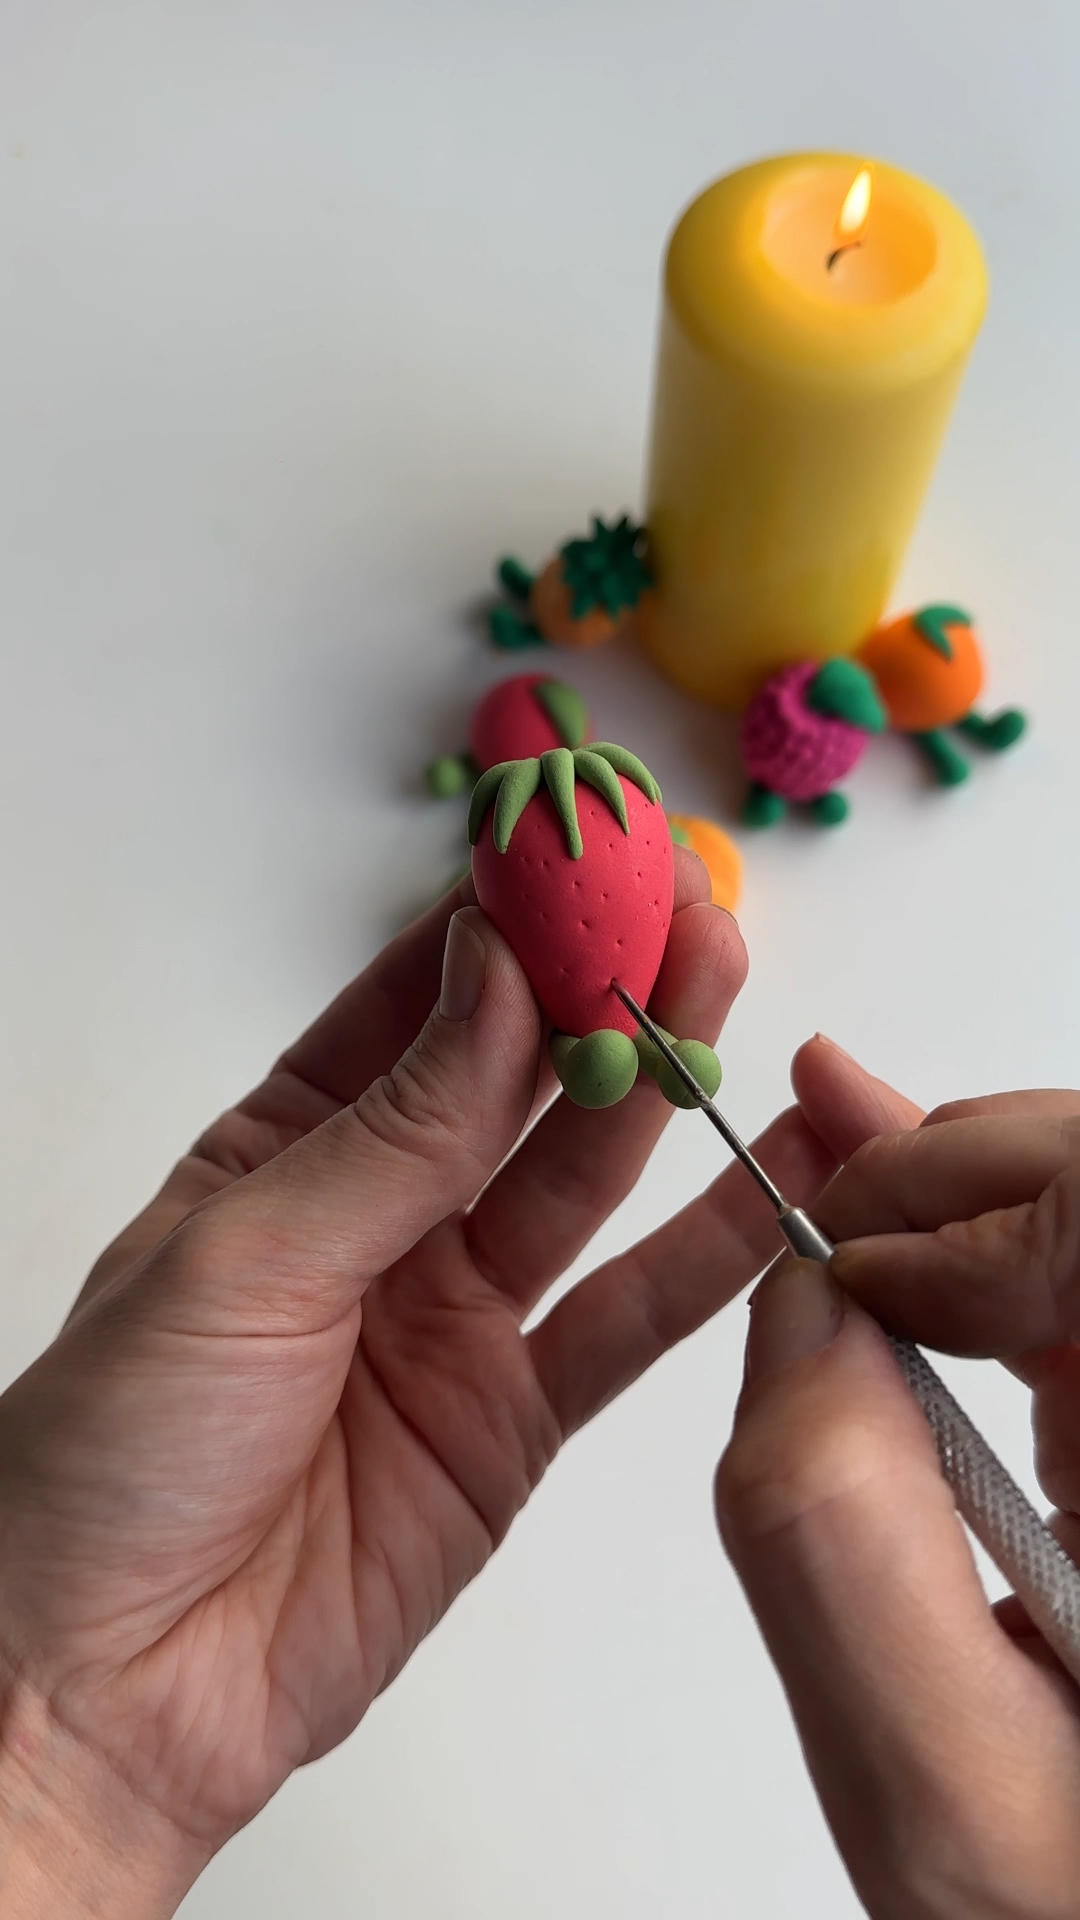
step 3: add fruit texture and details
use a needle tool to add texture to your fruit.
you might poke small dots for strawberries, create little segments for oranges, or score lines for a pineapple pattern. small details like these make each fruit instantly recognisable.
take your time with this part. It’s where the personality starts to appear.
tip: light touches work best. foam clay doesn’t need much pressure to create texture.
step 4: give them their little faces
once the details are in place, add tiny eyes and a simple smile.
this is the moment where the fruit really becomes a character. suddenly they’re not just clay shapes anymore.
keep the faces simple. two dots and a curved smile is all you need.

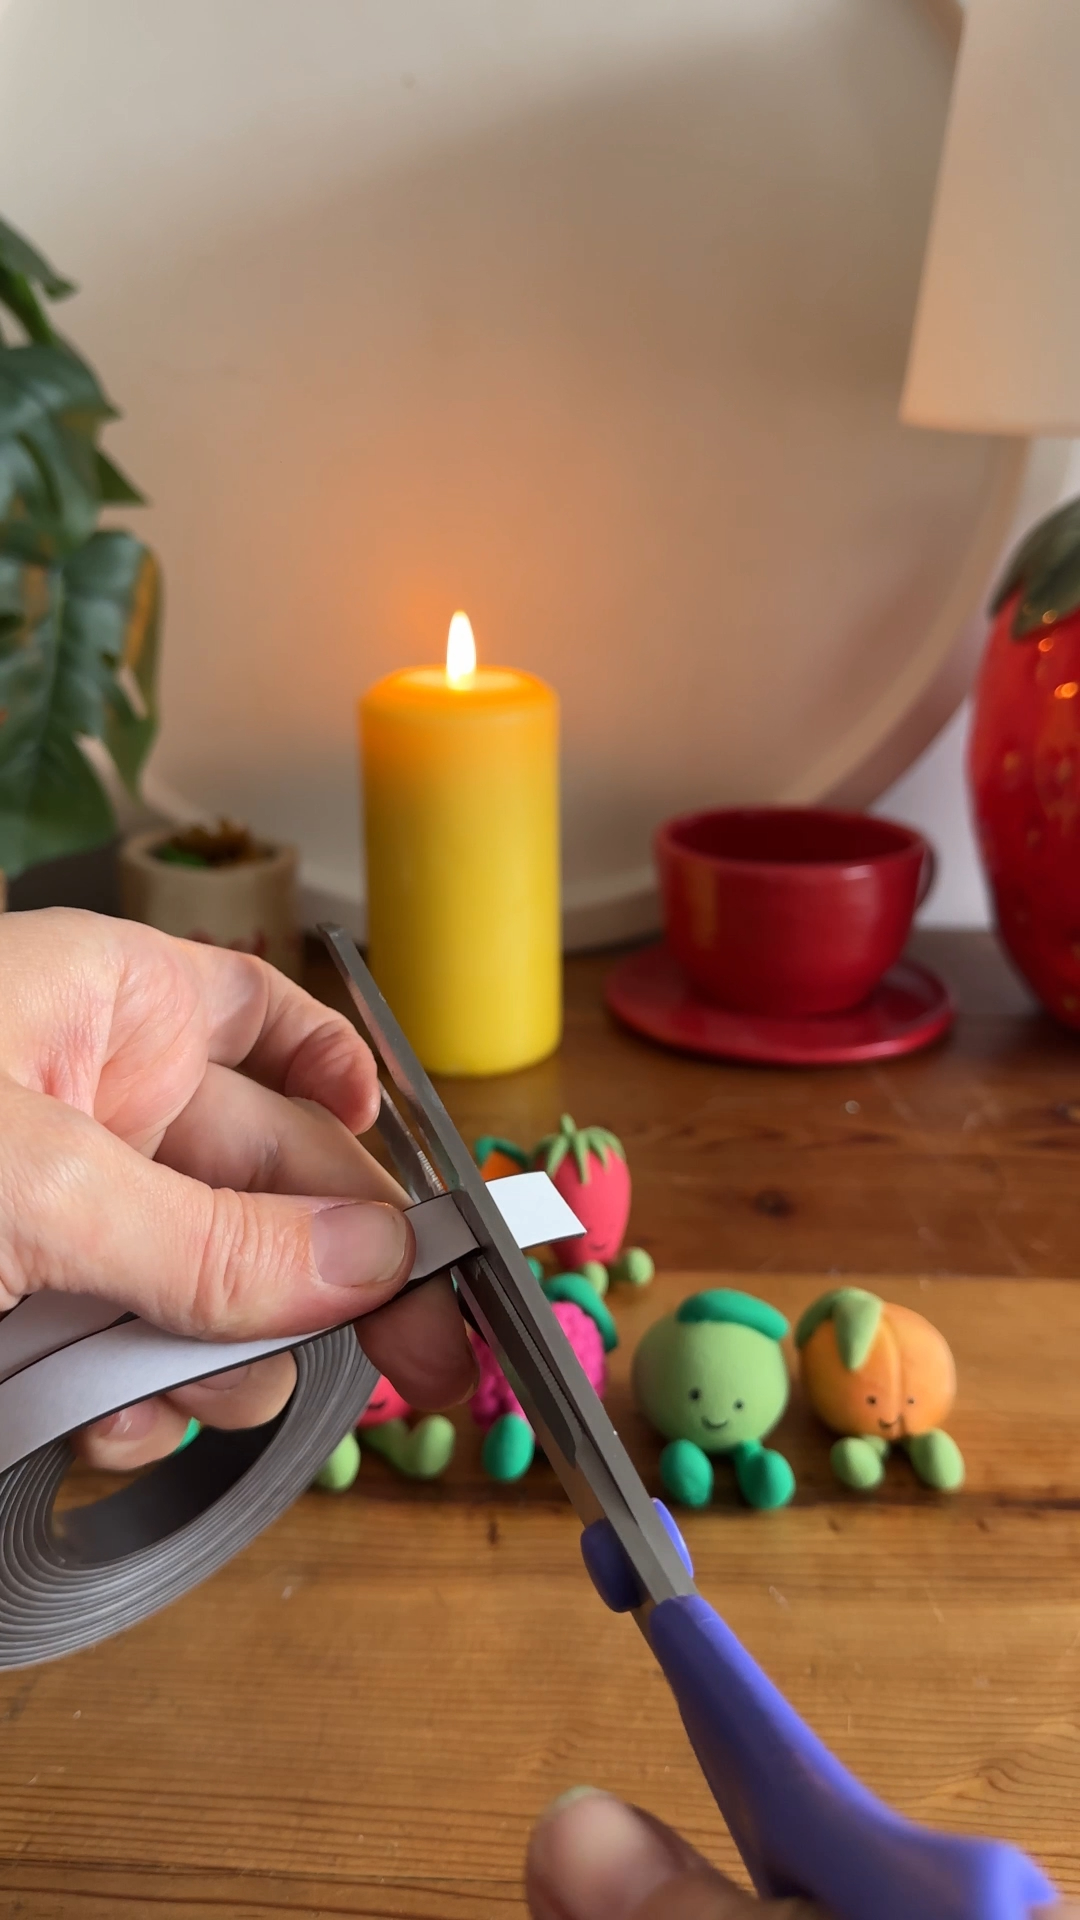
step 5: let them set and add magnets
leave your fruit characters to set for a while so they firm up.
once they’re stable, glue a magnet onto the back of each one. press firmly and allow the glue to hold before moving them.
and that’s it. your fruity little magnets are ready for the fridge.


the verdict 👩⚖️
these are such a satisfying tiny craft - so quick and cheerful!
foam clay is perfect for this kind of project because it’s soft enough for sculpting small details without needing lots of tools or experience. and once the little faces go on, it’s impossible not to smile at them.
this is also the kind of project that works brilliantly with friends. everyone can make a different fruit and you end up with a whole colourful collection 🥰
drying time can vary depending on thickness and the brand used. leave your pieces until they feel firm before attaching magnets.
foam clay usually doesn’t need sealing for decorative projects like this.
a strong craft glue works well for attaching magnets to the back of the finished pieces.
yes, but the process and drying time will be a little different. if you do try with air dry clay, let me know as i'd love to see!!!
small craft magnets work well for lightweight clay pieces. the strips you can buy from hobbycraft are great as you can cut them to the size you need
- making legs too small so they don’t stick properly
- pressing textures too deeply into the foam clay
- gluing magnets before the clay has set enough


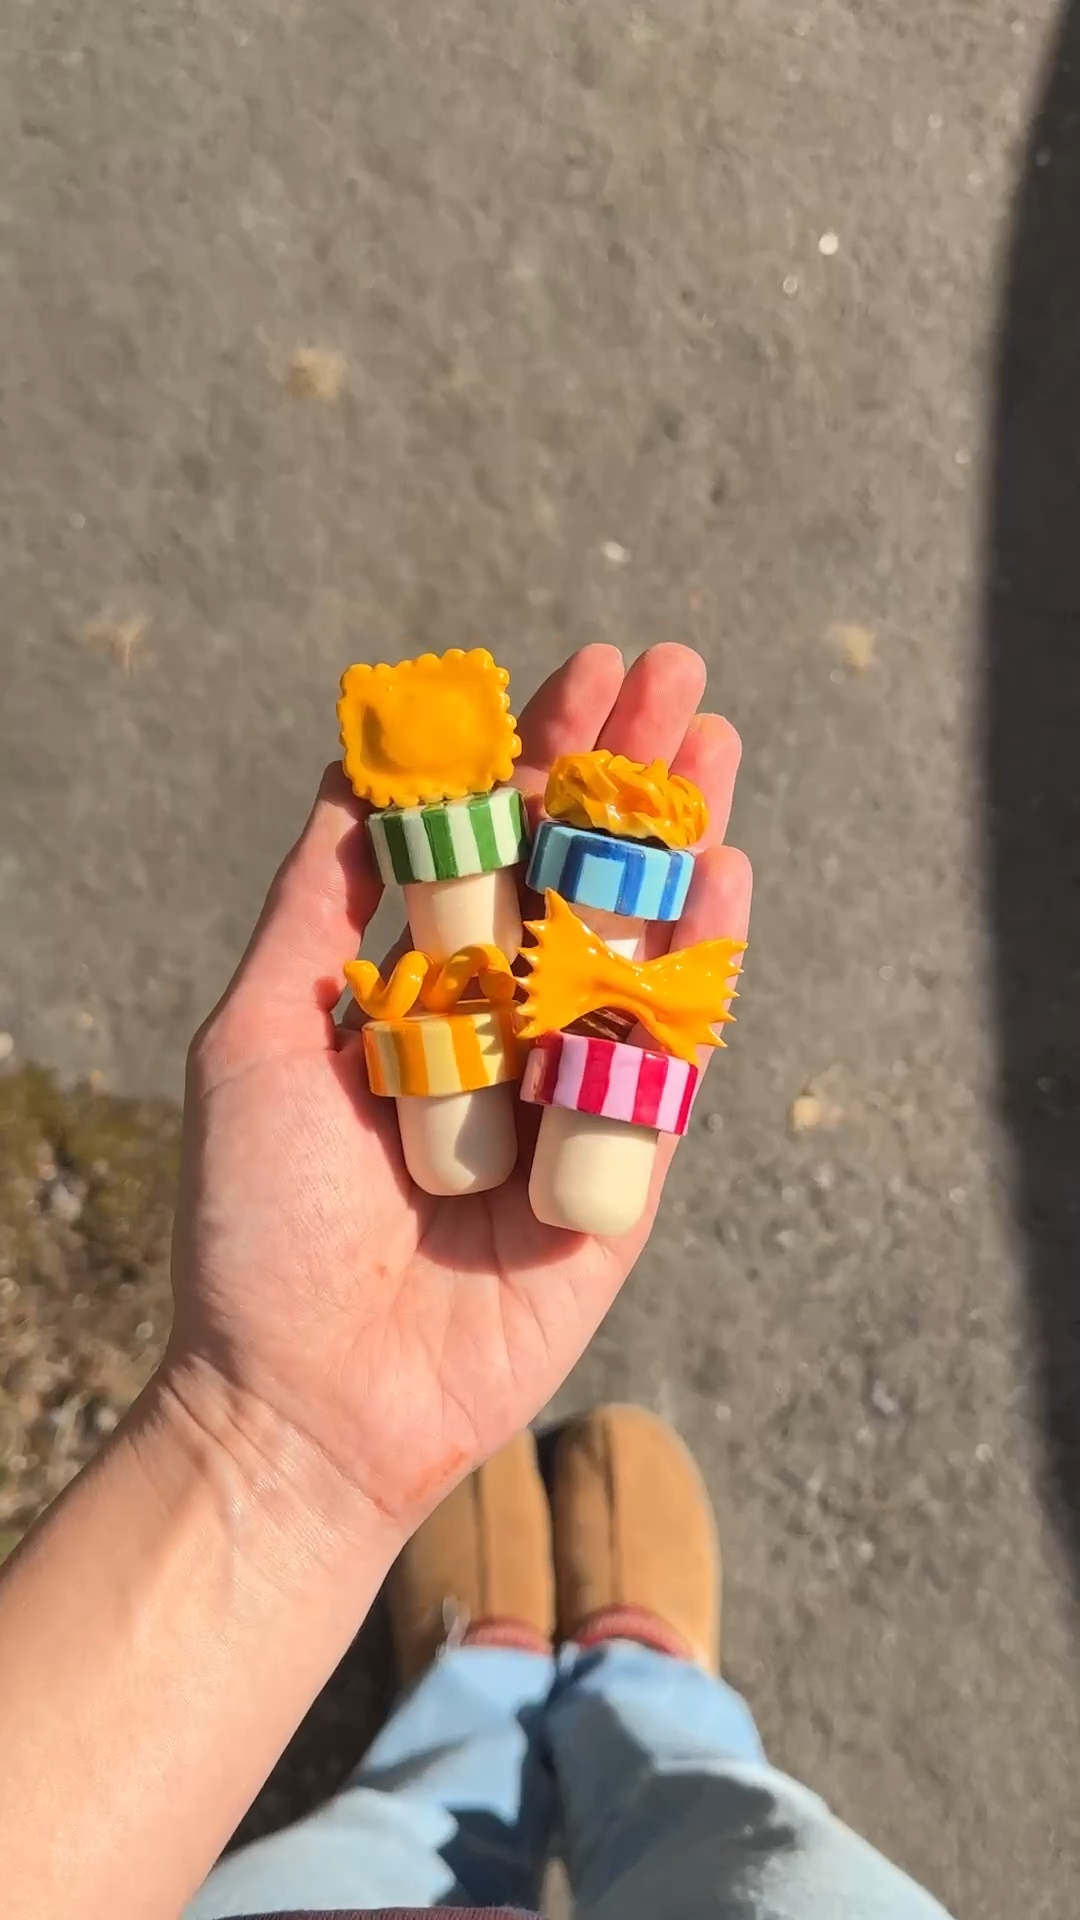
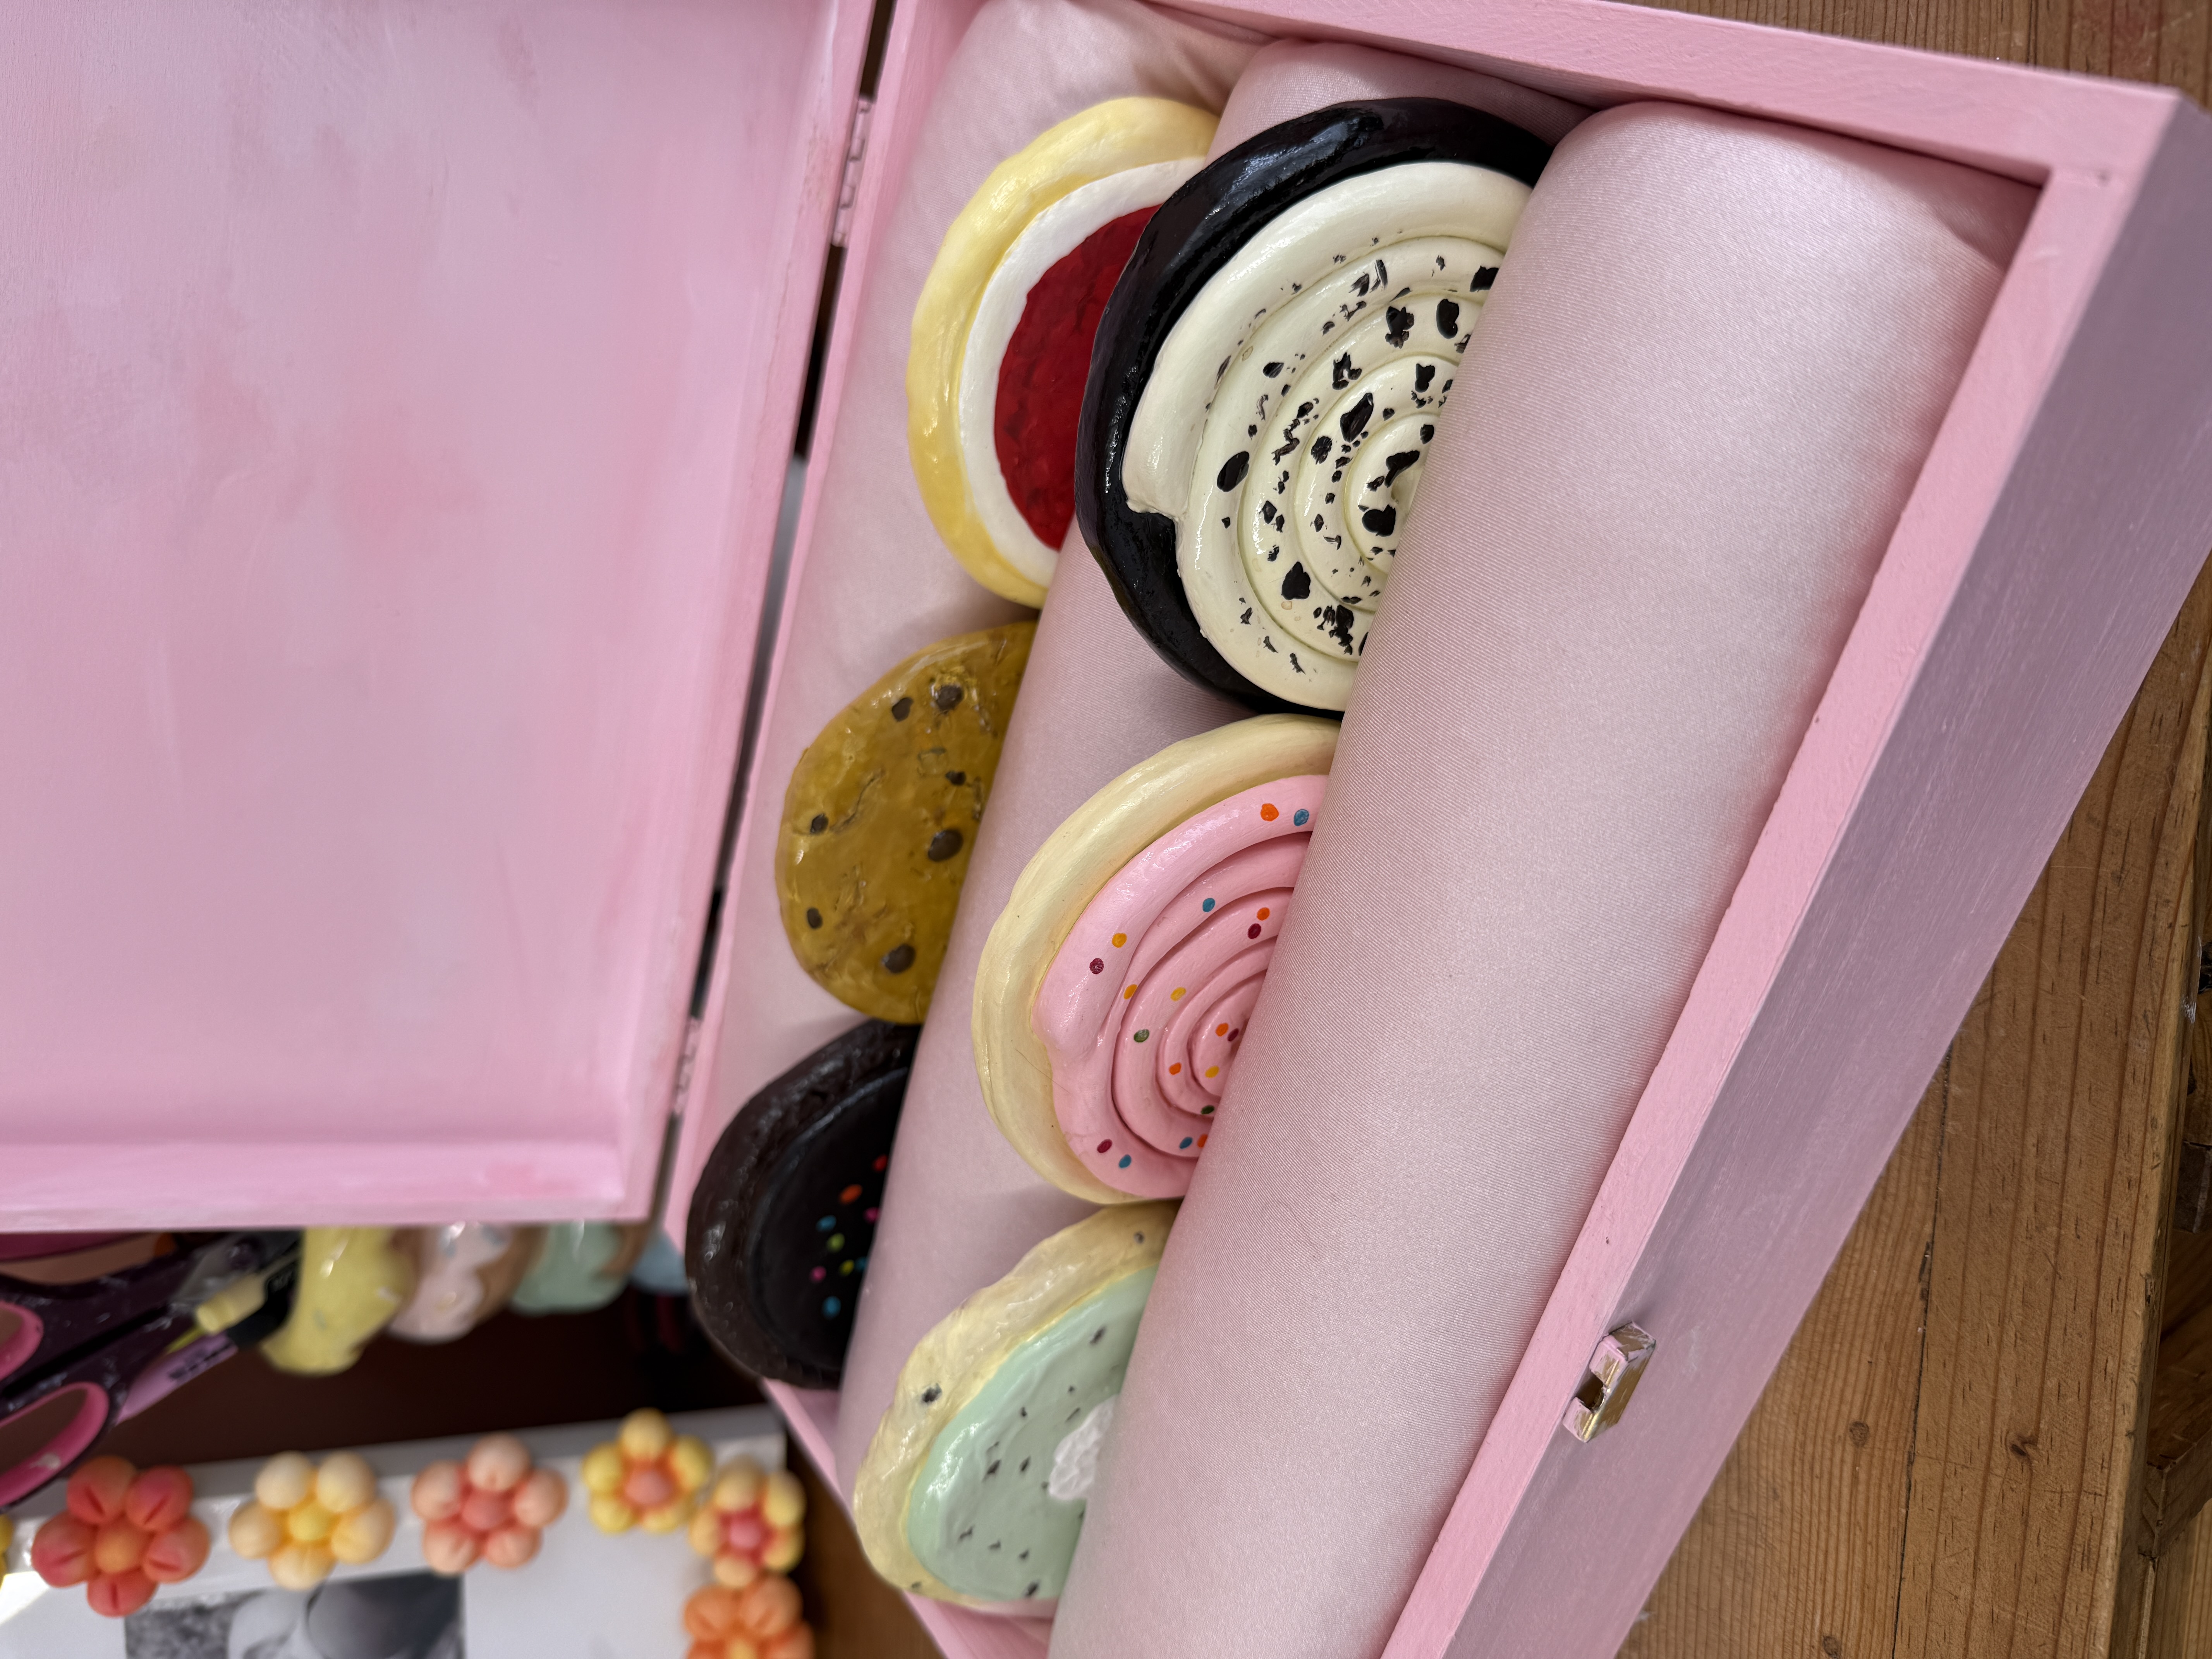
more like this
looking for more DIY inspiration? Take a look at some other projects I've done similar to this one.
join my monthly craft club
a monthly drop of new bits, behind-the-scenes chaos, and ideas to brighten your brain. pop your email in and i’ll send you something nice